Cheems bot guide, special thanks to DiscordPy for providing a lot of this images.
- Make sure you are logged into the Discord website.
- Next navigate to the Application page
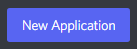
- Once you are there, click on the "New Application button" it looks like this:
- Make sure you are logged into the Discord website.
- Next navigate to the Application page
- Once you are there, click on the "New Application button" it looks like this:
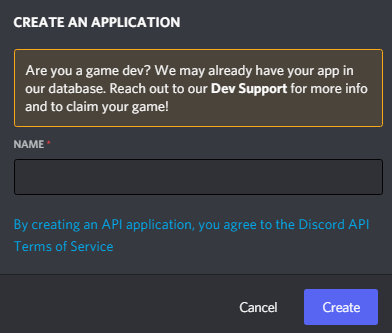
- Give the application a name, and click on create (The application name doesn't matter)
- Create a Bot User by navigating to the “Bot” tab and clicking “Add Bot”, You will need to click "Yes, do it!" to continue.

- Make sure that Public Bot is ticked if you want others to invite your bot. (Fair warning: If your computer is not that powerful you only want one instance of
Cheems running)
- You should also make sure that Require OAuth2 Code Grant is unchecked unless you are developing a service that needs it. If you’re unsure, then leave it unchecked.
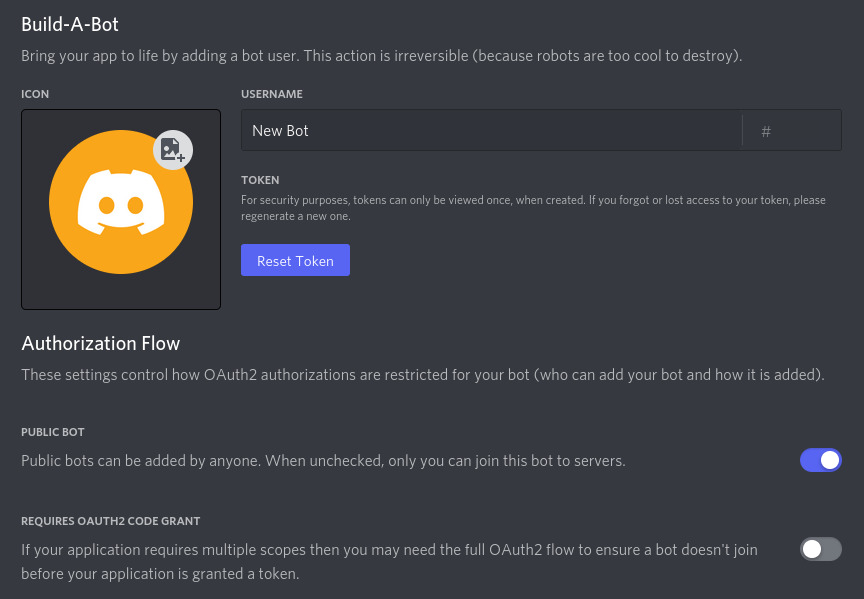
- Copy the token using the “Copy” button. (IMPORTANT WARNING HERE: NEVER SHARE THIS TOKEN, IT IS LIKE YOUR BOTS PASSWORD)
Note: Cheems isn't running yet, think of this as if you bought a lamp, the code in this server is the power outlet, you can place the lamp, but it is useless until you connect it to a power outlet
- Make sure you are again in the Application page.
- Click on your bot's page (The one you just created)
- Go to the “OAuth2” tab, it looks like this:
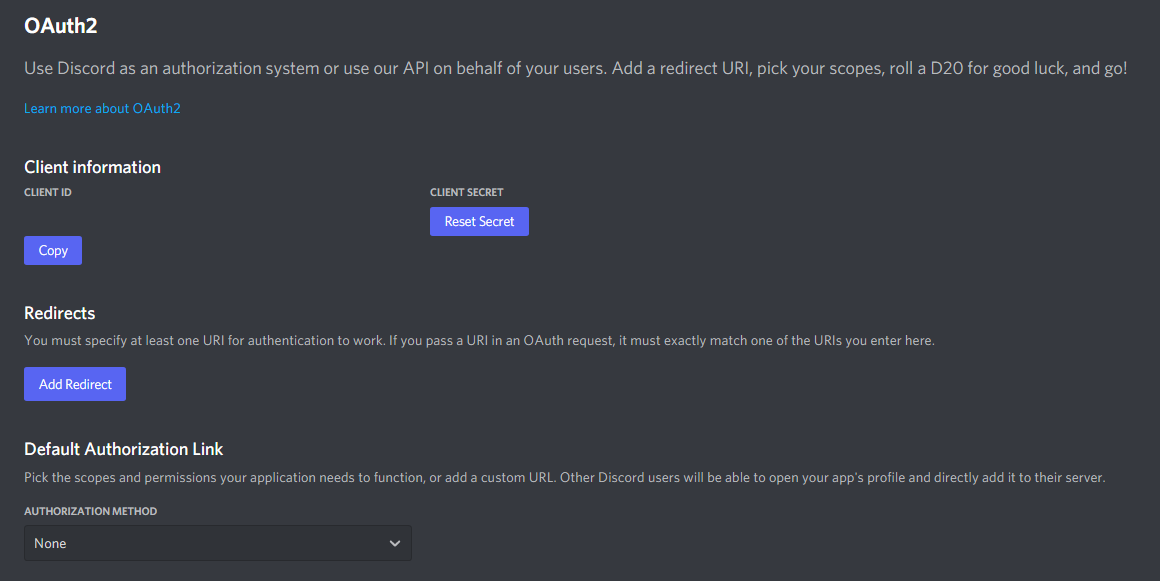
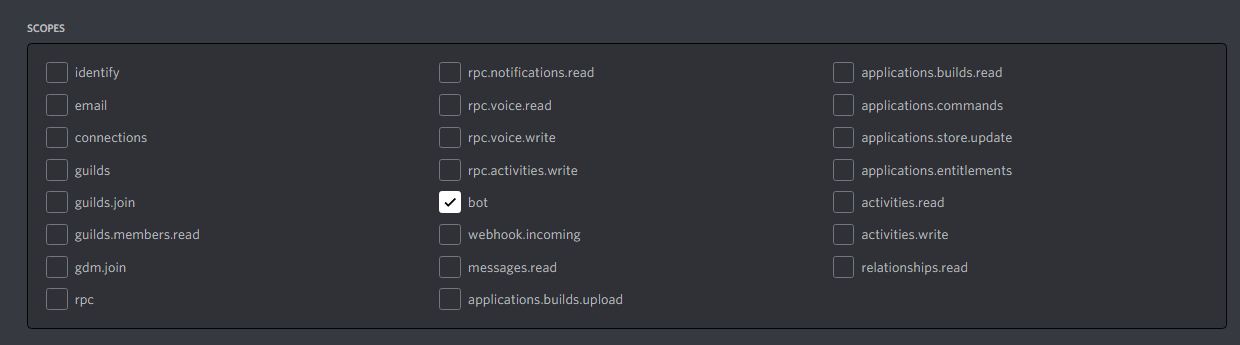
- Tick the “bot” checkbox under “scopes”, this looks like this:
- Tick the permissions required for Cheems to function under “Bot Permissions”, as of now the perms Cheems required as not a lot, since it is unable to moderate. Howerver, it is planned that Cheems is able to moderate in future versions. Here is a quick example (You can check others):

- Now the resulting URL can be used to add Cheems to a server. Copy and paste the URL into your browser, choose a server to invite the bot to, and click “Authorize”.