-
Notifications
You must be signed in to change notification settings - Fork 0
Mqtt Iot English
- About application
- Setup the connection
- Adding metrics
- Autogenerate metrics
- Deleting and sorting metrics
- Charts settings
- Groups settings
- Unlock the full version of the application
- Feedback
Application Mqtt Iot is developed for easy work with a MQTT broker and your IoT devices.
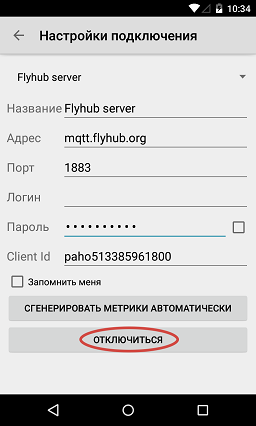
When you first start the application, you must configure the connection to your Mqtt server:
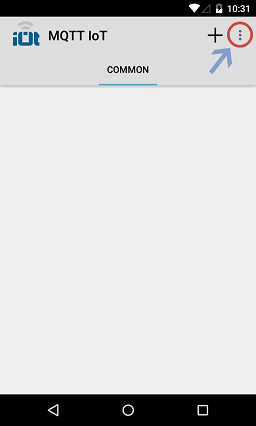
- Press the "Menu" button in the upper right corner of the screen.
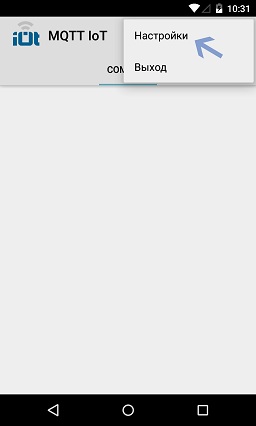
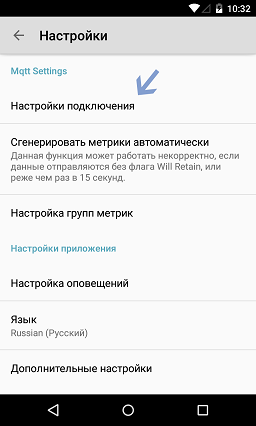
- Select the "Settings" item.
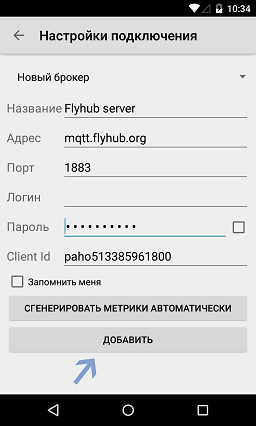
- Select the "Connection Settings"
- Enter the connection information.
- Click the "Add" button, then press the "Connect" button.
- When the connection is successful, you should see "Disconnect" button, if you connect an error occurs, check the entered data, as well as internet connection and Mqtt server.
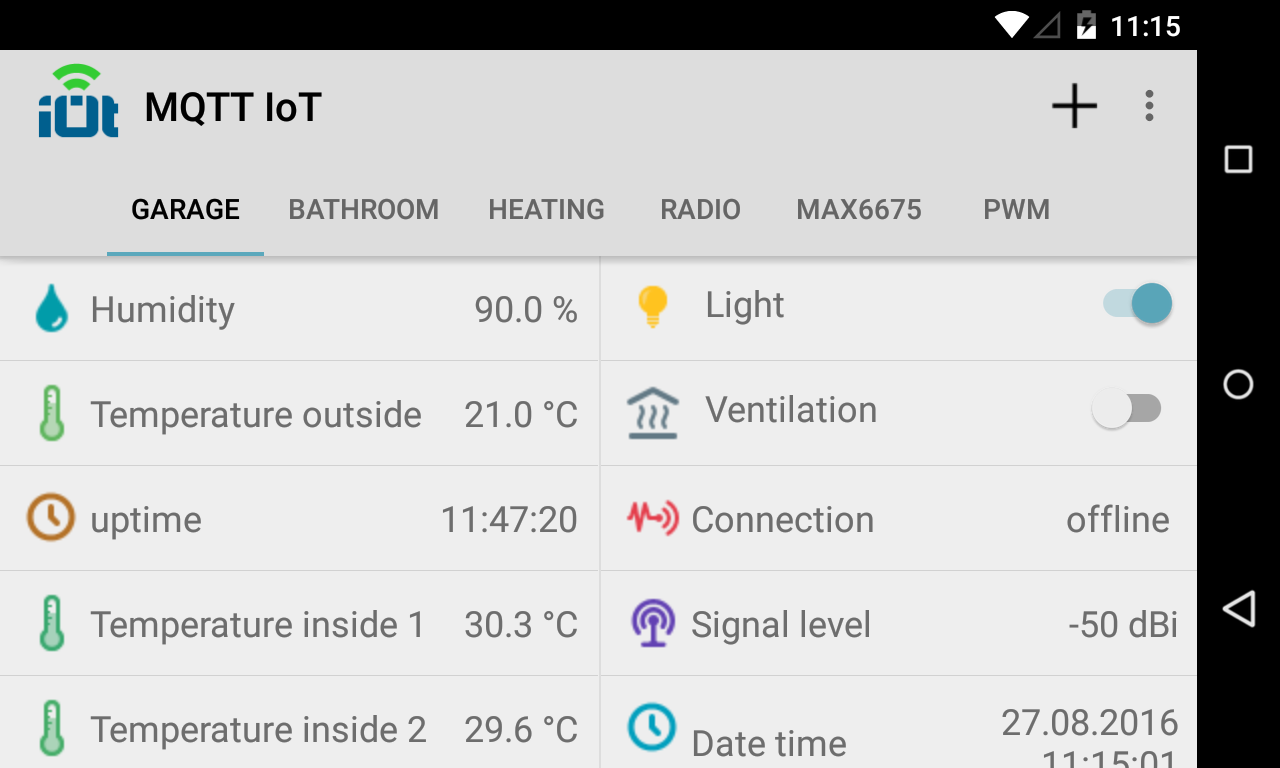
Metric - this item displaying and/or changing the value of a topic. To add a metric, click in the upper right button "+".
Main fields:
- Name - the name of the metric, who will be displayed in the list of metrics.
- Group - specifies the group to which the given metric belongs (how to add a group, see below).
- Topic - the topic on the server
- Retained - if this flag is set, the message from this metric will be sent with a flag Will Retain, this flag means that the server will store the last sended value, and when you subscribe to this topic, it will return.
- Subscribe to push notifications - if the flag is set, then the minimized application, you will receive a push notification about changes in values in this topic.
- Keep history - if this flag is set, then all the values that come into this topic will be saved in the phone's memory, to these values you can view the chart. (Learn more about charts, see below)
- Type - specifies the type of metrics. Currently the following types are available::
- Switch
The switch can take two states, ON and OFF, suitable for relay control, light, etc.
- Slider
The slider allows you to set the value of the range, you can specify minimum, maximum values, as well as a step.
- Readonly Value
Meaning simply displays any values that come from a topic, if the metric is created with a flag of "Smart Value", then with the arrival of data from a broker, the data can be converted, for example, if the topic title contains the text of the uptime, it is assumed that it is specified in seconds, and It will automatically be converted to days/hours/minutes/seconds format.
- Input
The input field allows you to send an arbitrary value in a given topic.
- Button
Button sends preset value in the topic, when you click on it.
- Indicator
The indicator is similar to a switch, shows the value of OFF and ON, but you can not send value to the topic, only see..
- Meter/Scale
The scale displays the value of the topic on a beautiful scale , you can specify minimum and maximum values of the scale , as well as the color template.
For automatic generation of metrics need to go to "Settings", then select "Connection Settings" and click "Generate metrics automatically." Autogenerate works only for topics, the values of which are stored on the server (so that the value stored on the server, your device should send data with a flag Will Retain)
To delete a metric, click and hold on the specify metric, then in the dialog select "Delete"
To sort the metrics, click and hold on any metric, then click Sort. The icon (three horizontal lines) will then close with metrics, click on it and drag the metric to the desired position. After sorting is complete, press the "Save" button in the upper right corner.
To see the chart for a specific metric, you need to edit the metrics, or add new metric with checked "Keep history (for charts)" checkbox, and then save the metric. Then press and hold on the metric for which you specify the "Keep history", and select "Show graph".
Для разделения метрик на логические блоки, существуют группы метрик. Для добавления новой группы метрик, зайдите в "Настройки" и выберите пункт "Настройка групп метрик". На открывшемся экране вы можете редактировать, добавлять и менять порядок групп.
- Для добавления группы нажмите кнопку "+" в правом верхнем углу.
- Название группы - название, которое будет отображаться на главном экране.
- Код группы - код, который используется для идентификации группы элемента при генерации метрик. (прим. mqtt.example.com/user@example.com/group-code/bmpt, group-code - код группы)
- Для редактирования названия группы, либо удаления группы, нажмите и удерживайте на группе, пока не появится контекстное меню, в котором выберите интересующее вас действие. Название группы так же можно изменить на главном экране, нажмите и удерживайте на названии группы (вкладке) пока не появится окно для редактирования названия.
Для одновременного отображения нескольких групп на одном экране зайдите в "Настройки", затем выберите пункт "Дополнительные настройки".
- Менять количество видимых групп только в горизонтальной ориентации - если значение установлено, то количество видимых групп будет меняться только если приложение находится в горизонтальной ориентации.
- Количество видимых групп - задаёт количество видимых групп от 1 до 4.
To unlock the full version, go to "Settings" and select "Buy full version".
IRC
Server: irc.forestnet.org
Port: 6667
Channel: #mqttiot
Web Client: http://chat.forestnet.org (to the Channels field enter #mqttiot)
