Use Tiled
There are three key parts to start using the Tiled Map Editor to create maps for your game.
- Download the Tiled Map Editor
- Implement the TiledLoader component in the topmost entity layer of your game.
- Start creating maps!
Point #1 is self-explanatory and most of this article will cover point #3, but in order to prepare the game to load your awesome game maps, a TiledLoader component needs to be added. Most of the default options will work for most projects so adding this component to the entity layer will probably look something like this:
{
    "id": "action-layer",
    "components": [
        {"type": "HandlerController"},
        {"type": "HandlerLogic"},
        {"type": "HandlerCollision"},
        {"type": "HandlerRender"},
        {"type": "TiledLoader"}
    ]
}
There are a few load options covered below as well as in TiledLoader, but the above should be enough to start building a game world!
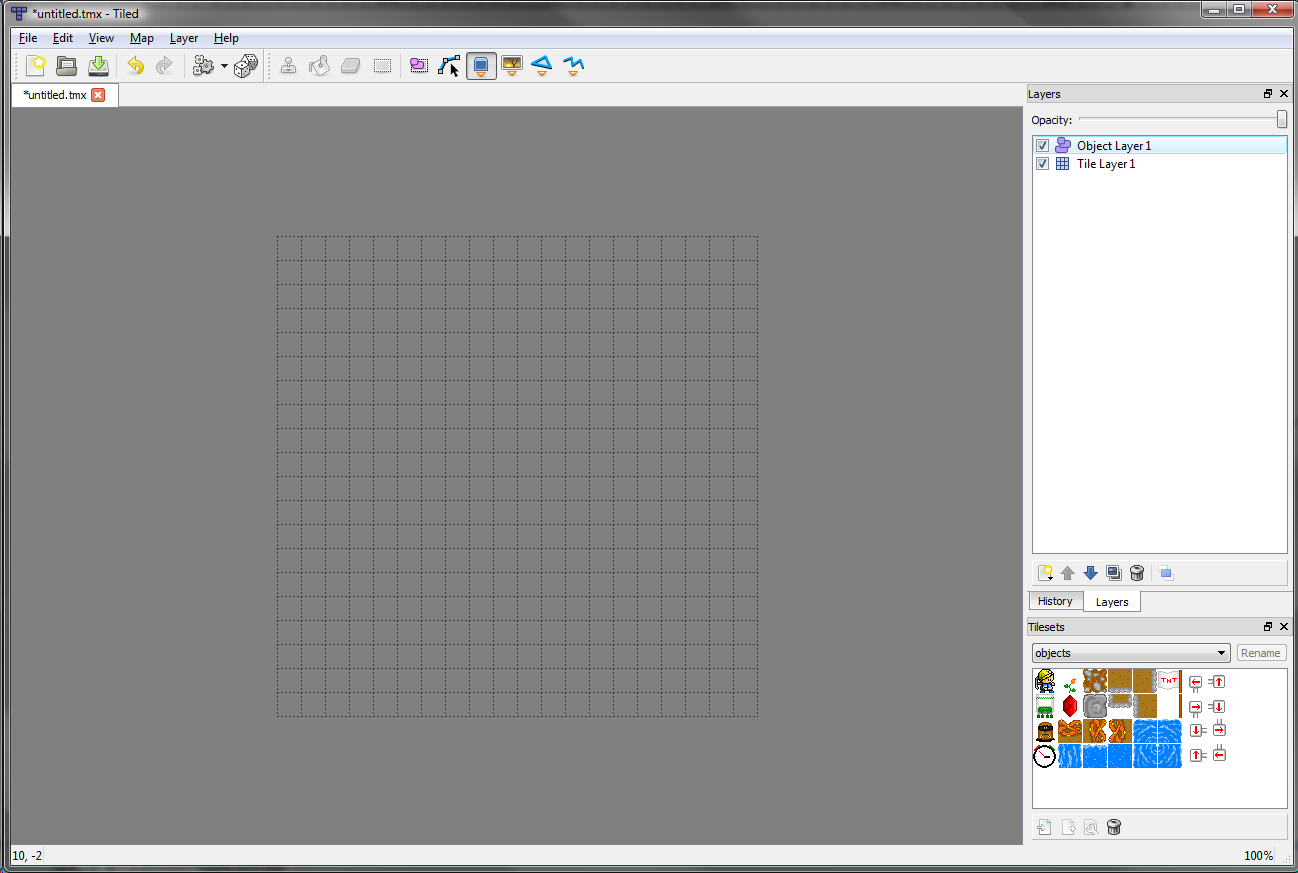
To create a map, select File > New Map. When the New Map dialogue appears, create an Orthogonal map with a Map size and Tile size of your choosing, then hit ok.

When you've edited a map to your liking and want to save it, use File > Save to save it as a .tmx file. Then you'll want to use File > Export As to export a .json version that the game can read. This .json version will go in src/config/platypus/levels.
Maps in Tiled are made of Layers. There are two types of Layers: Tile Layers and Object Layers. To create either, right-click on the layer panel and select 'Add Tile Layer' or 'Add Object Layer'. The order of the layers in the layer panel will determine their z-order in the game. By default layers are 1000 units apart in z. This can be changed when defining the TiledLoader.

Tile Layers are used to define the appearance and shape of the levels in the Platpus game. They are created by placing tiles in the map area. Internally the engine interprets tile layers as one of several types: image-layer, render-layer, collision-layer, or tile-layer (combo layer including both collision and render data).
Render layers are layers which are drawn to the screen. They help define how the map looks. Characters do not interact with tiles in the render layer.
By default a Tile Layer is a render layer. You can have as many render layers as you want. They can be placed in front of and behind the object layer. Render layers that are adjacent to each other in the layer panel list will be combined when rendered, speeding up rendering slightly. Though you shouldn't need to, you can force a tile layer to be render layer by right-clicking on the layer in the layer panel and selecting 'layer properties'. There set the name of a property to 'type' and the value to 'render-layer'.
Collision layers define the 'shape' of the level by defining what is collideable. Any tile you add to a collision layer will act like a solid obstacle the shape and size of the tile.
You can create a collision layer by naming the layer 'collision' or by right-clicking on the layer in the layer panel and selecting 'layer properties'. There set the name of a property to 'type' and the value to 'collision-layer'. You cannot have more than one collision layer.
Combined layers act as both render and collision layers. Any tiles you add to a combined layer will render to the screen and also behave as solid shapes.
You can create a combined layer by naming a layer 'action' or by right-clicking on the layer in the layer panel and selecting 'layer properties'. There set the name of a property to 'type' and the value to 'tile-layer'. If a collision layer already exists, the combined layer will act as render layer. You cannot have more than one combined layer.
Object layers are used to add entities to a level. The entities you place will appear in the game at the location you place them in Tiled.
There are two ways to insert Entities, as 'tiles' or as 'objects'. These options are found in the toolbar at the top of Tiled.

Inserting an entity as a tile is like painting with tiles. You first need to create an entity tileset (detailed in the tilemap section below). With that created you can then use the tileset to place entities. The location of the tile is where the entity will appear (the center-bottom of the tile will be the entity's origin point).
If you want to place an entity off the tile grid, hold CTRL and click. Or use the 'Select Objects' tool to select and drag the tile while holding ctrl.
Insert an entity as an object allows the user to draw a region to describe the entity. This is useful for entities that have variable size such as trigger areas. To set the type of entity you want the region to spawn, right-click on the region you created, and select Object Properties. In the window, enter the id of the entity in the type field. The origin point of the region is the center-bottom point of the region

In order to paint your tilemap or create entities using tiles you will need to create a tileset in Tiled.

To create a new tileset click Map > New Tileset. This will bring up a dialogue where you can set up the tileset. Set the image to the tileset asset you want to use. Set the name of the tileset to the asset id (from the config.json file) of the tileset you are using. The tile width and height settings should default to the size of the tiles in the map, if not these should be set to the map's tile size.

If you have an existing tileset that you exported earlier (we'll get to how to do that below) you can import it by clicking Map > Add External Tileset. Then select the .tsx file for your tileset.
Once you've loaded your tileset, you're set to paint to Tile Layers using the painting tools provided in Tiled. When you the tilemap painted, save and export it and it will be viewable in game.
You can use any tileset to place entities, but we recommend creating a tileset that uses icons to represent each entity. Once you've created a tilset, you'll need to specify which tile creates what entity. To connect a tile to an entity type, right-click on a tile in the tileset window, then click 'Tile Properties'. In the tile properties window set the name of the property to 'entity' and the value to the id of the entity in the config.json file. Once you've done this, placing a tile from this tileset will create that entity type in game.

If 'Tile Properties' is disabled when you right-click on a tile, and you're using an imported tileset, hit the 'Import Tileset' button below the tileset to enable you to edit the properties.
Once you've set all the entity values for the tiles, you'll want to export the entity tileset so that you can use it in other levels. See the exporting section below to find out how.

Once you've created a tileset, you're probably going to want to reuse it. In order to do so, you'll need to export the tileset. To do this, use the small button 'Export Tileset' button below the tileset. This will bring up a window where you can save a .tsx file. Name the file the same as you named the tileset (the id of the asset in the config.json file). Each time you make a change to the properties of a tileset you'll want to export it again so that it's saved. When a tileset has been exported you can no longer change the properties of the tileset or the tiles themselves.
Importing a tileset is done by selecting Map > Add External Tileset and selecting the tileset .tsx file you want to open. When you open an external tileset or you export a tileset the tile properties cannot be changed. To change these values you'll need to use the 'Import Tileset' button located below the tileset. Just make sure to export the tileset again once the changes are made or they'll be forgotten.
It's possible to use one tileset in Tiled and display a different tileset in the game. This can be useful in situations where you want to use larger art in the game than in Tiled. To do this you will need to add a couple fields to the definition of the TiledLoader component.
Here's an example:
    {
        "type": "TiledLoader",
        "unitsPerPixel": 10,
        "images": ["sprites"],
        "imagesScale": 3.3333333333
    }
The images and imagesScale are the new fields that are necessary to having scaled art. images - This is the image ids of the tiles that will replace the art in Tiled. By default the tileset art in Tiled is used. imagesScale - This is the scale of the new images relative the those in Tiled. In the example they are 3 1/3 larger than the tiled art. By default this is 1.
One important thing to note if you're using a scaled tileset is that the order of the tiles in the scaled tileset needs to match the order of the tiles in Tiled. The tiles are matched up by their index, so if you're using more than one tileset in Tiled or you have more than one scaled tileset, the order that the tilesets are listed in the 'images' field and the order they're loaded in tileset panel in Tiled will need to match up.
We've covered how to add them to the tilemap and how to make an entity tileset above but there are a few details you'll need to know when adding entities to a map.
In some cases you may want to set properties on a specific entity in the map to define it's behavior. To set a property on an entity, right-click on the object in the tilemap and select 'Object Properties'. You will be presented with a window where you can enter property names and values. The names of the properties will be determined by what they're called in code, the value can be a string, number, or boolean value.
Tiled entity properties are added to the entity by the TiledLoader component. To access them from a component you would use: this.owner.propertyName Properties added in Tiled will overwrite properties of the same name added in the entity json definition in the 'properties' section. This allows you to have default properties for the entity set in the json file and per instance properties that come from Tiled.
