-
-
Notifications
You must be signed in to change notification settings - Fork 1.1k
Calibration
 Flow rate calibration is a two-pass process.
Steps
-
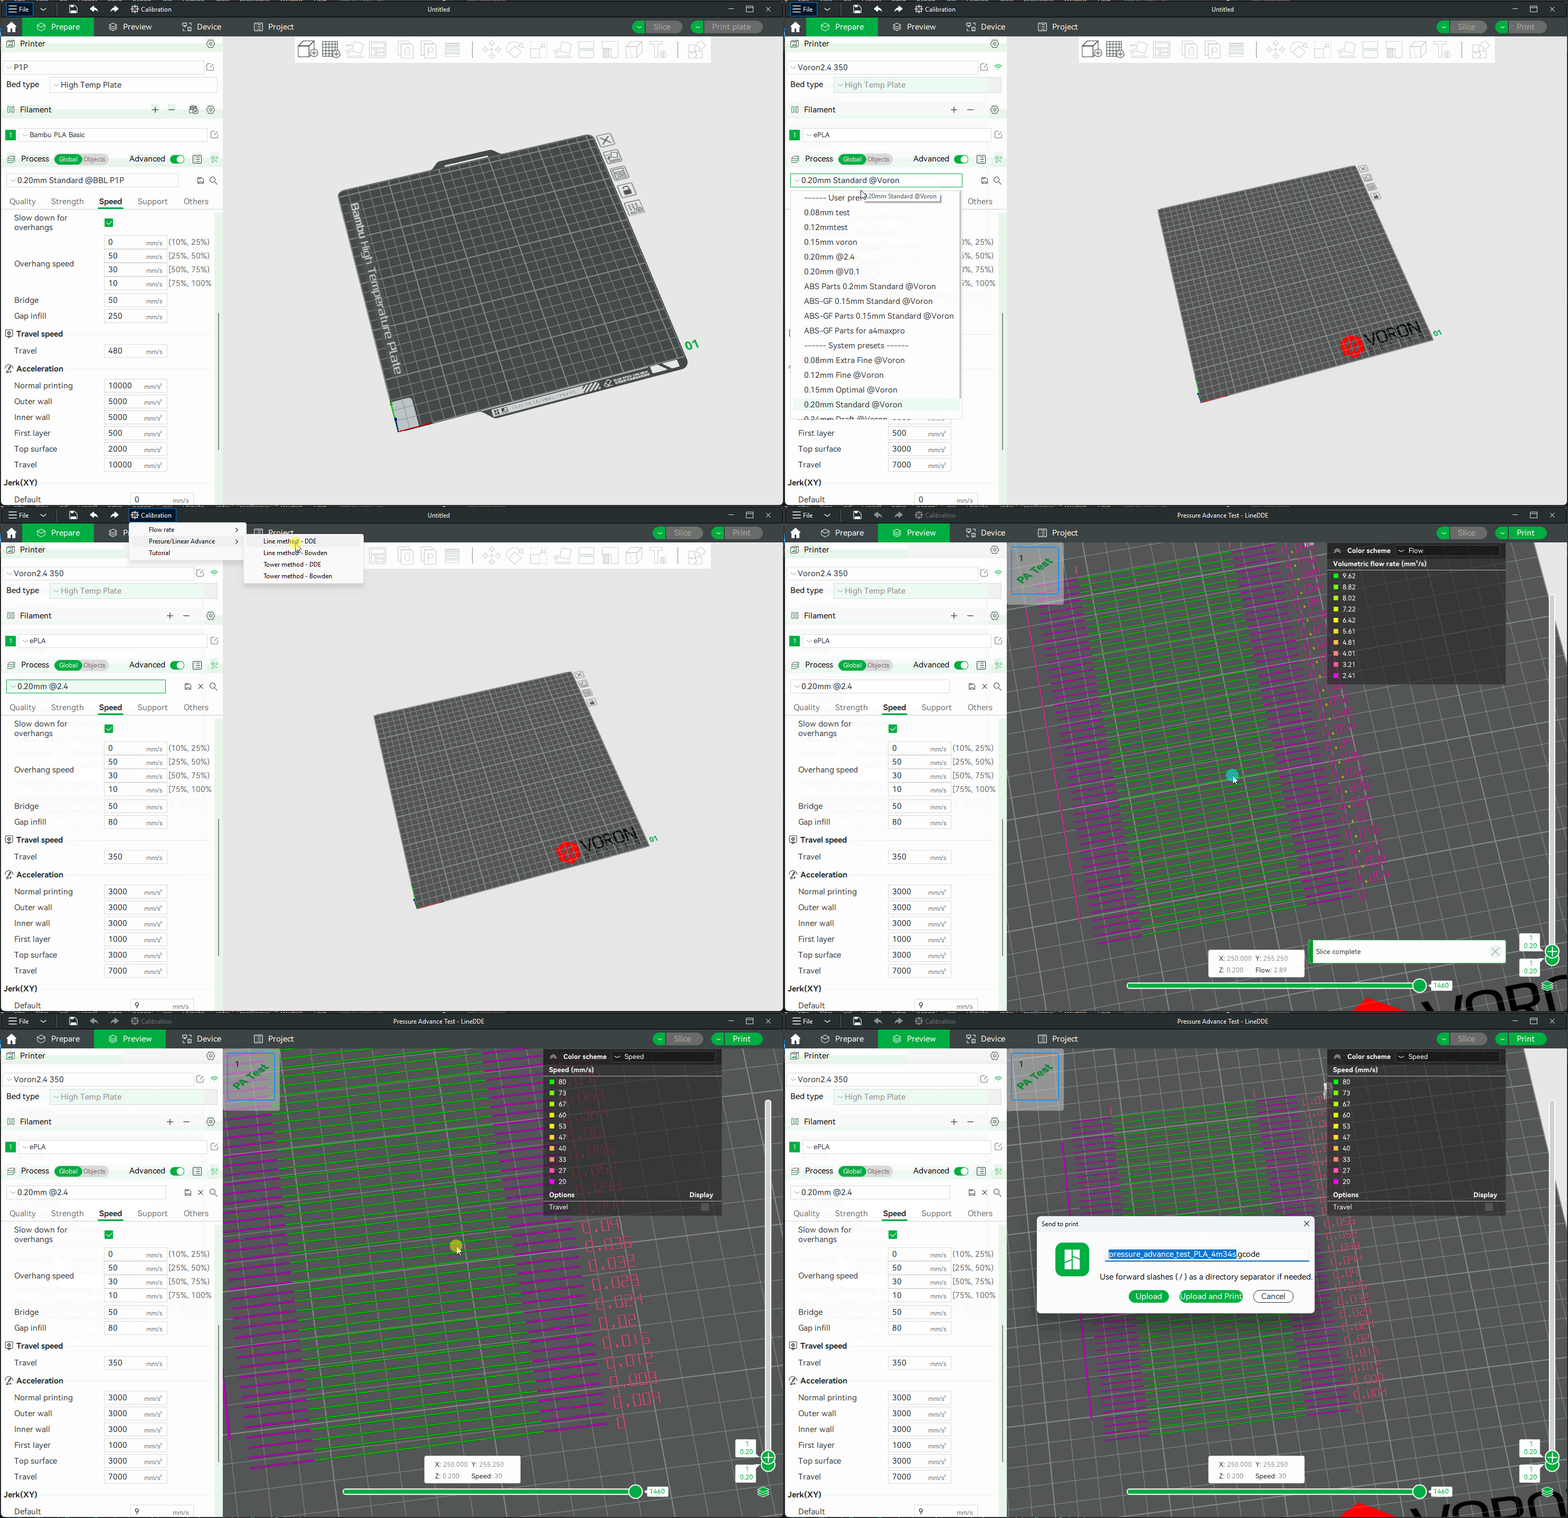
Choose the printer/filament/process you want to use for the test.
-
Select
Pass 1in theCalibrationmenu -
A new project with nine blocks will be generated, each with a different flow rate modifier. Slice and print the project.
-
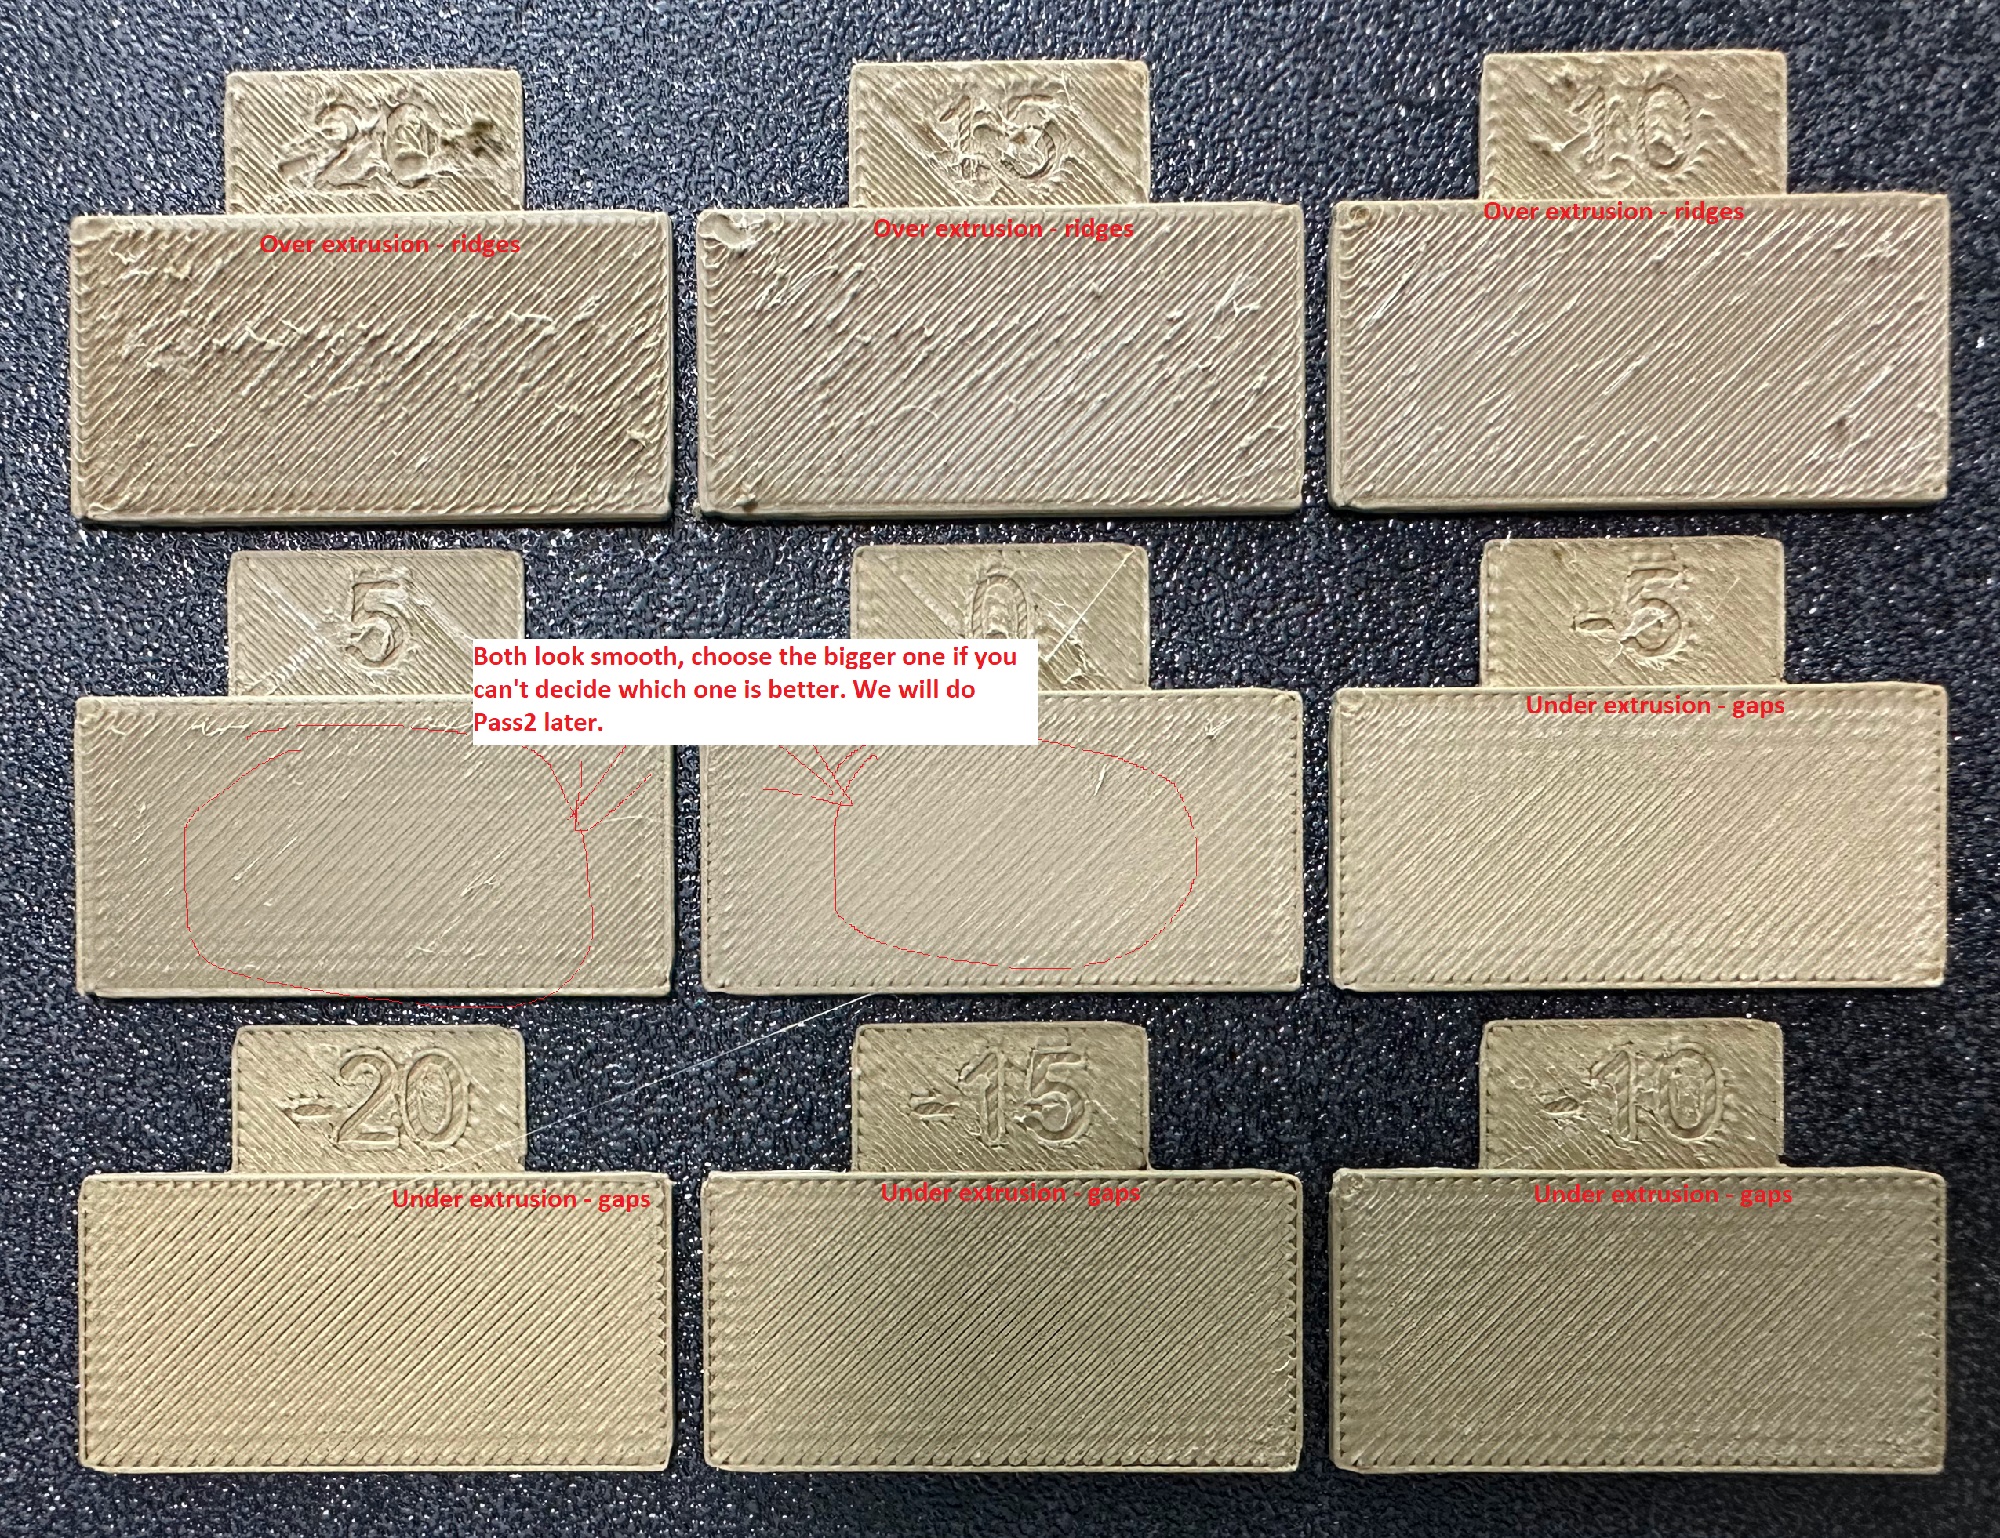
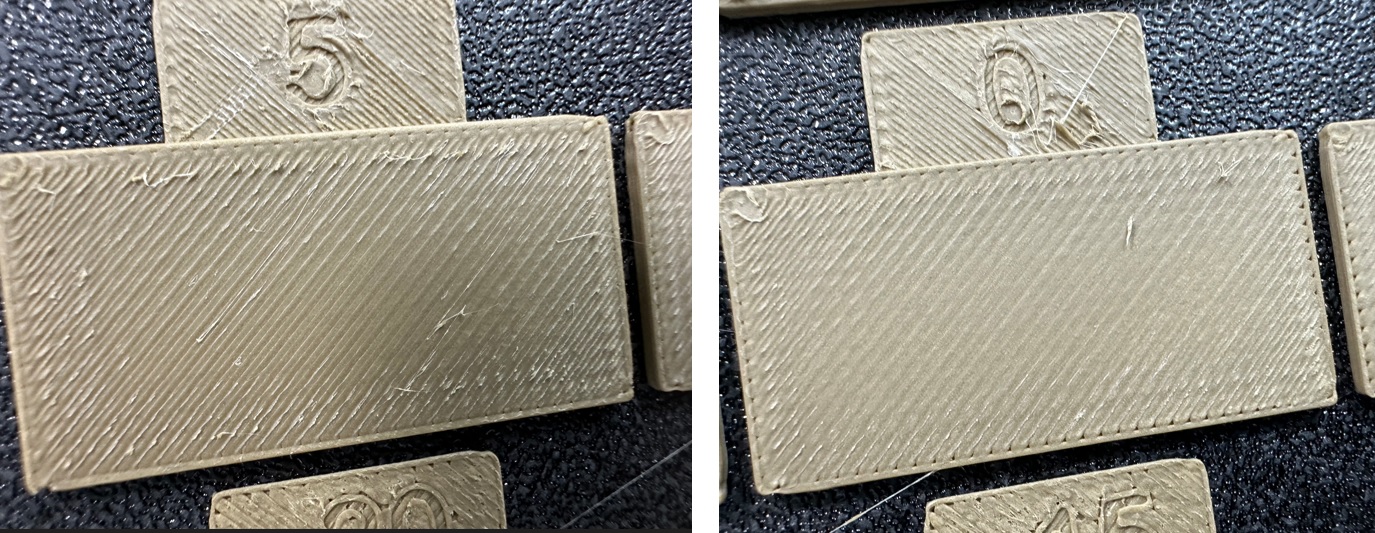
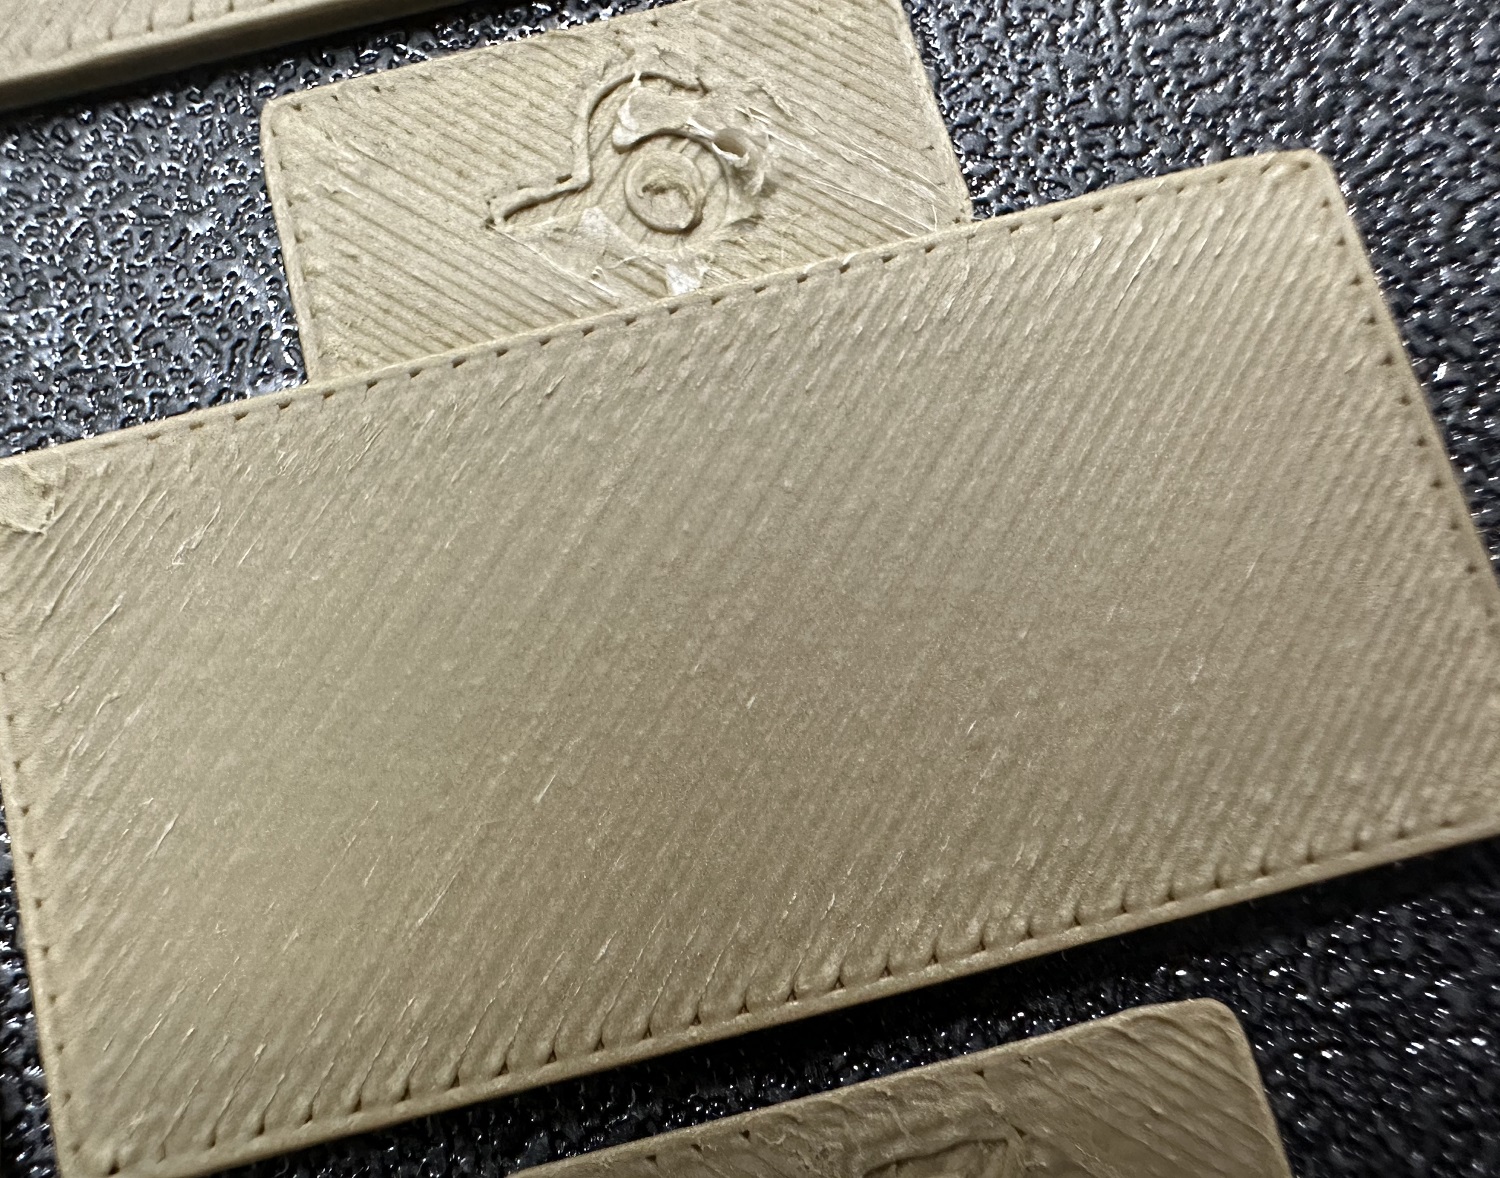
Check and decide which block has the smoothest top surface.
-
Update
Flow Ratioin filament settings. Equation:FlowRatio_old*(100 + modifier)/100. In this case, my oldFlow Ratiois0.98and I pick the+5block, so the new value should be 0.98x(100+5)/100 = 1.029. ** Remember** to save the filament profile. -
Do
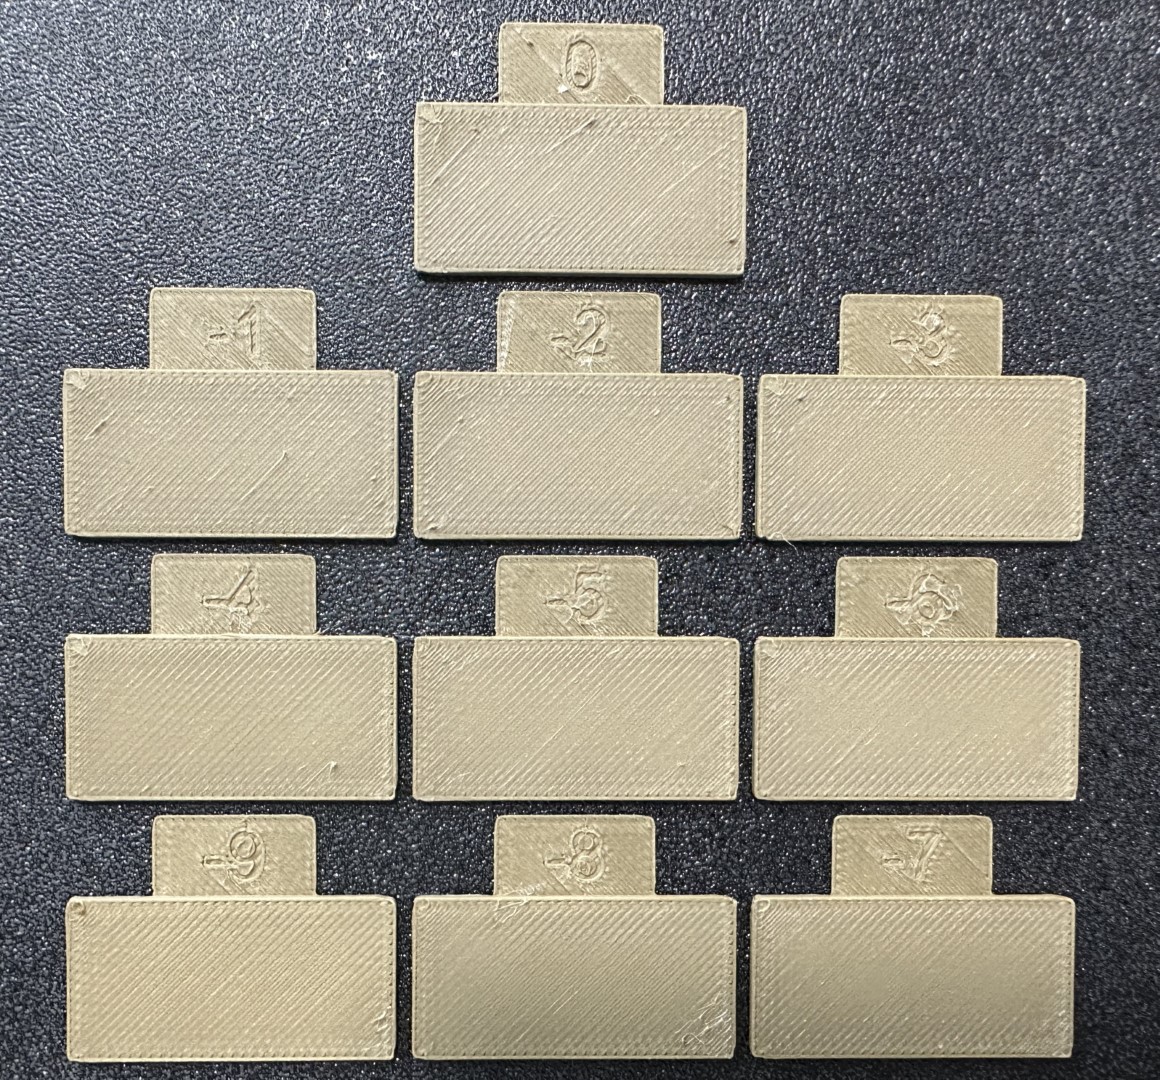
Pass 2calibration. It is the same procedure asPass 1, but a new project with ten blocks will be created this time. The flow rate modifiers are ranged from-9to0. -
Repeat steps 4 and 5. In this case, my old
Flow Ratiois1.029and I pick the-6block, so the new value should be 1.029x(100-6)/100 = 0.96726. ** Remember** to save the filament profile.

I provide two approaches to calibrating PA. Each method has its own Pros and Cons.
The line method is quick and straightforward to test. However, its accuracy highly depends on your first layer quality. Make you turn on your bed mesh for this test. Steps:
- Select the printer/filament/process you want to use for the calibration.
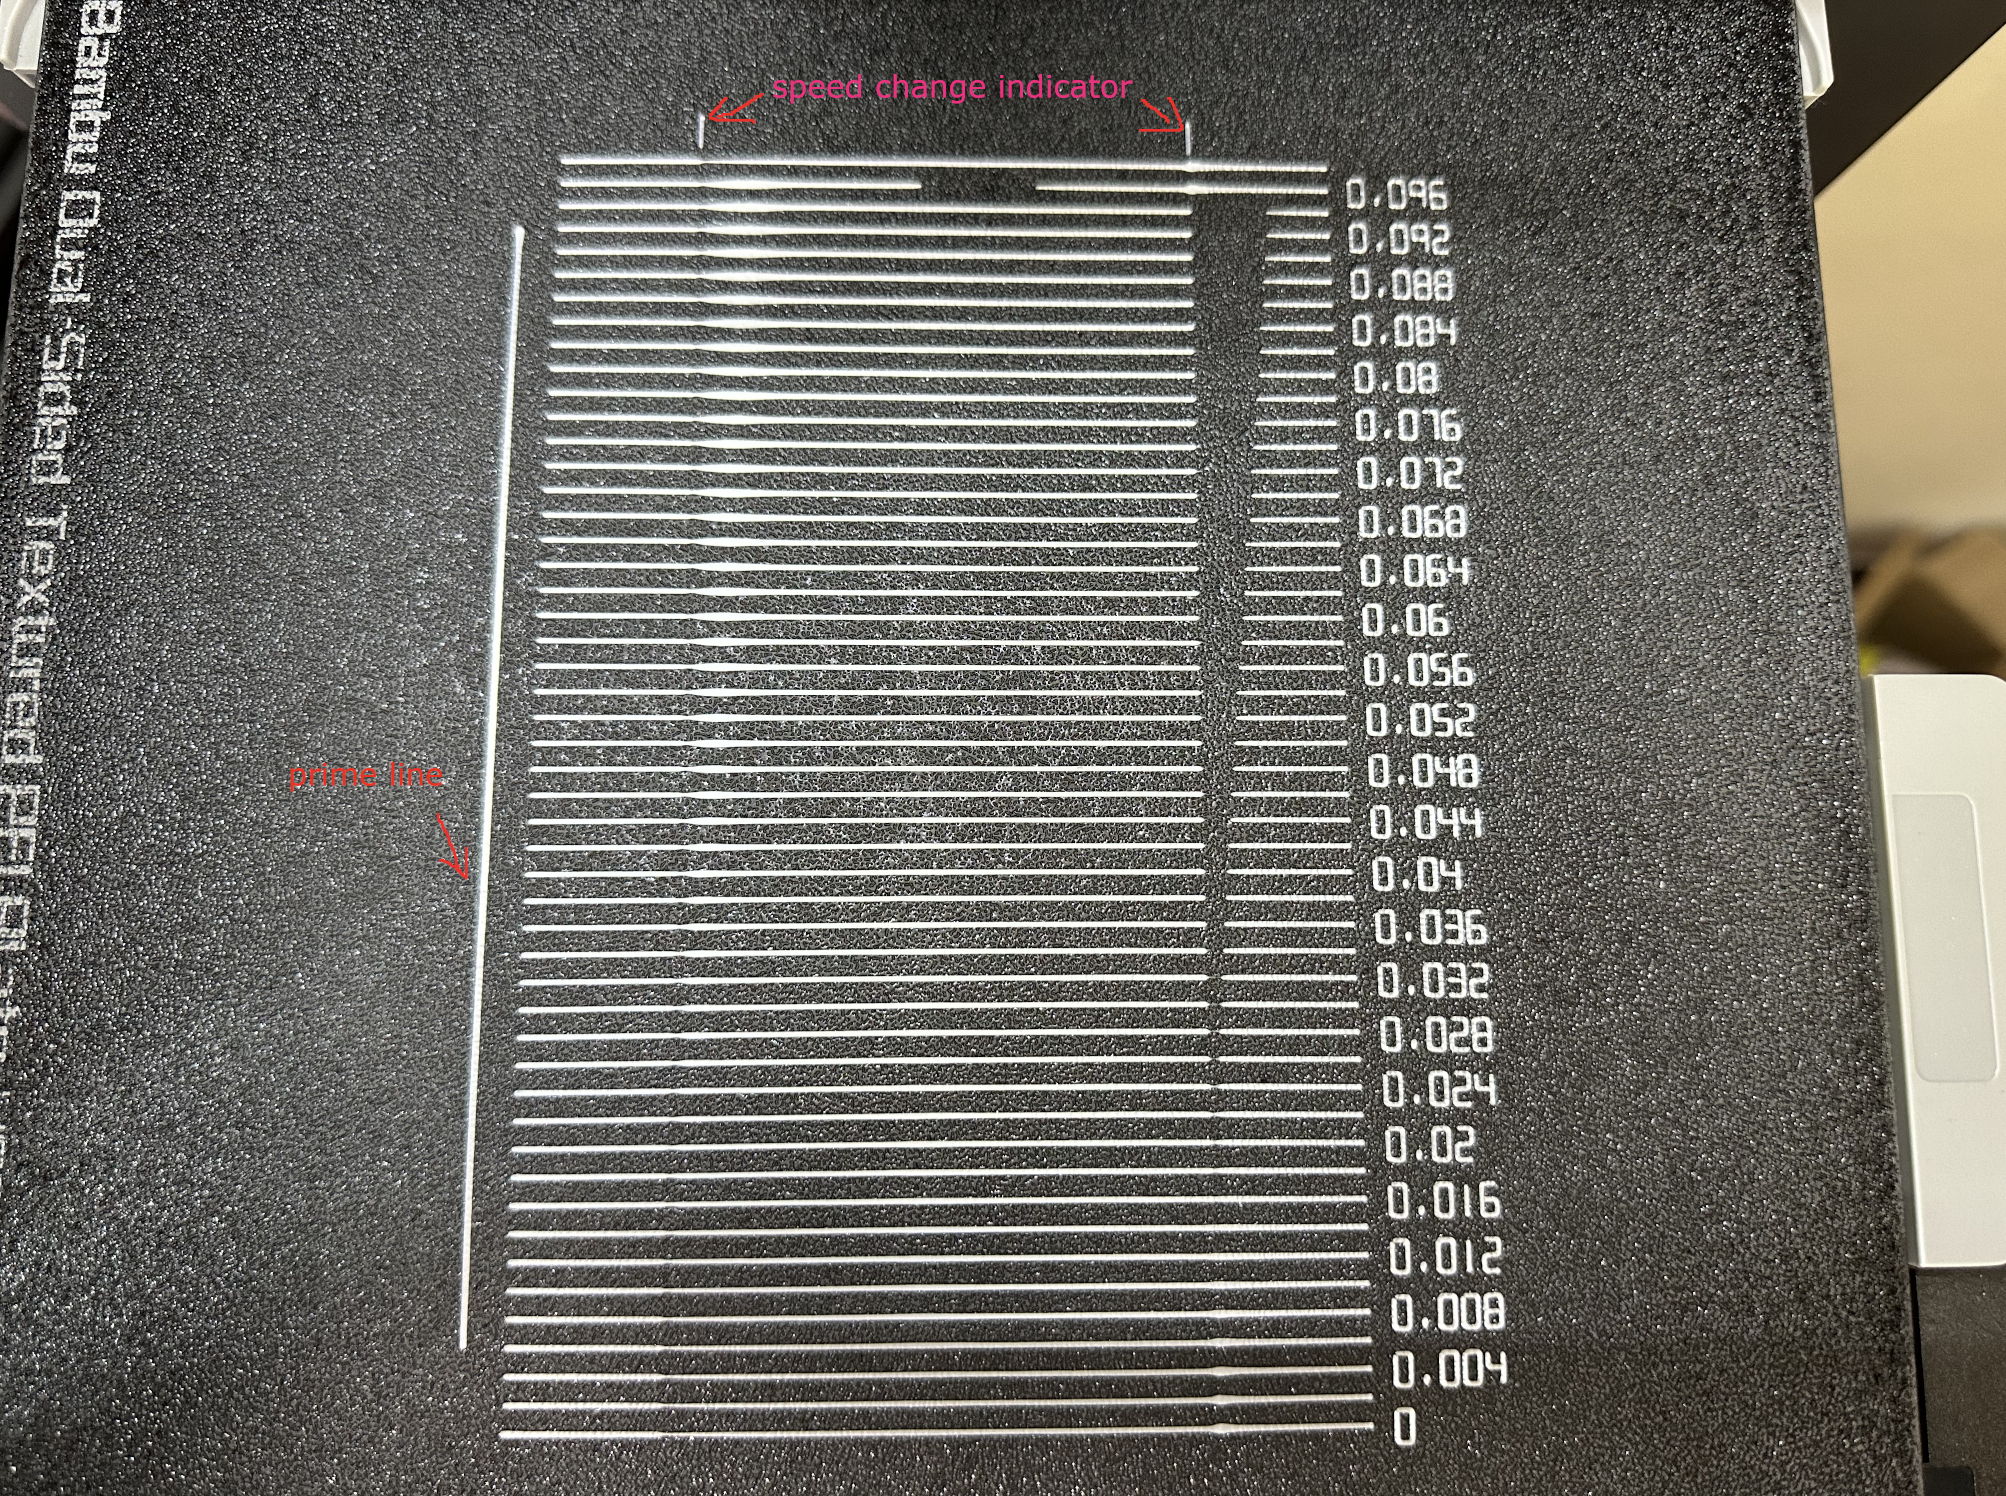
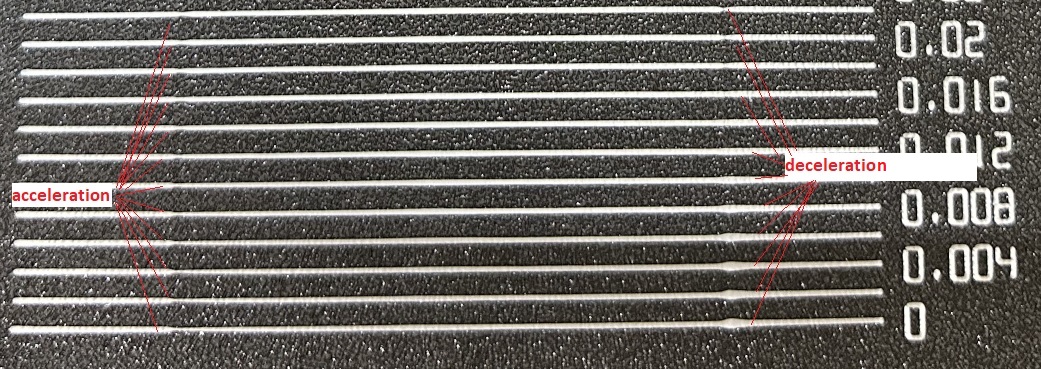
- Print and check the result. Choose the value of the most uniform line and update your PA value in the filament setting.
- In this test,
0.016looks optimal.