How to import datasets
In this section you will be able to learn how to import datasets into PACOM. Basically a dataset in PACOM will come for a single input data file that is processed and imported. Then, in the Comparison Project Tree, the individual datasets can be combined and grouped in different levels.
PACOM offers a unique interface to import a single or multiple datasets.
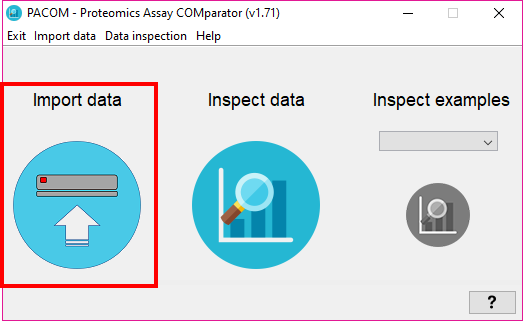
From the first window of the tool, either:
- Go to the menu 'Import data' -> 'Go to import data' (ALT+E), or
- Click on 'Import data' round button.
By selecting 'Import data' you will see the following window:
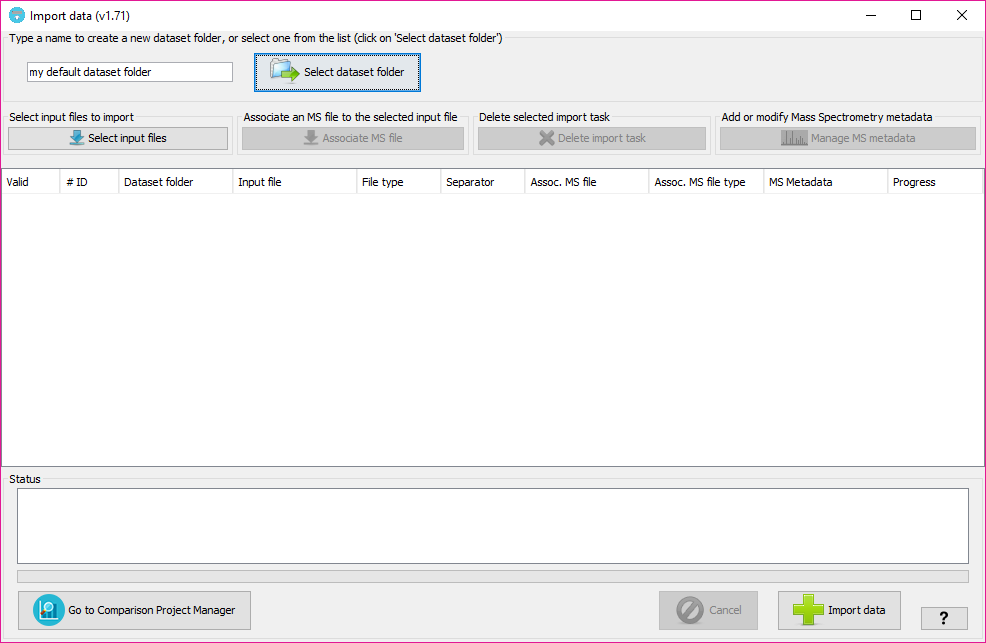
In that window, you will have to:
This will determine the internal forlder in which your datasets will be organized. Then, at the Comparison Project Tree creation, you will see the imported datasets organized by folders.
By clicking on the 'Sekect dataset folder' you will see all the dataset folders already available at the tool. Note: The dataset folders will be create at 'user_data/local_datasets' folder.
By clicking on the 'Select input files' button, you will be able to select one or more input data files. The following input data formats are currently supported: mzIdentML files (both v1.1.0 and v1.2.0 versions), PRIDE XML files, DTASelect output files, XTandem XML output file, pepXML files and Table text files (see table text specification below.
In order to subsequently export a PRIDE XML file containing spectra and MS metadata you can associate each of the input data files with mass spectrometry files (either mgf or mzML formats).
In order to do that, after adding at least one input file, click on 'Associate MS file' button (or double click on the column 'Assoc MS file' of the corresponding input file) and select the MS file from your file system. Then, you will have to specify its format in the corresponding cell of the 'Assoc MS file type' column.
Then, you will have to also associate some extra metadata about the mass spectrometry process, by selecting or creating a new MS Metadata template. To edit or create new MS Metadata templates, click on 'Manage MS metadata' button.
Note: The associated MS file would be the corresponding mgf or mzML that was use to search the data in the search engine. The idea is that in a well formed PRIDE XML file, the PSMs will be linked to the corresponding spectra and so, the references to the spectra found in the input file will have to match the spectrum identifiers found in the MS file. Note '': You willl be able to create a PRIDE XML without spectra in any case, wether you associate an MS file or not in this stage.
Once input files have been selected and target project has been selected or typed (for new ones), the user can run the data import process by clicking on 'Import data' button. If some MS metadata template is selected for the import process, the tool will show a window indicating which MS information will be used. If some information is missing, it will appear on red font (as we explained before).
At the end of the process, if everything went well, the new datasets will be imported and the tool will ask the user if wants to open the new file location with the system explorer:
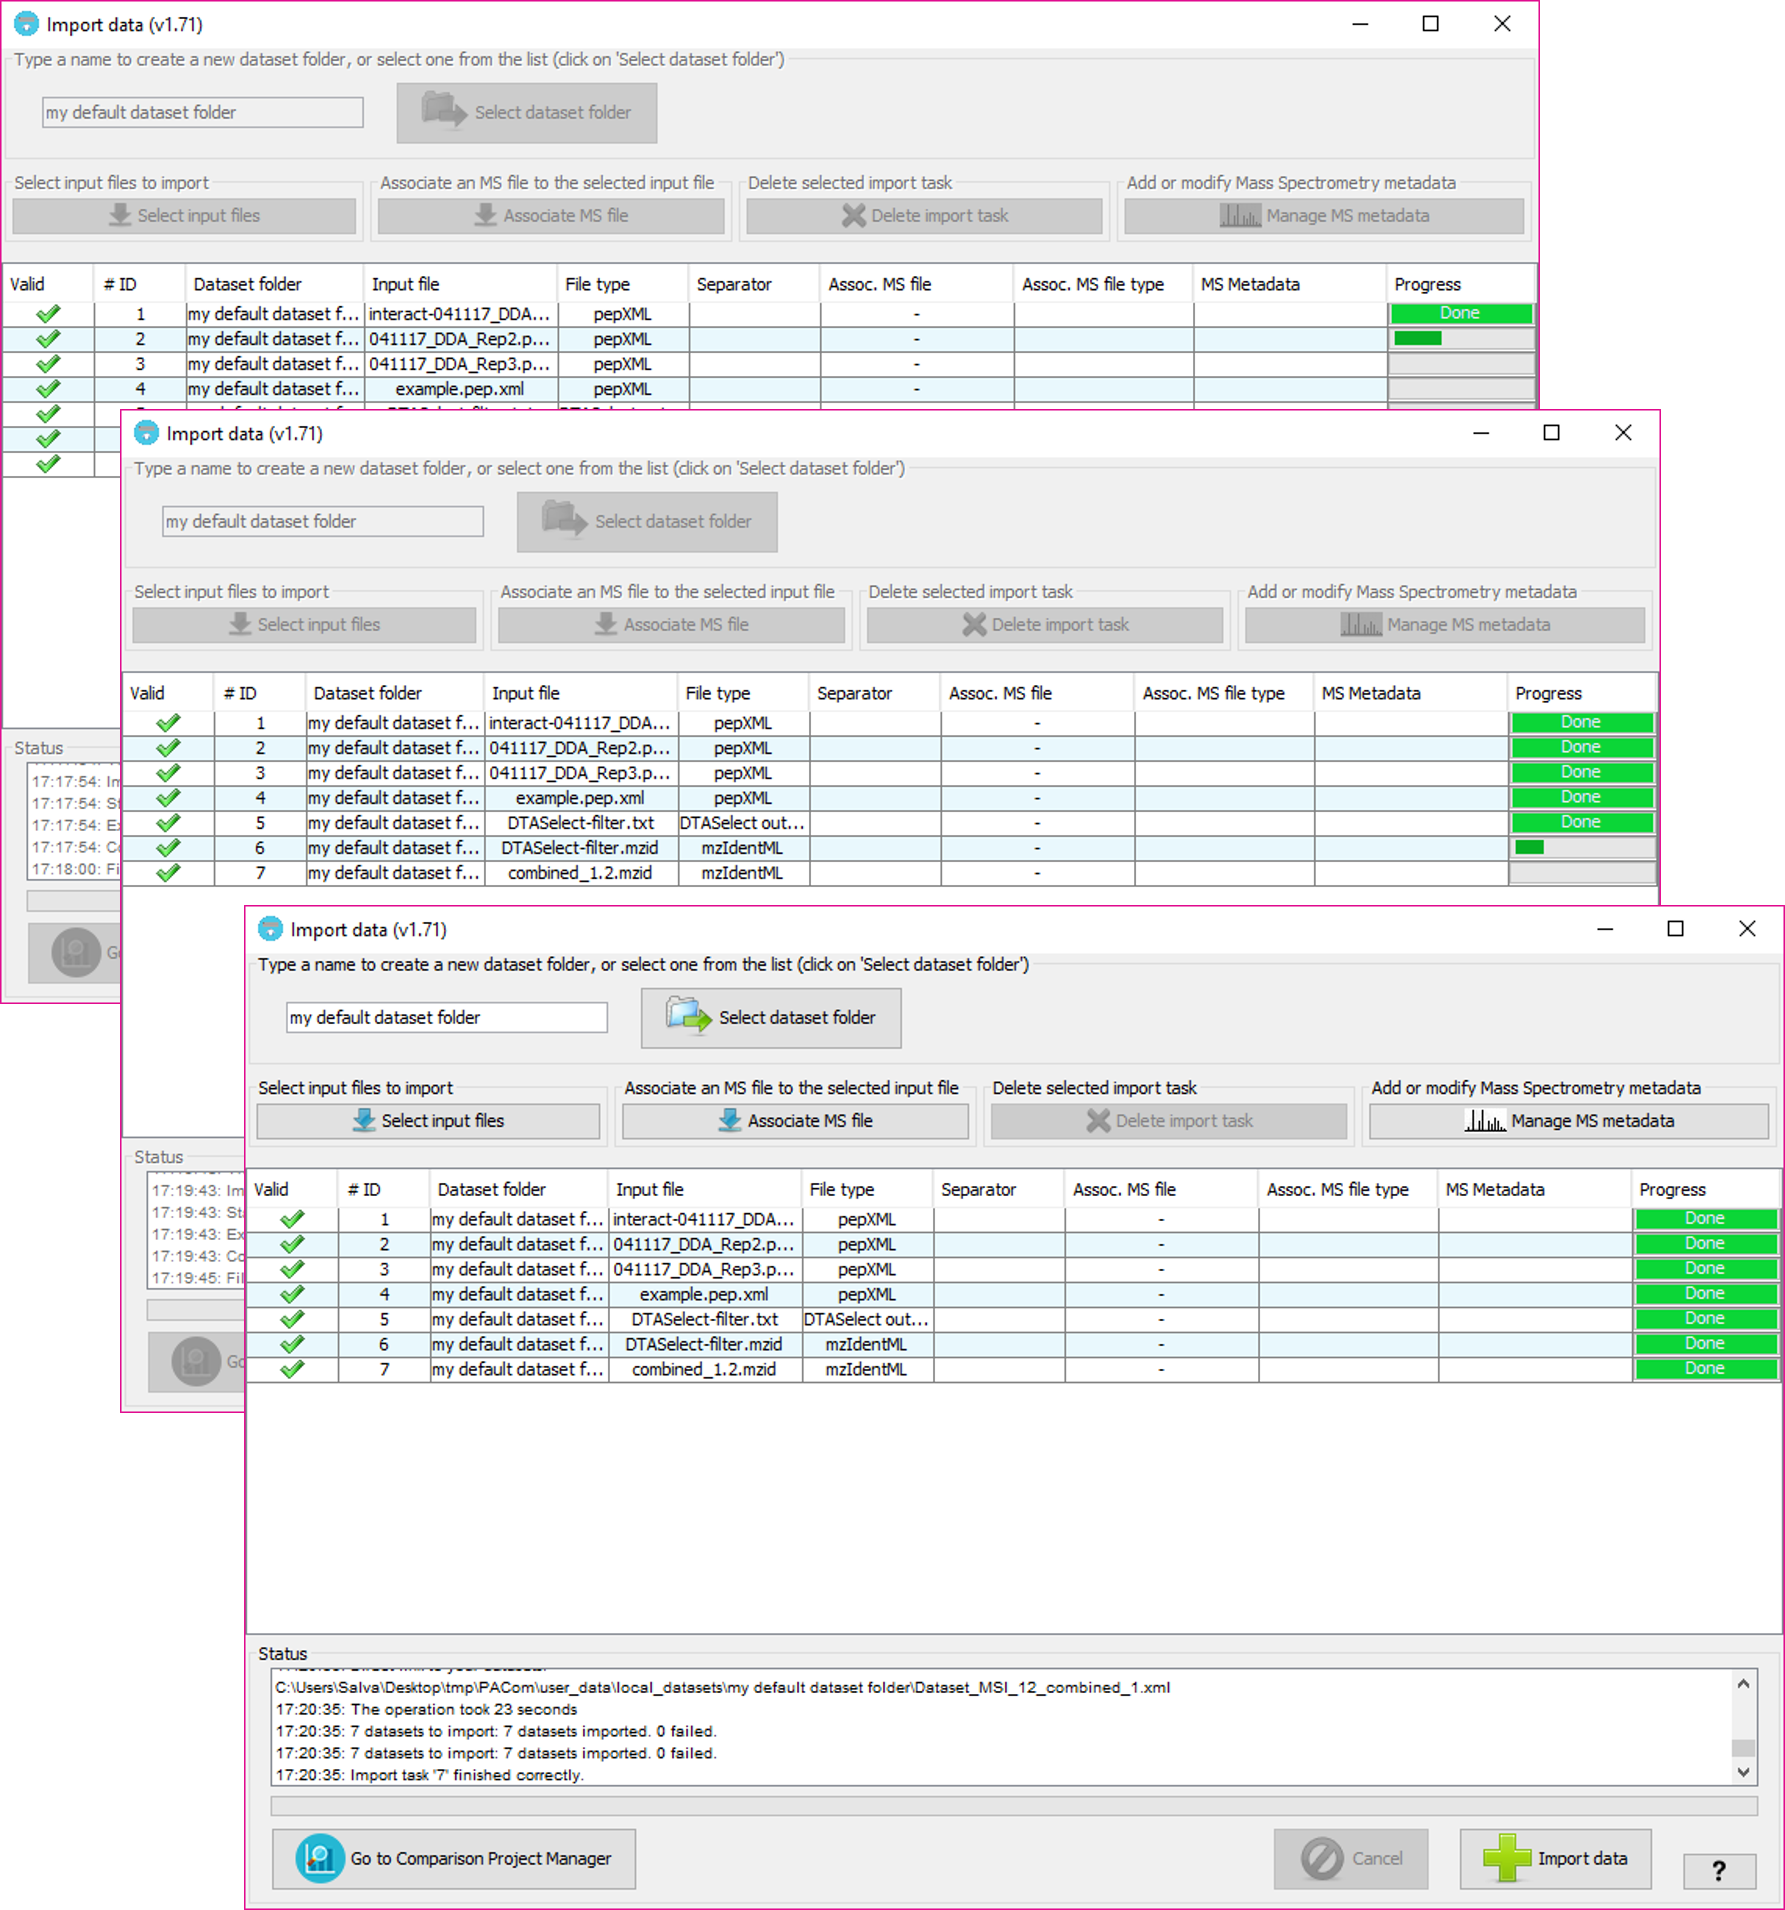
Note: Depending on the file size, it will take more time to parse it and import it. However it shouldn't be too much.
Batch import mode will allow you to import multiple datasets at once, which is specially useful when having a lot of different experiments and different replicates so you don't want to select the file and click on import for every single dataset.
By selecting 'Batch Import data' you will see the following window:

In that window, you will have to select a batch file. A batch file is a text tab-separated file that defines importing jobs, that will be serially executed.
The batch file is a very simple text file with certain keywords for defining the information that is needed for importing a dataset into PACOM. A full explanation of the syntax of the batch file is also available in PACOM by clicking on the big question mark.
The available keywords are:
- START: Defines the beginning of an importing job. It is followed by a number, as identifier of the job.
- PROJECT: Defines the name of the project in which the dataset will be stored. It is followed by the name of the project. Remember that the project is just a way to organize the imported datasets. A folder with that name will be created under the folder 'user_data/local_datasets/'. This keyword is mandatory per impor job.
- One of the following Input types: MZIDENTML, MZML, DTASELECT, XTANDEM, PRIDE, PEPXML, MGF, followed by the FULL path of the input file or a relative path to the application folder. At least one of this keywords is mandatory per impor job.
- METADATA: Defines the name of the MS metadata template to use in the importing job. It is followed by the name of the metadata template. This keyword is optional.
- END: Defines the end of an importing job.
Note: Each keyword is specified in a new line. Note 2: The keywords and the values are separated by a TAB . That is the most common issue that makes a batch import file to not be valid. Since spaces are allowed in the names, the user MUST use TAB for separating the keyword and the value. Note 3: Any line starting by ' # ' symbol will be ignored.
Simpler example for importing 3 DTASelect files":
START	1
DTASELECT	Z:\path_to_dtaselect
PROJECT	my_project
END

START	2
DTASELECT	Z:\path_to_dtaselect2
PROJECT	my_project
END

START	3
DTASELECT	Z:\path_to_dtaselect3
PROJECT	my_project
END
Example for importing 2 mzIdentML files together with the MGF files used in the search that generated them plus some mass spectrometry metadata previously created as described above:
START	1
MGF	c:\path_to_MGF_1.mgf
MZIDENTML	c:\path_to_mzIdentml_1.mzident.xml
PROJECT	project_name
METADATA	miape_ms_metadata_template_name
END

START	2
MGF	c:\path_to_MGF_2.mgf
MZIDENTML	c:\path_to_mzIdentml_2.mzident.xml
PROJECT	project_name
METADATA	miape_ms_metadata_template_name
END
Once you have your batch import file you can load it in the tool and it will be validated.
Try the file 'Batch_Import_example_input_files.txt' that is included in the package that will load fours different example files!!
If everything is ok, you will see a queue of dataset import jobs as:

Then you can start all jobs at once by clicking on 'Start batch import' button or just start the individual jobs you want by clicking on the individual 'start' button. By clicking on 'Start batch import' button, the first importing job in the queue will start:

After finishing it, the second will automatically start.

Until the last job is finished:

Once any job is finished, you will have some buttons to go to the generated datasets files:

Note: the MS dataset button will be only enabled if you created a MS dataset with that job.
In case of the table text files, they will be plain text files in which the values are separated by a separator (TAB, COMMA, SEMICOLON or COLON). You will have to specify the separator from the corresponding column in the table of import tasks. The input file will have several columns and they can be in any order, but they must have certain predefined headers in order to be recognized.