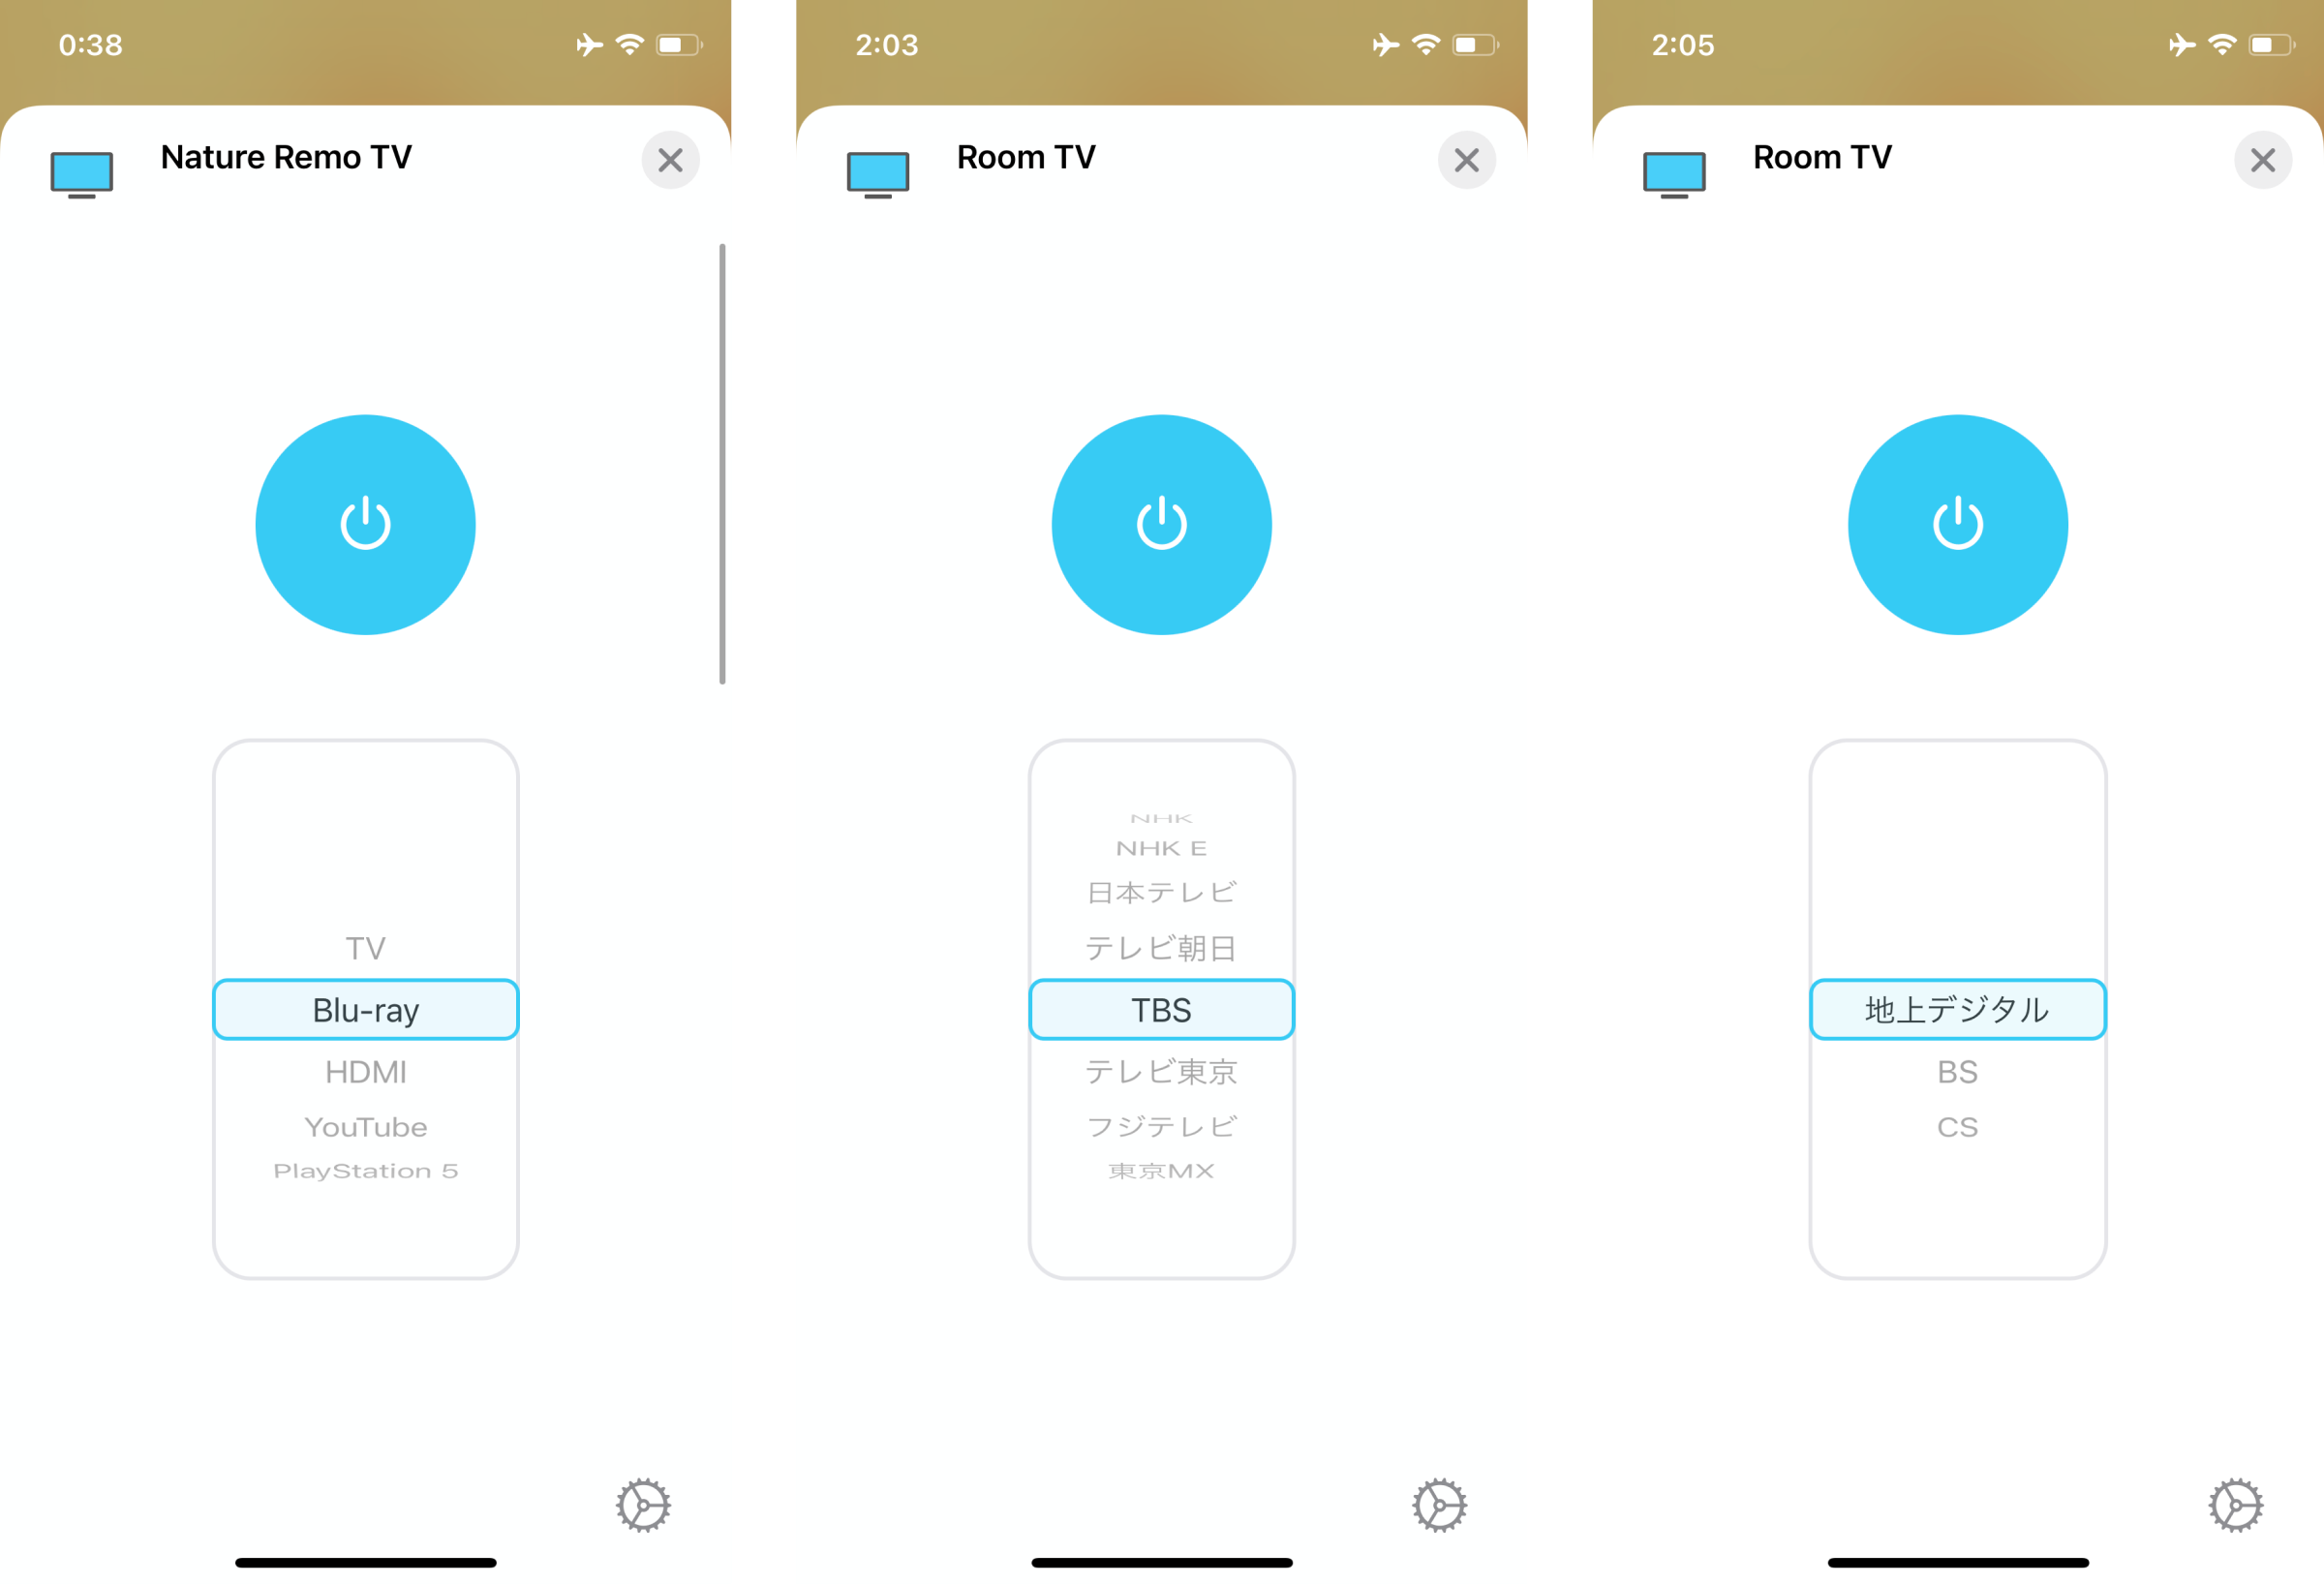
Go to the "Plugins" tab in config-ui-x and search for homebridge-nature-remo-tv-remote, or use the following command to install it.
npm i -g homebridge-nature-remo-tv-remoteIssue at https://home.nature.global/
Open a terminal and execute the following command.
In ${access-token}, put the token you got in step 1.
curl -X GET "https://api.nature.global/1/appliances" -H "Authorization: Bearer ${access-token}" > appliance_id.jsonOpen the saved appliance_id.json and check the Appliance ID.
{
  {
    "id": "xxxxxxxx-xxxx-xxxx-xxxx-xxxxxxxxxx", // <- **Appliance ID**
    "device": {...},
    "model": null,
    "type": "TV",
    "nickname": "テレビ", // <- Names registered in NatureRemo
    "image": "ico_tv",
    "settings": null,
    "aircon": null,
    "signals": [...],
    "tv": { ... }
  },
  ...
}Using config-ui-x, you can easily add a configuration.
Open the "homebridge-nature-remo-tv-remote" configuration from the "Plugins" tab, and enter the access token and Appliance ID obtained in steps 1 and 2.
After pressing "Save", restart homebridge.
Even if you have already added homebridge as a bridge, you will need to add a new one.
- Open the Home App
- Type + in the top right corner to add a device
- Then click on Don't Have a Code or Can't scan?
- The found TV should appear under Nearby Accessories ... click on it
- Use the pin that you configured under config > bridge > pin or check the config-ui-x
Example button name
| button name | detail |
|---|---|
power |
TV Power |
input-terrestrial |
Select Terrestrial |
input-bs |
Select BS |
input-cs |
Select CS |
ch-1 |
Select 1 channel |
ch-2 |
Select 2 channel |
ch-3 |
Select 3 channel |
ch-4 |
Select 4 channel |
ch-5 |
Select 5 channel |
ch-6 |
Select 6 channel |
ch-7 |
Select 7 channel |
ch-8 |
Select 8 channel |
ch-9 |
Select 9 channel |
ch-10 |
Select 10 channel |
ch-11 |
Select 11 channel |
ch-12 |
Select 12 channel |
ch-up |
Next channnel |
ch-down |
Previous channel |
back |
Back button |
ok |
OK/Select button |
vol-up |
Volume up |
vol-down |
Volume down |
In addition, there are various other buttons.
You can check the list of buttons from the appliance_id.json that you got when checking the appliance ID.
{
  {
    "id": "xxxxxxxx-xxxx-xxxx-xxxx-xxxxxxxxxx",
    "device": {...},
    "model": null,
    "type": "TV",
    "nickname": "テレビ", // <- NatureRemoに登録されている名前
    "image": "ico_tv",
    "settings": null,
    "aircon": null,
    "signals": [...],
    "tv": {
      "button": [
        {
          "name": "power", // <- **button name**
          "image": "ico_io",
          "label": "TV_power"
        },
        {
          "name": "select-input-src", // <- **button name**
          "image": "ico_input",
          "label": "TV_source"
        },
        ...
      ]
    }
  },
  ...
}
Set Input Sources
Allows you to set the input source for the TV.
By setting it, you can select the input source from the Home app.

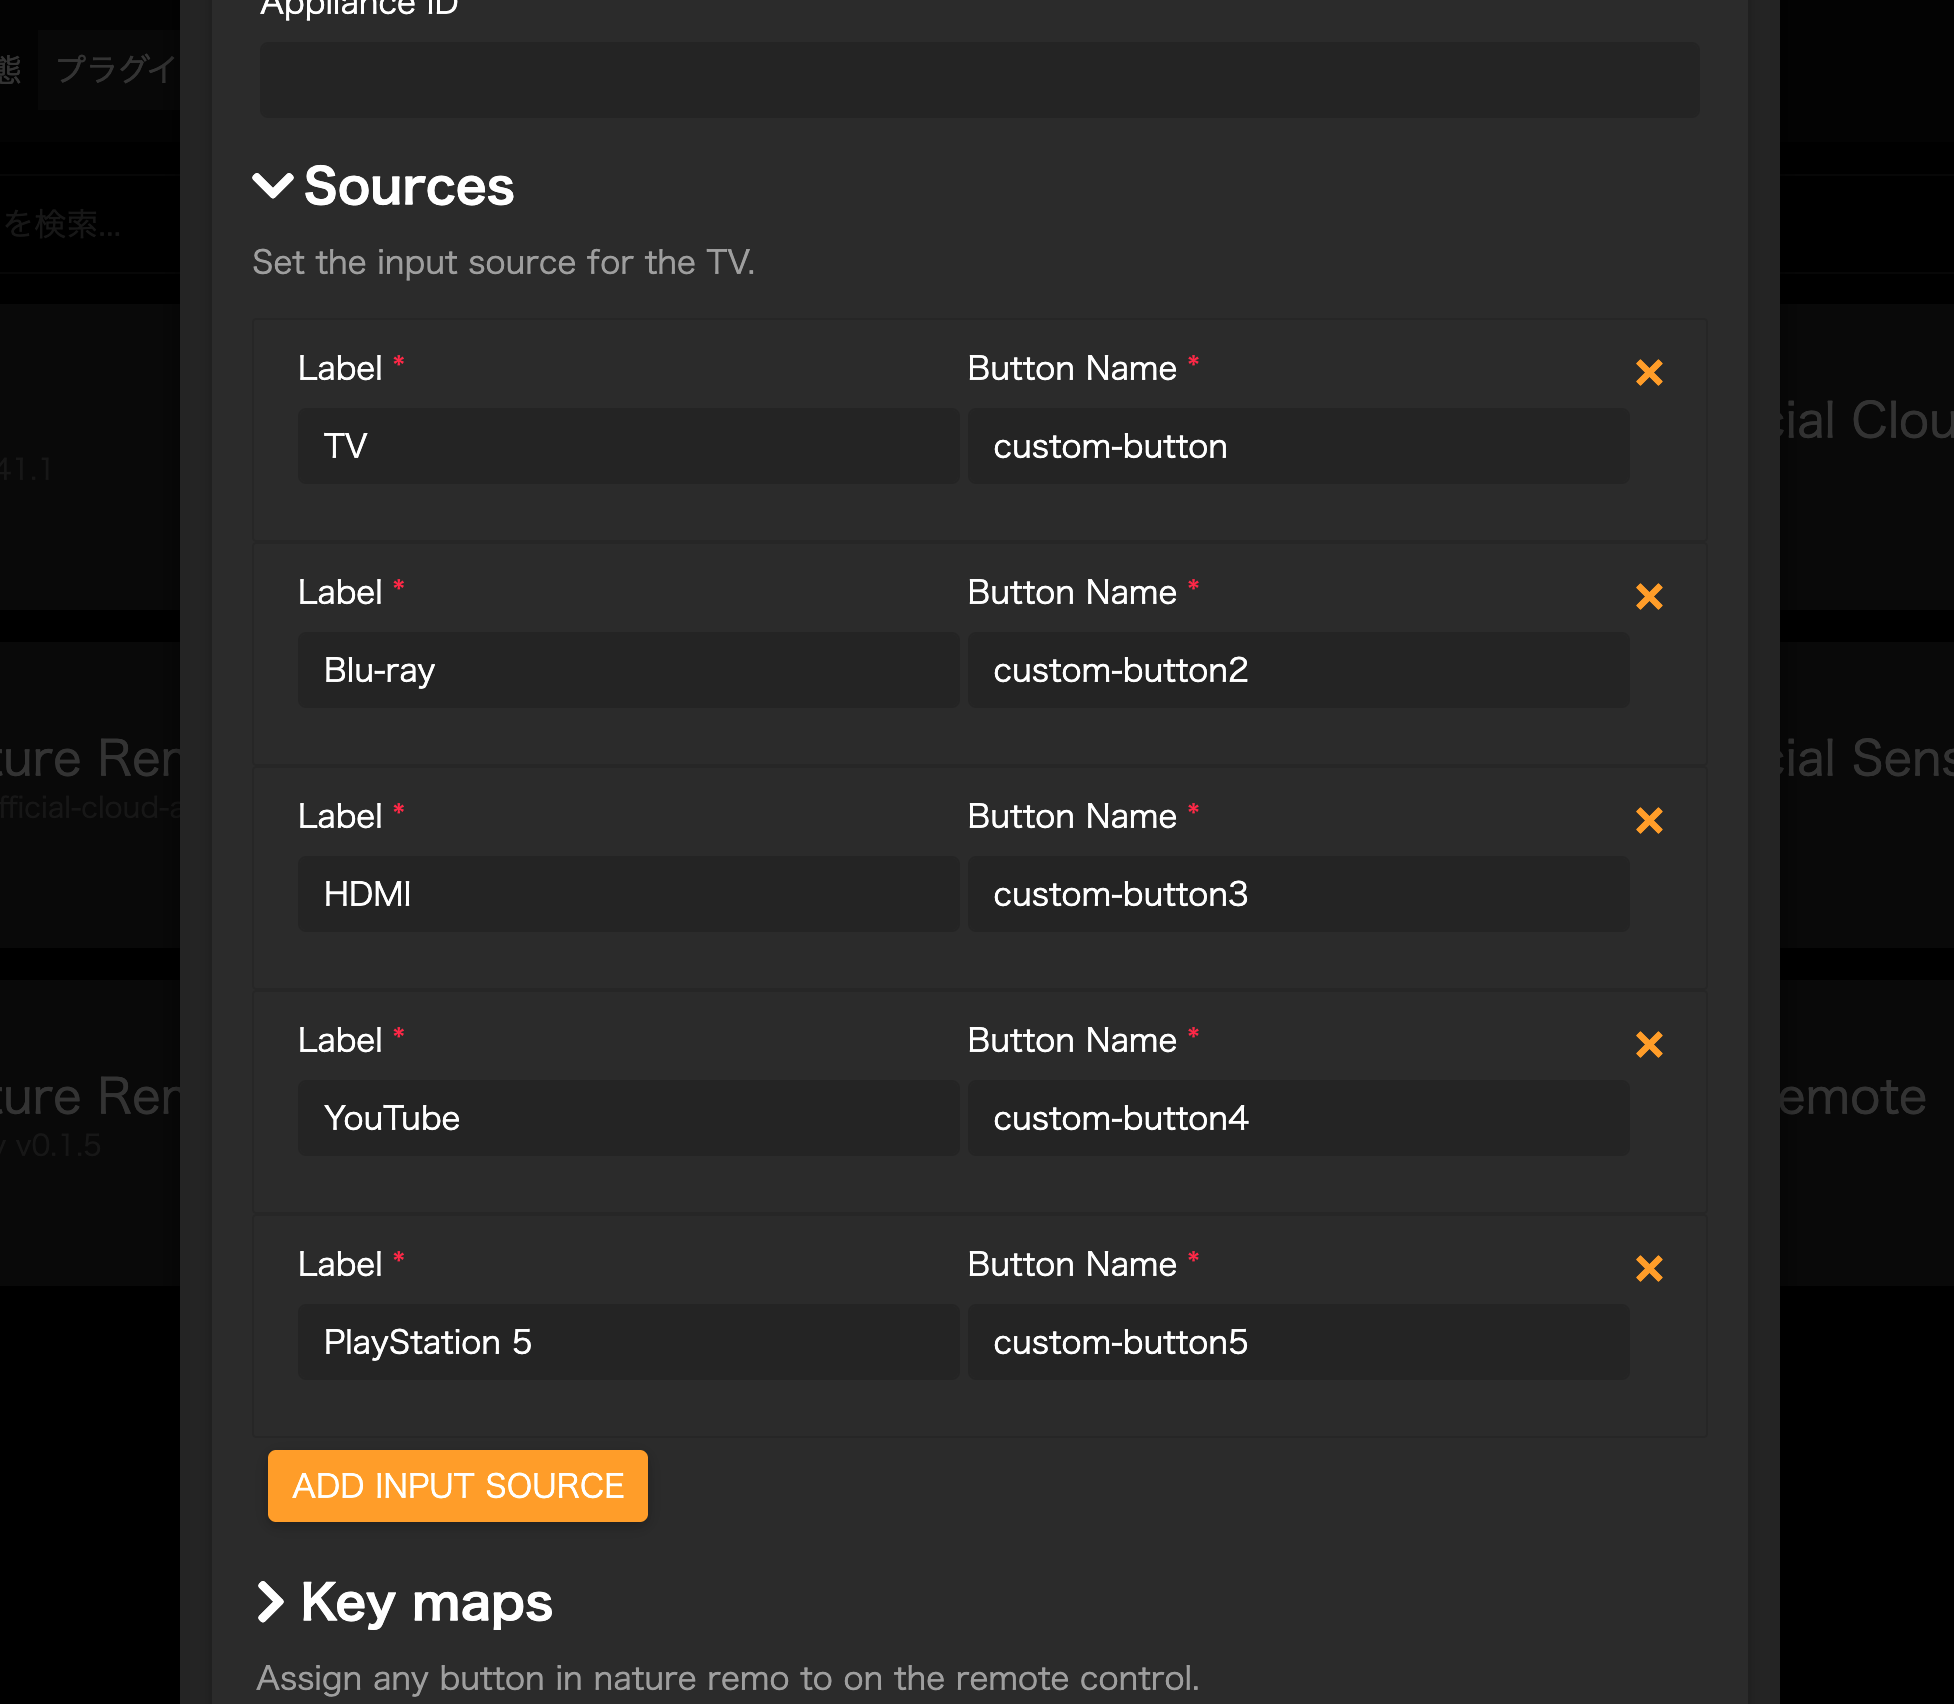
Open the plugin tab of config-ui-x and go to Settings and open Sources.
In Label, enter the label of the input source.
And Button Name, enter the name of the button you got from Nature Remo.

If you have changed the input sources, you will need to restart homebridge and re-register in home.app.
Relocate the keymap
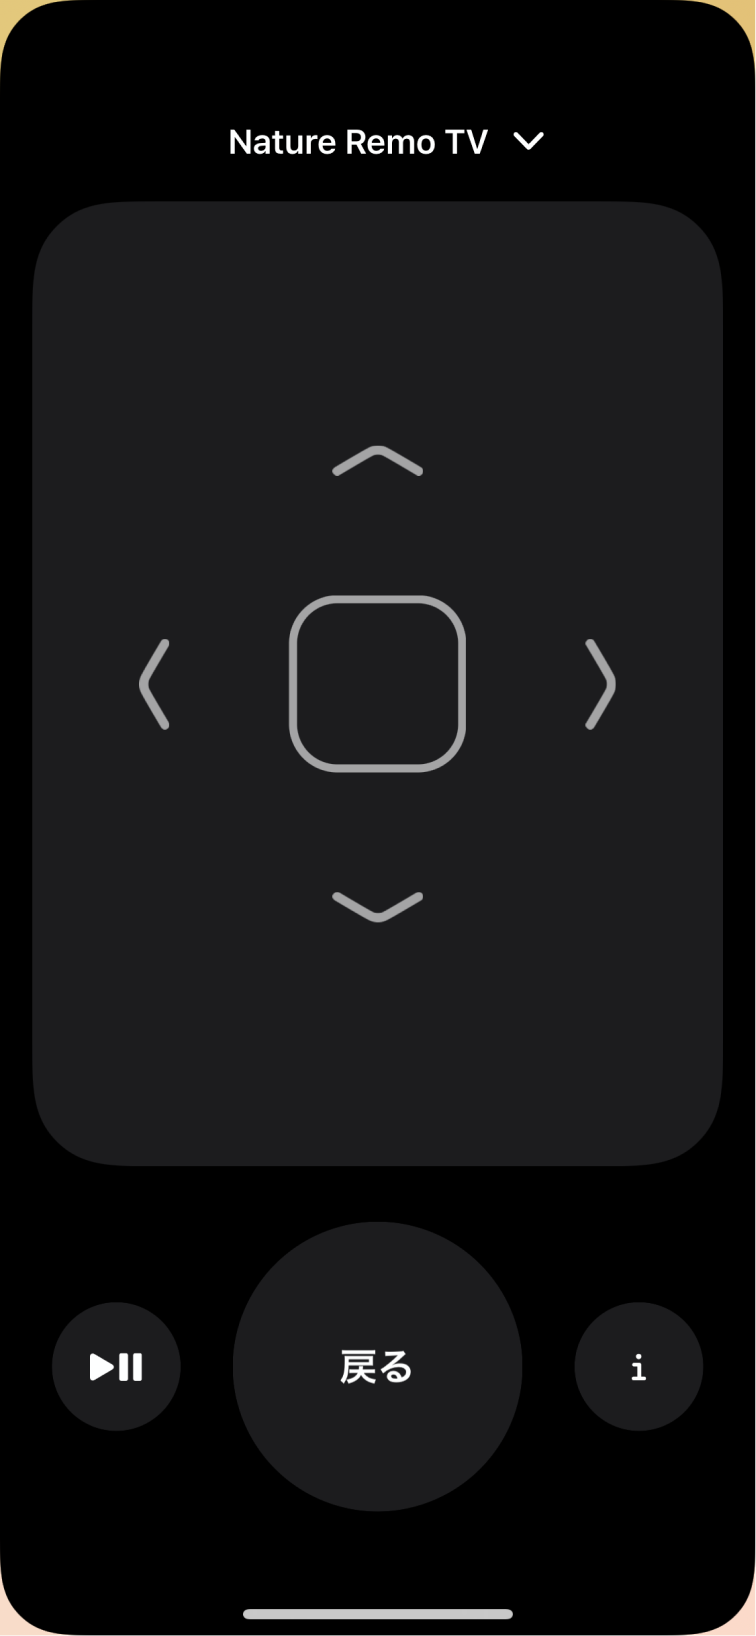
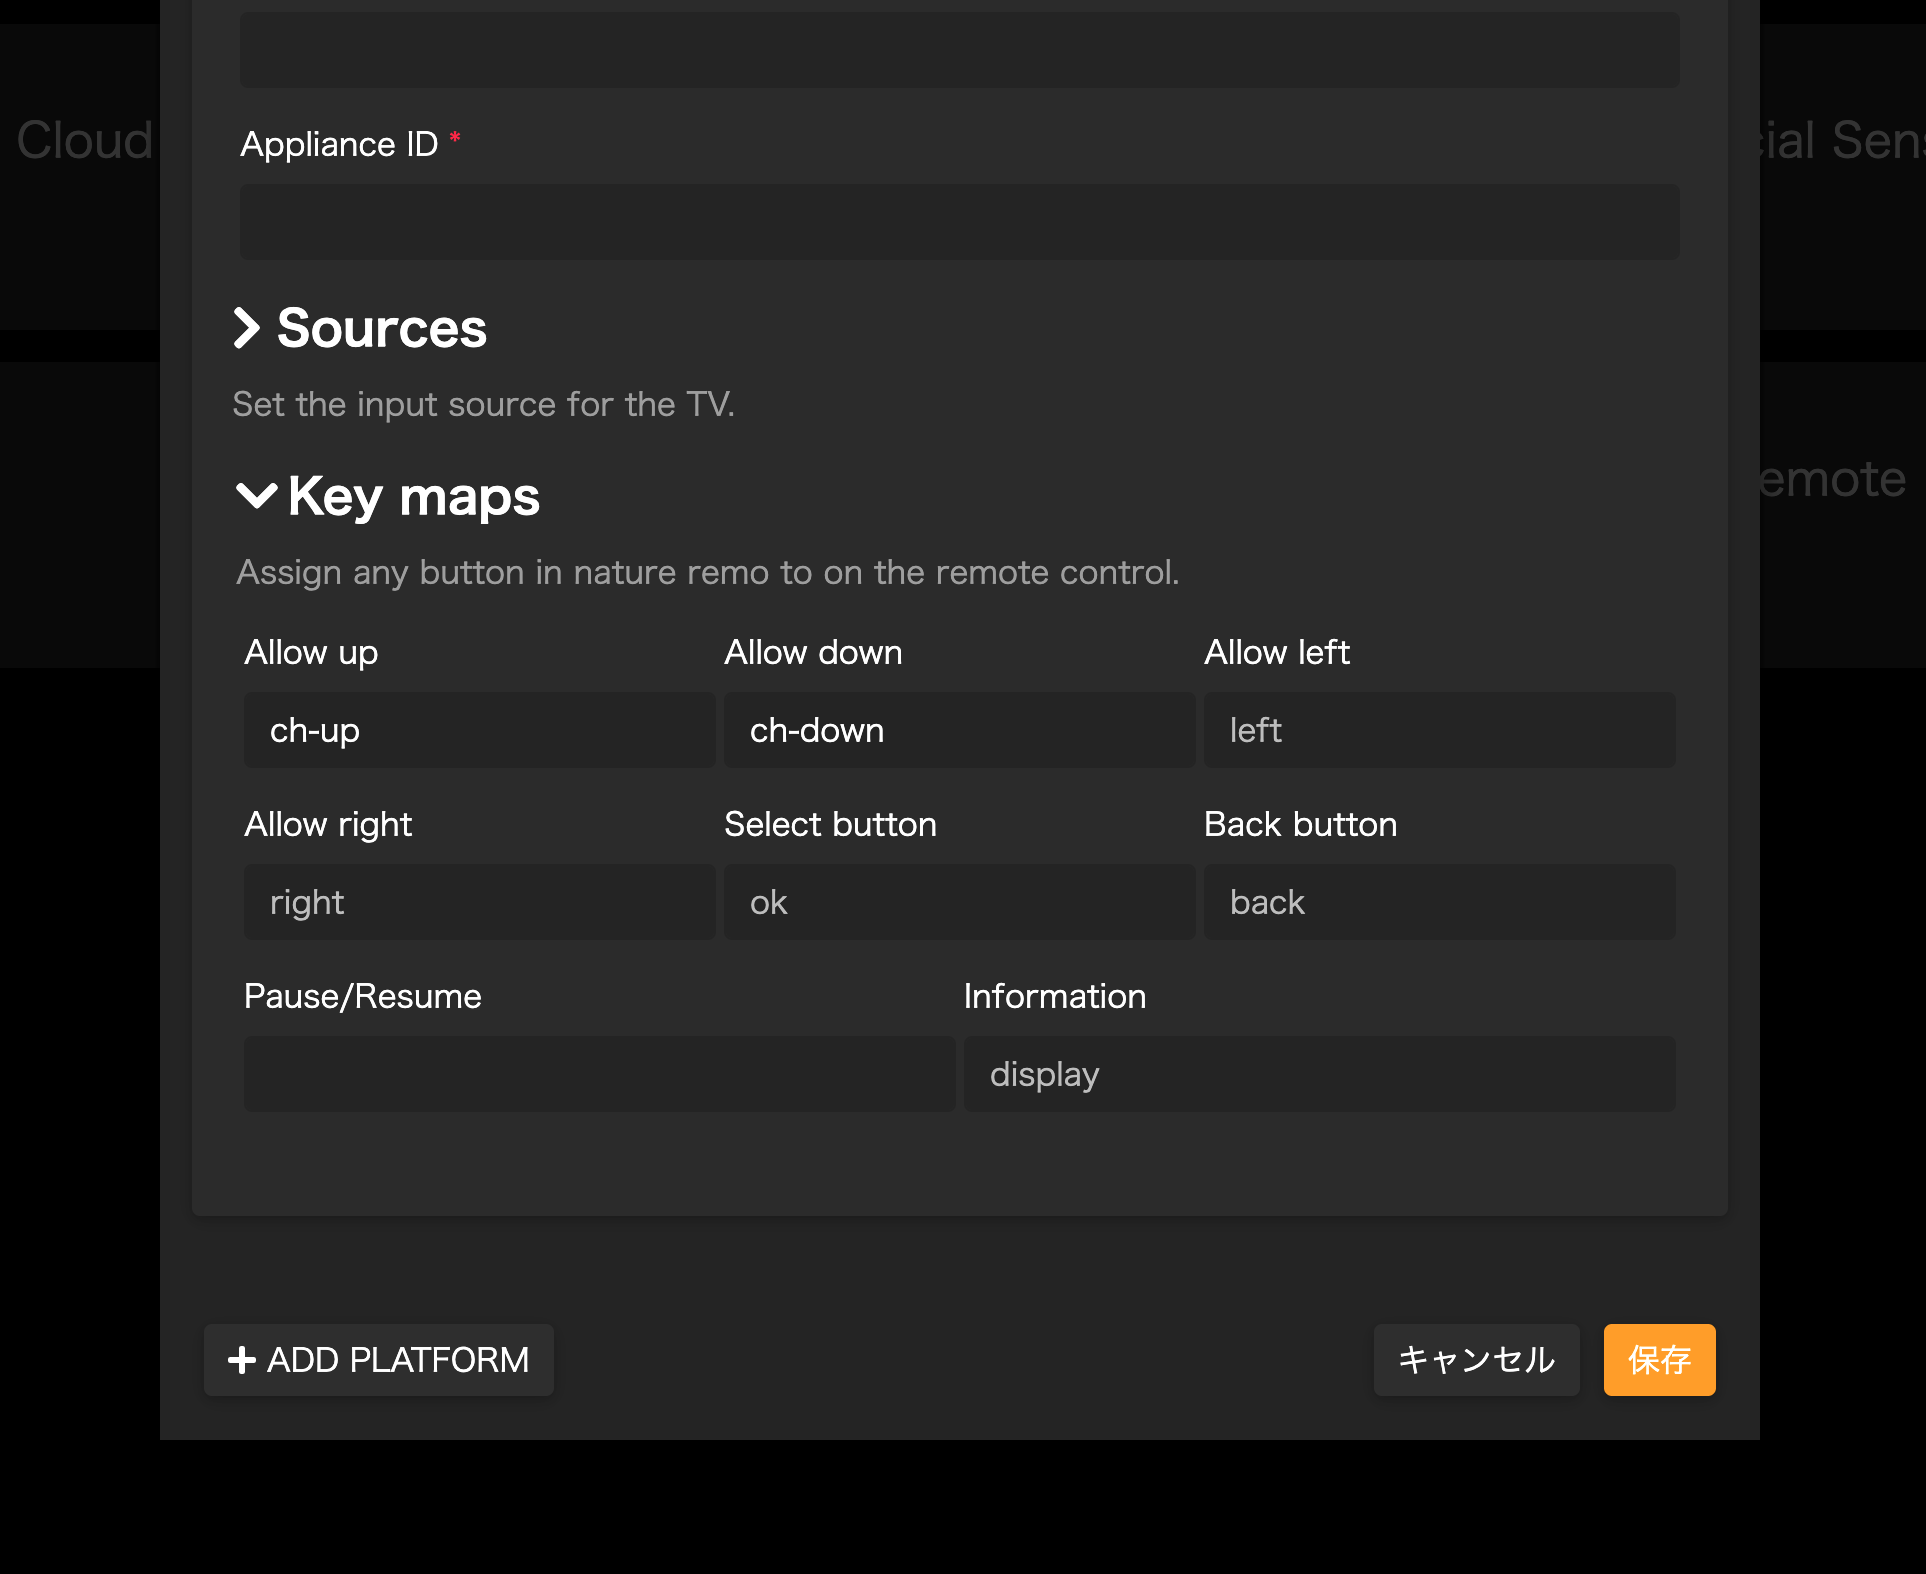
Assign any button on TV remote in the Control Center to any button.

Open the plugin tab of config-ui-x and go to Settings and open Key maps.

- Fork it (https://github.com/sskmy1024y/homebridge-nature-remo-tv-remote/fork)
- Create your feature branch (git checkout -b my-new-feature)
- Commit your changes (git commit -am 'Add some feature')
- Push to the branch (git push origin my-new-feature)
- Create a new Pull Request
The MIT License (MIT)
- Copyright (c) 2021 Sho YAMASHITA


