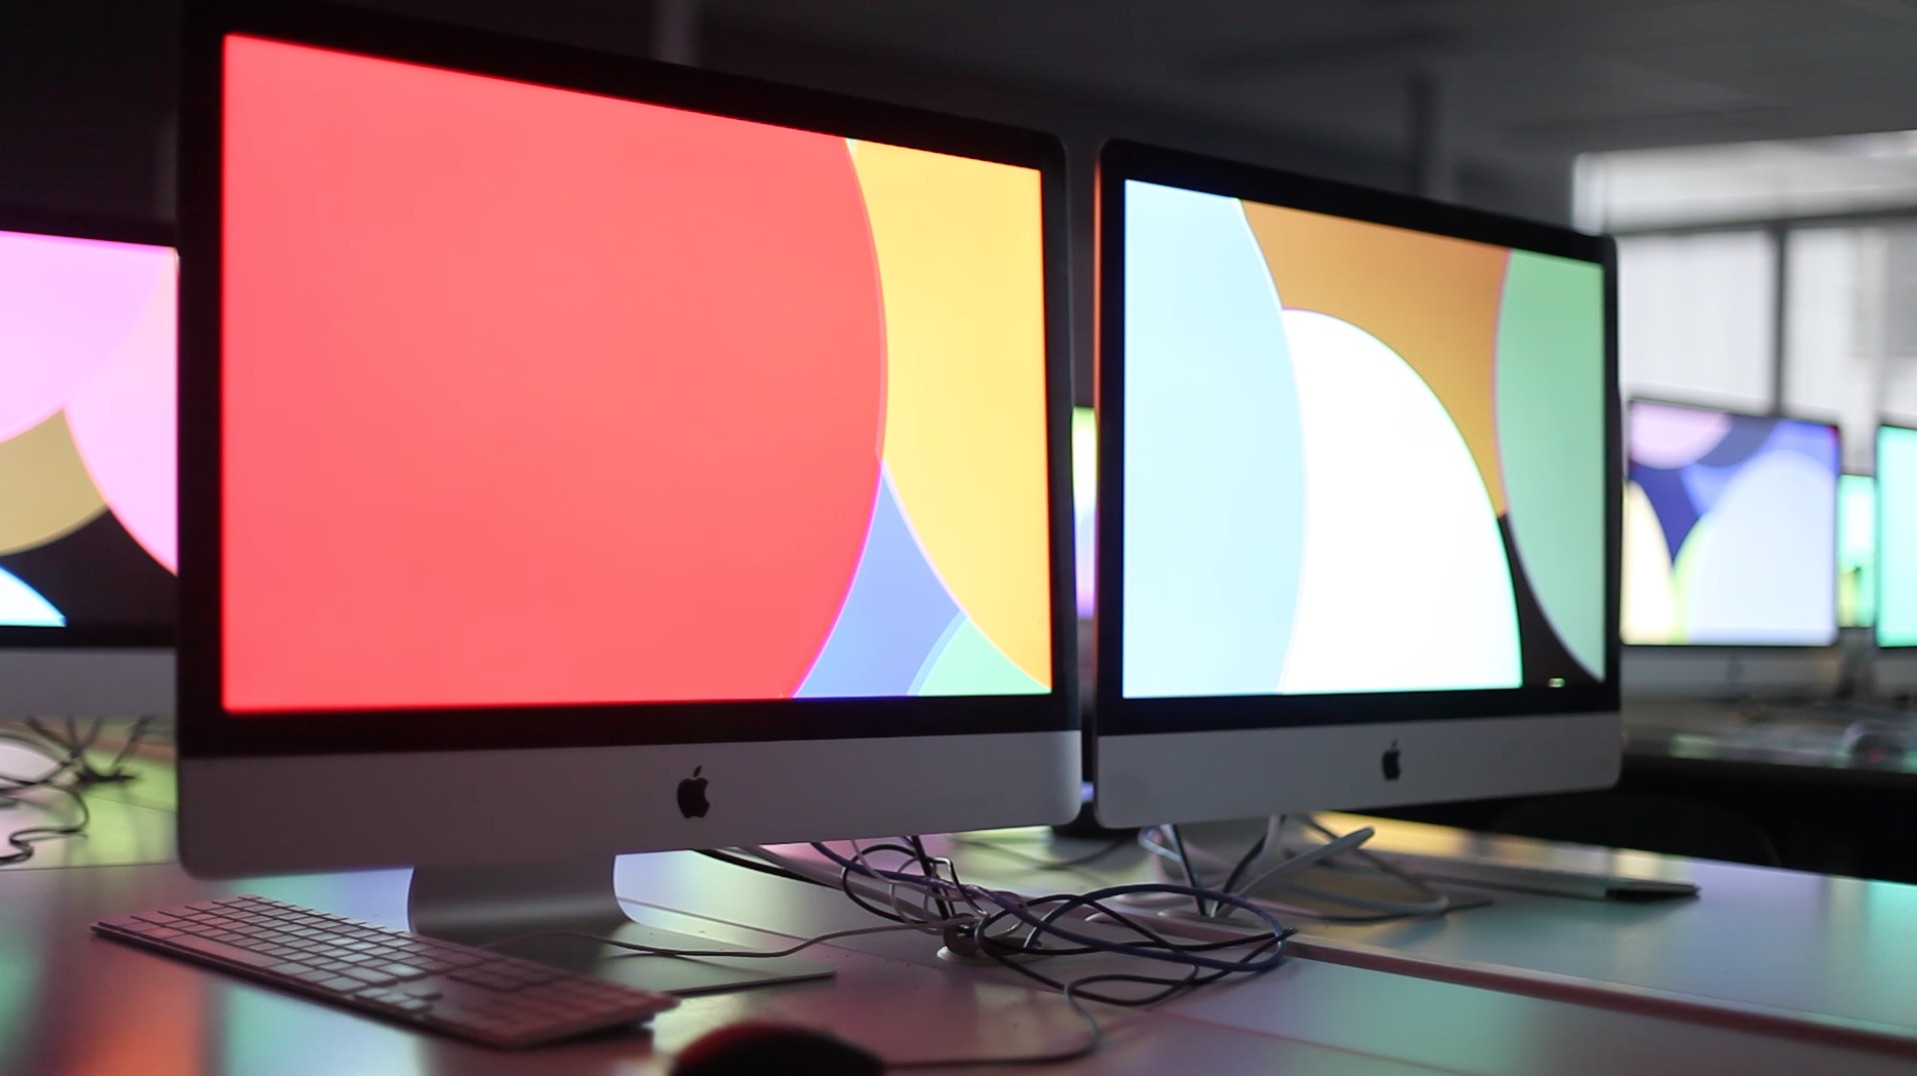
A distributed drawing thingamajig
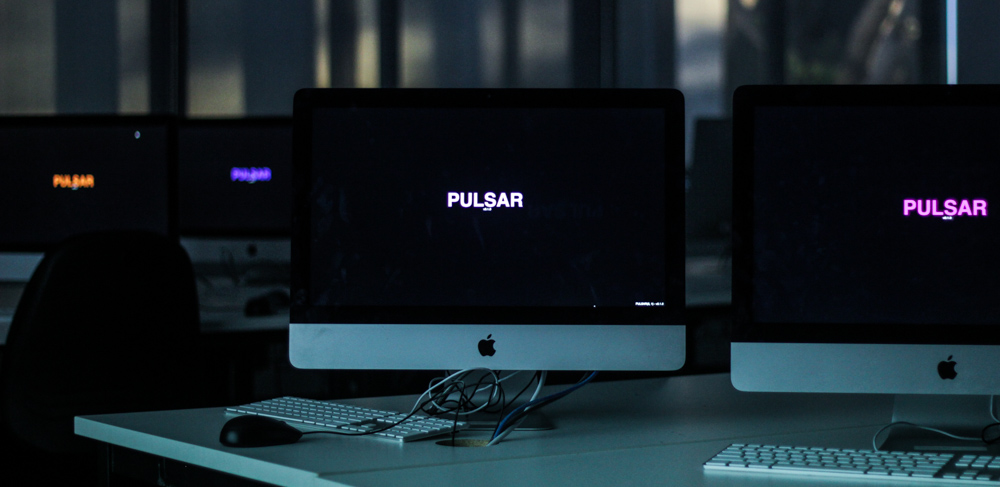
PULSAR makes a grid of screens do co-ordinated stuff. It is based on the p5 javascript drawing framework and socket.io.
The current setup is there is one nodejs based server that sends signals to connected clients and tells them what to do. It's hard to explain what this thing does, so watch this video to see what it's capable of.
Clone this repo then
npm install
npm run build
This uses webpack to bundle all the PULSAR client-side drawing code into dist/pulsar.js which is served up by the web server later. You can also do
npm run watch
to automatically build everything when you make a change
npm start
Rename config-example.json to config.json. Here you can specify the number of columns and rows in the PULSAR grid, and a relative path to an mp3 file that you can play on the server.
Point your browser to localhost:3000. You can (usually, depending on network conditions) get other computers to connect as well by navigating to the server's ip address on port 3000.
In the server terminal, press some buttons and watch as everything sorta kinda flashes in time!
If you go to the base URL as above, you will automatically be redirected to be the next screen in the grid. You can manually change which grid position a screen is at by using URL arguments. For example, if you wanted to be at grid position (2, 4) you would use the URL
localhost:3000/?col=2&row=4
To record your keypresses, press } to start recording and { when you are finished to write out the keypresses to PULSARLOG.json. To play them back, press ] to load PULSARLOG.json and [ to start playing.
Press F8 to play the song specified in config.json. This cheats by using command line utilities. If you're on Windows, download MPlayer and playe mplayer.exe in this folder.
Press ctrl-c to kill the server.
Making your own drawings is a bit like making a p5.js/Processing sketch. There is a setup function (called when the drawing is activated initially), and a draw function (called every frame). Additionally, PULSAR drawings expose another function that indicate whether or not they have finished drawing, allowing the whole drawing to be garbage collected.
To make your own drawings, you need to build an object with prototype like this:
// This prototype must be saved at src/pulses/name-of-drawing.js
var Drawing = function (p5, pulse, config) {
  this.pulse = pulse;
  // The pulse object contains information to customise the drawing.
  // You should mere it with some defaults
  // This drawing will only be used if pulse.name === name-of-drawing
  // Do your setup stuff here. For example, set up a frame counter to
  // track how many frames this has been run for.
  this.framesLeft = 50;
};
Drawing.prototype.draw = function (p5) {
  // This function is called every frame.
  // Do all your frame by frame drawing using the p5 object here.
  // If you wanted to draw a rectangle in the middle of the screen
  // you would do the following:
  p5.rect(p5.windowWidth/2, p5.windowHeight/2, 50, 50);
  this.framesLeft--;
};
Drawing.prototype.done = function () {
  // Return true if this drawing is finished. It will then be cleaned up by
  // the drawing manager. Otherwise return false if you want to keep drawing frames
  if (this.framesLeft <= 0) {
    return true;
  } else {
    return false;
  }
}
module.exports = Drawing;
If you want your drawing to be updatable, add an update function. Usually you would merge the original pulse object that created the drawing with the update pulse. PULSAR provides a function on the p5 object to do this easily.
Drawing.prototype.update = function (p5, pulse, config) {
  p5.pulsar.merge(this.pulse, pulse);
}
Place your drawing in the src/pulses/ directory.
Then, to have the drawing activated on client machines, get lib/transmitter/key-processor.js to emit a pulsar io event when you press a key on the keyboard.
io.emit('pulse', {
  name: 'name-of-drawing',
  // Other configuration options here.
  // This whole object is passed to the
  // drawing constructor
});