-
Notifications
You must be signed in to change notification settings - Fork 12
c1 Project Setup

Anything that can be coded and wrapped in an Ivy project can be offered as market product. To distribute it in a safe and effective way, the product must be provided to be usable in a Maven-compatible workspace. The code, its build infrastructure and the target repository are made available (free of charge) on Github.
A good example of how a market product needs to be set up is the Adobe Acrobat connector. You can refer to this connector if you're unsure about implementing your product.
ℹ️ Info: For connectors use native REST API. Only use SDK if it provides more features or is a lot easier to implement and is less than 50 MB
The following steps will help you to create your market product.
- Login to github.com or create a new account if you do not have one yet.
- Create your own product repository by copying our template.
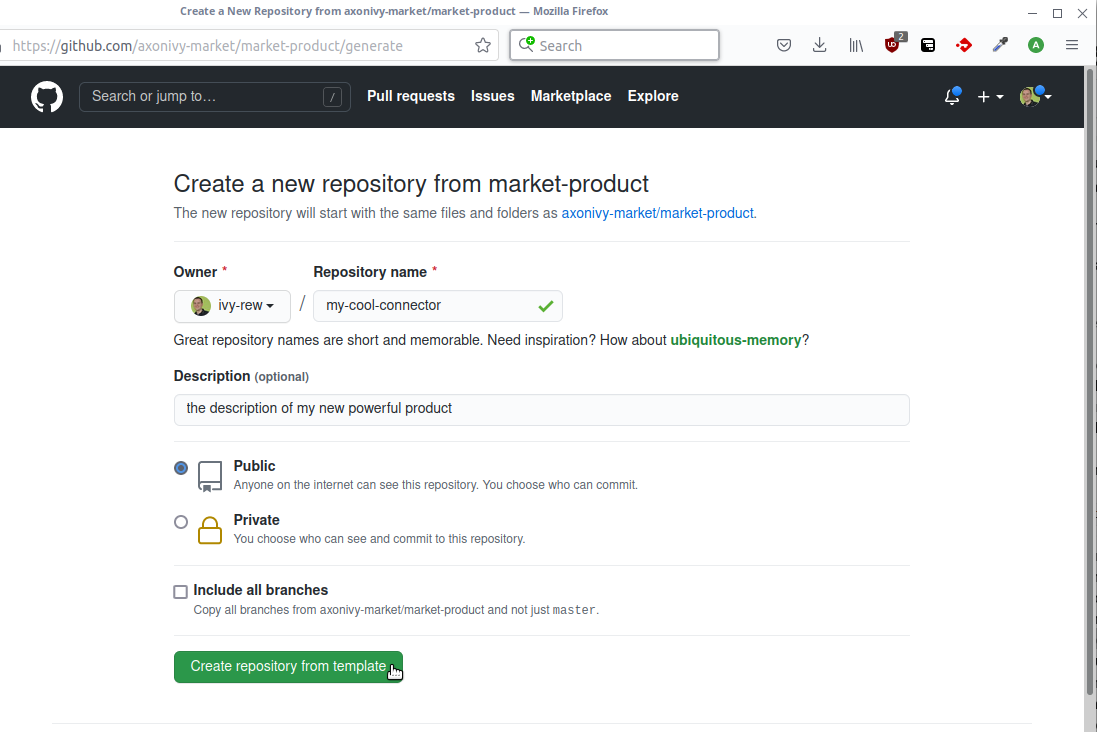
- Customize the
<name>and<artefactID>in thepom.xmldirectly in your browser- Click on
pom.xmland start editing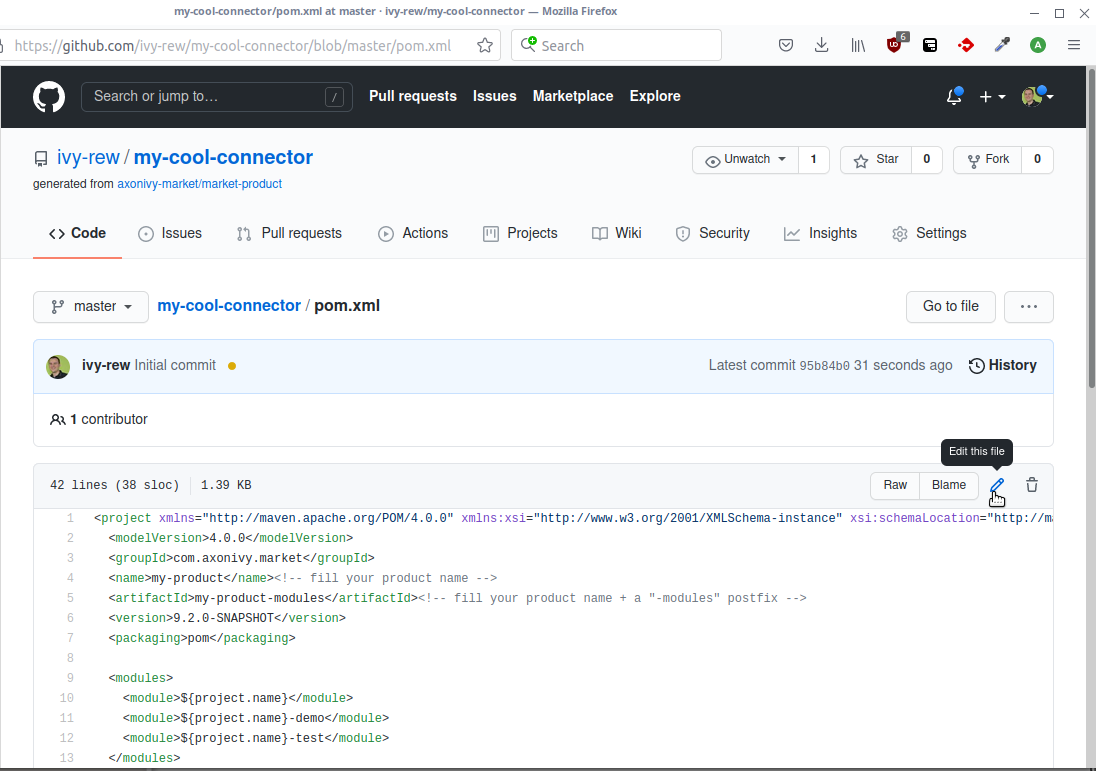
- Set your product
nameandartifactId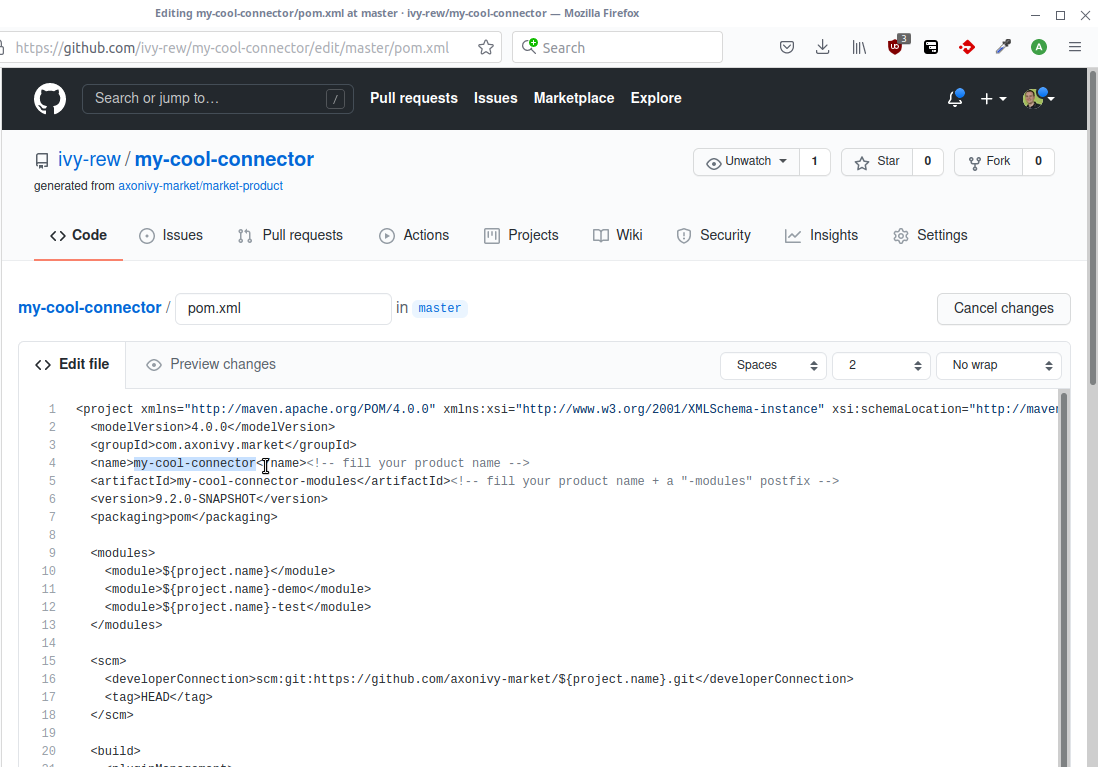
- Indicate the platform version that supports your product by settings the
<version> - Save your changes by committing to master
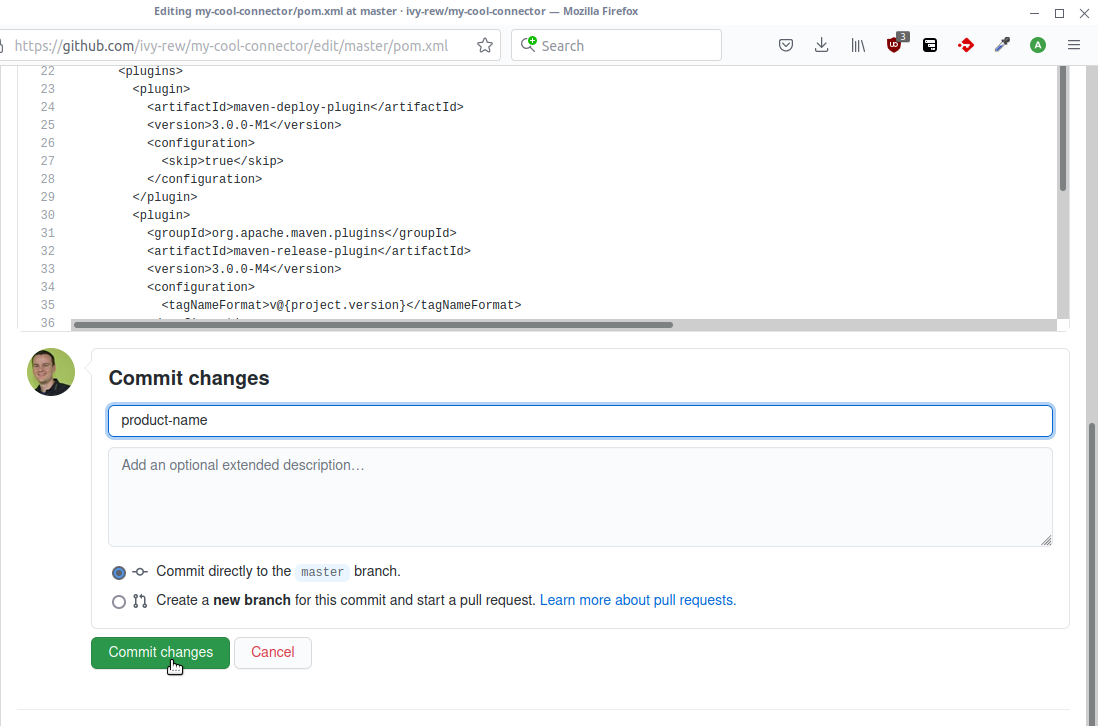
- Click on
- Clone the created repository onto your local disc.
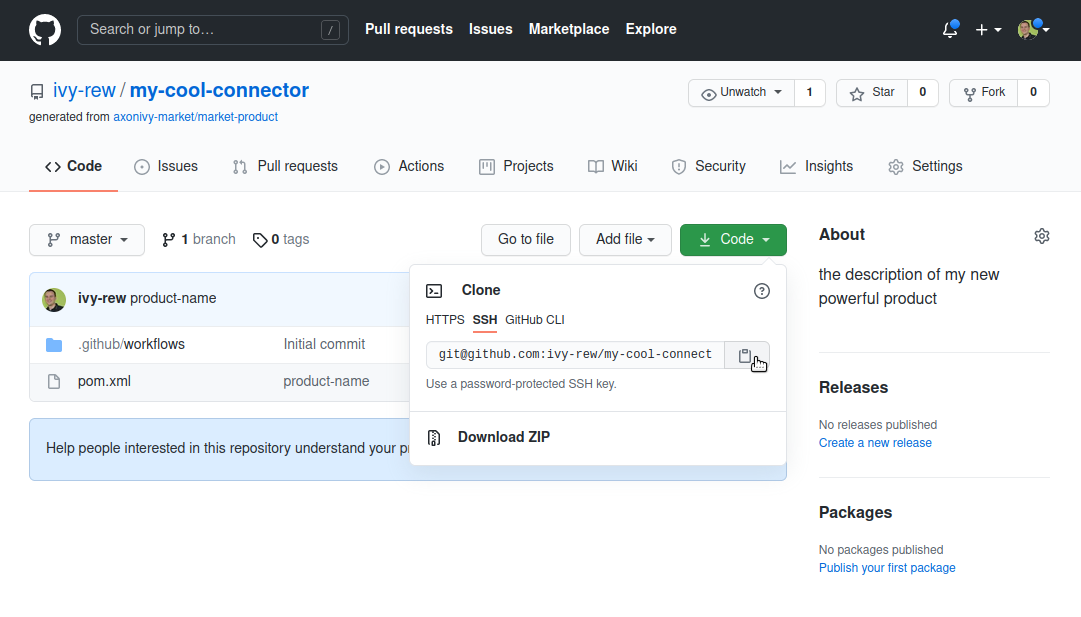
- Import your local repository into the Axon Ivy Designer via
Import->Maven->Existing Maven Project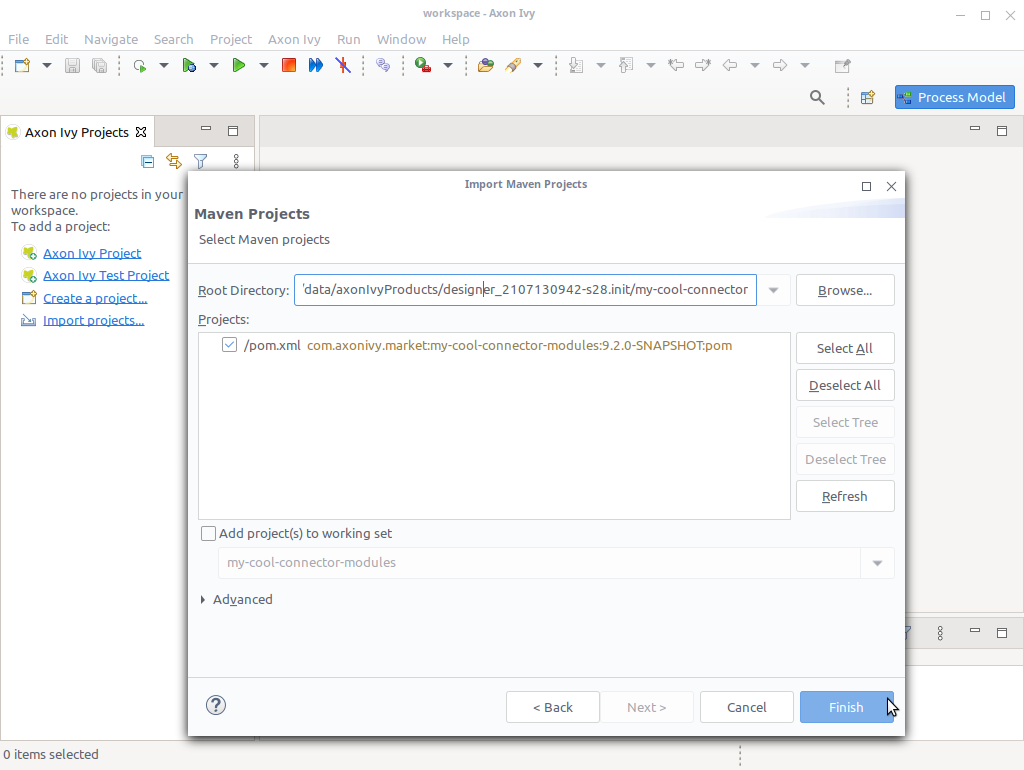
Use the Axon Ivy Designer to create three distinct projects within the local repository:
- A main project
- A demo project
- A test project
Create the new project from the previously imported module project.
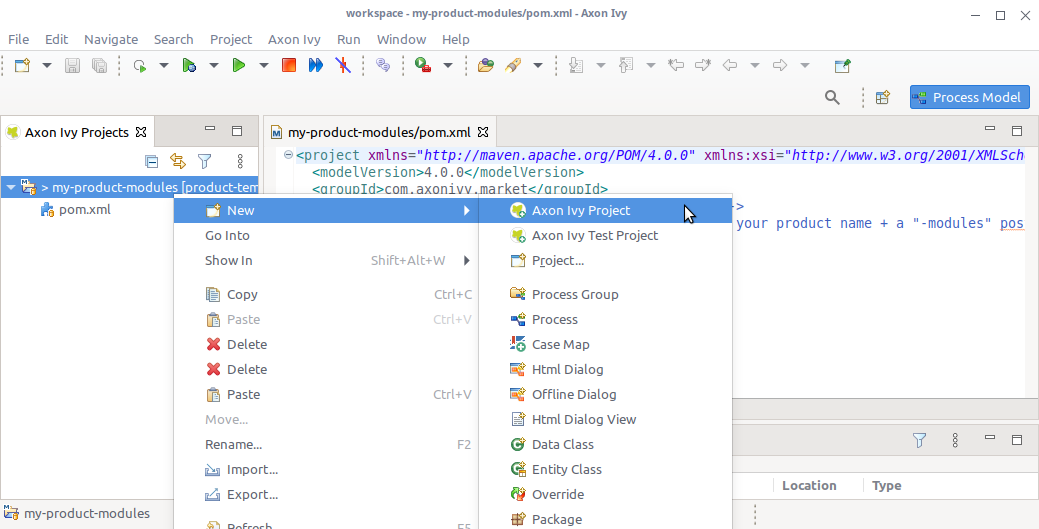
Create the main project that contains the product you want to share. Make sure that the name matches the name you entered in the “pom.xml” in step 3.
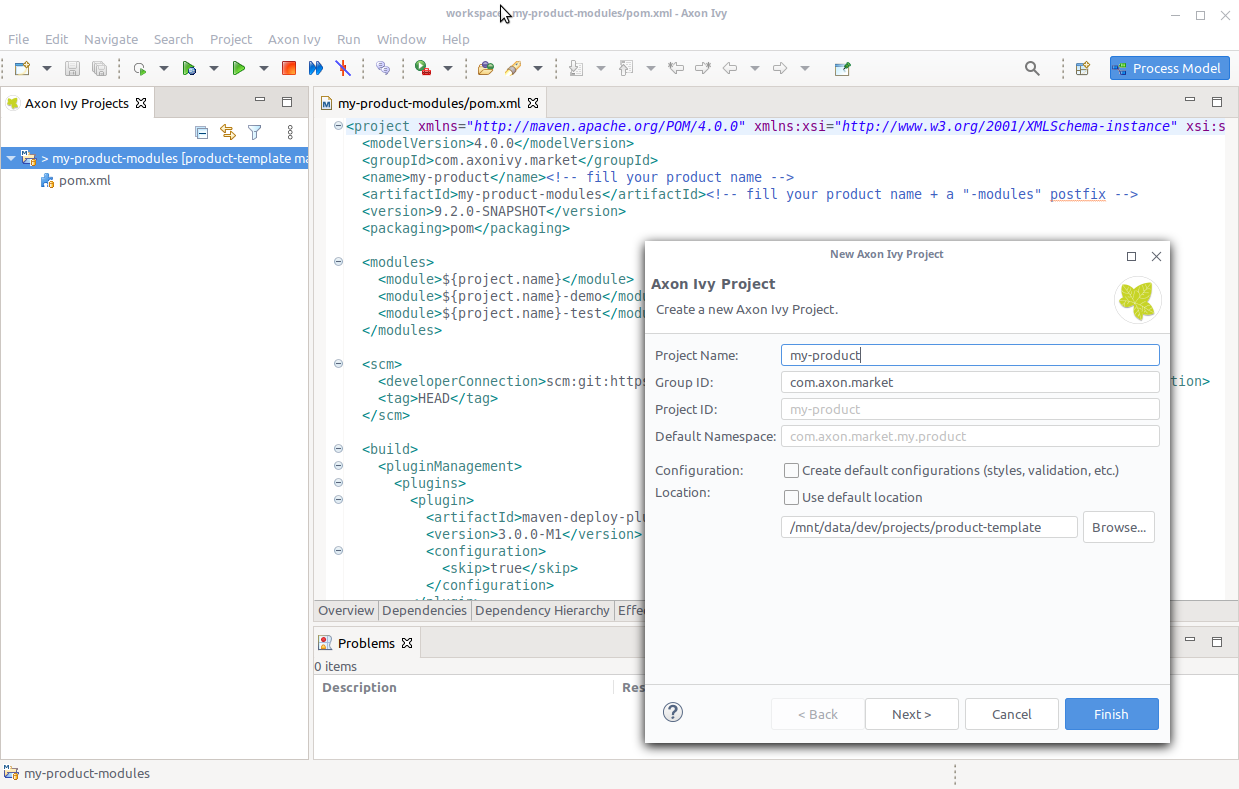
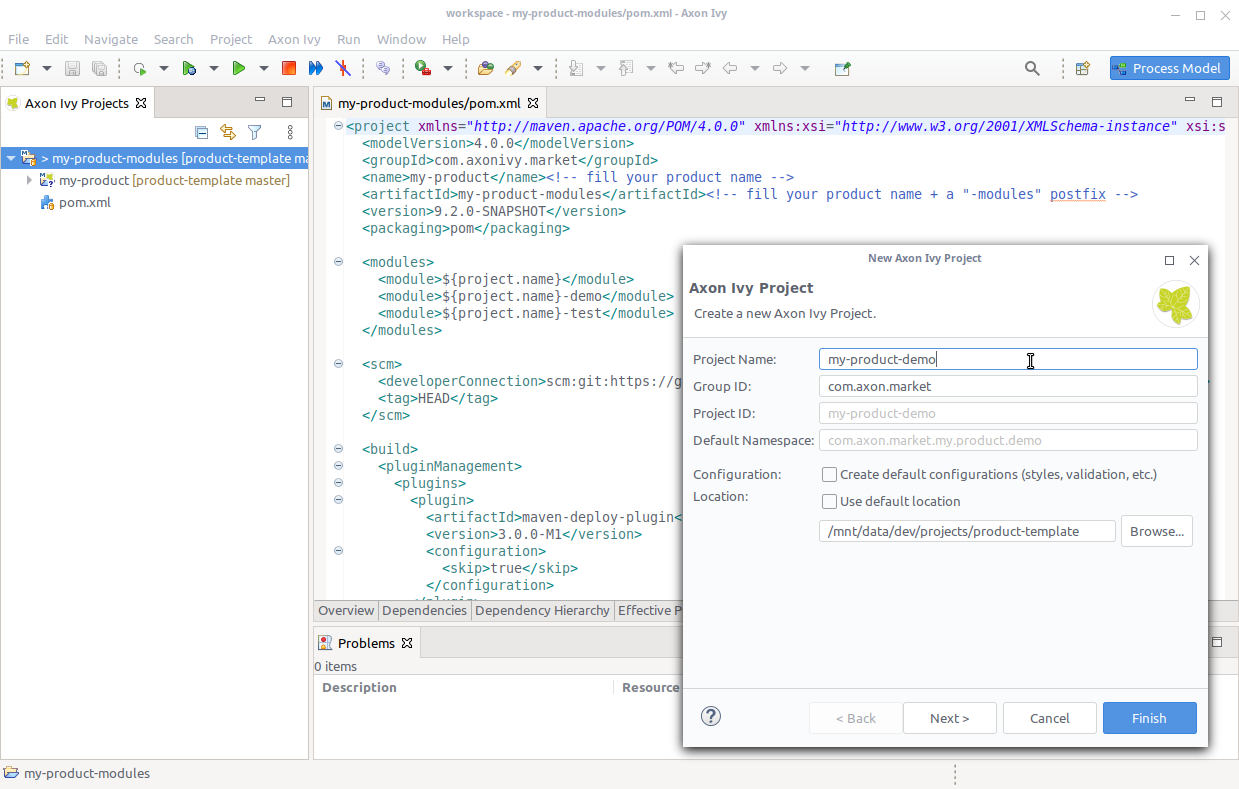
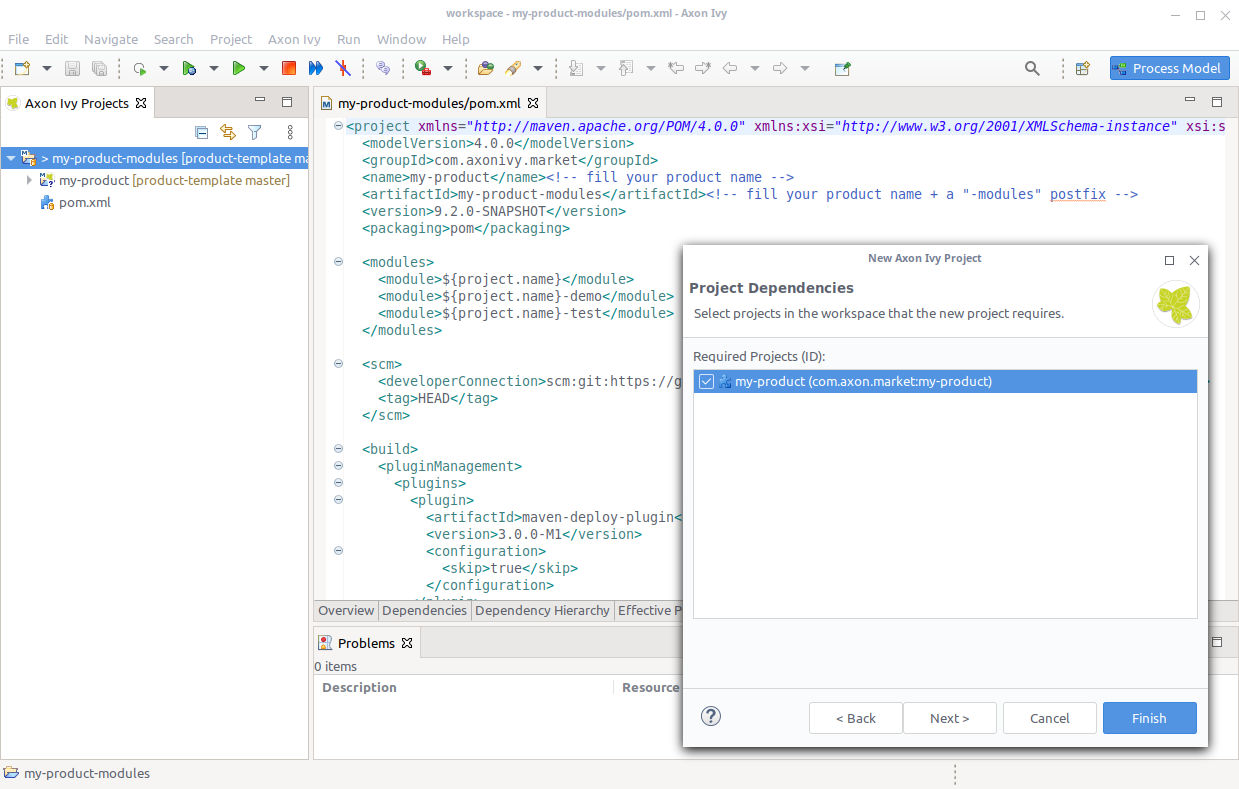
Create a project that demonstrates a valid use-case of your product. After clicking Next in the wizard, set the previously created project as dependency.
Go to pom.xml and change the version of your product to ${project.version}. You no longer need
to maintain the correct version here.
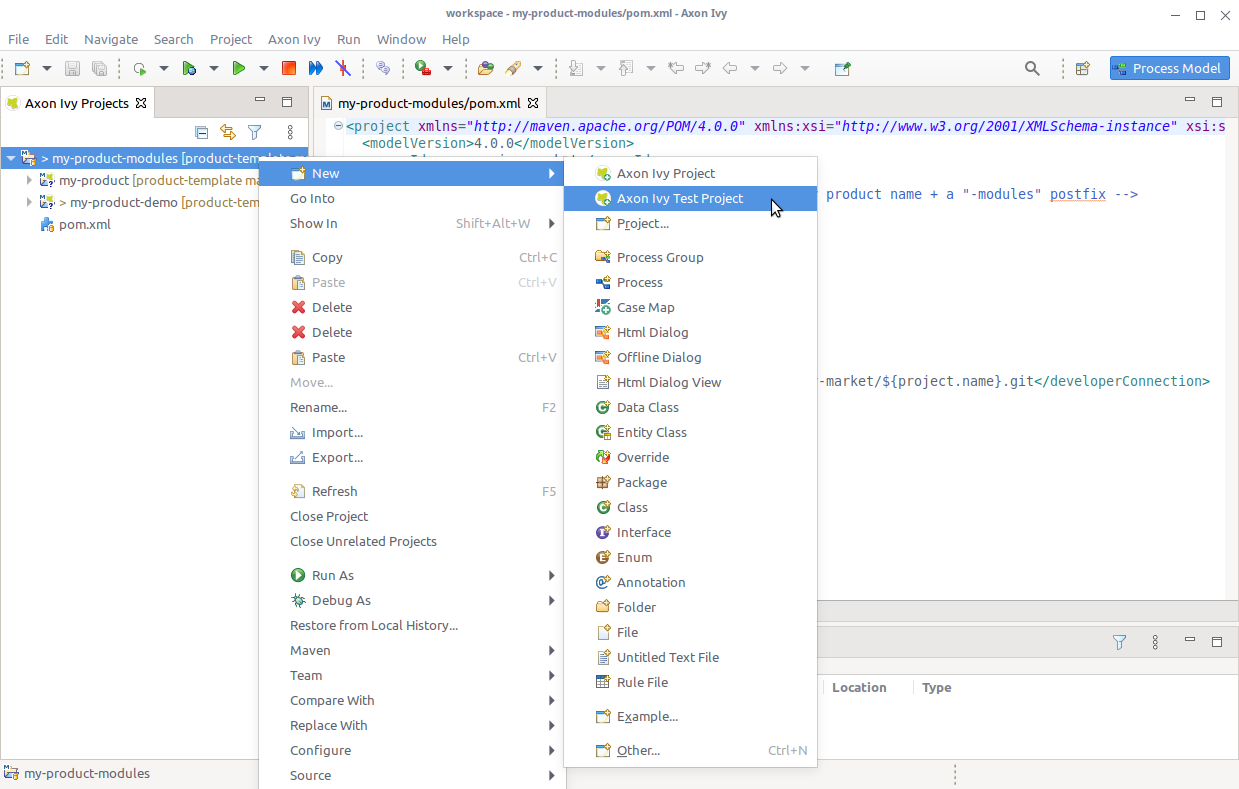
Create a test project (created using the New Ivy Test Project wizard) that assures the quality of the product.
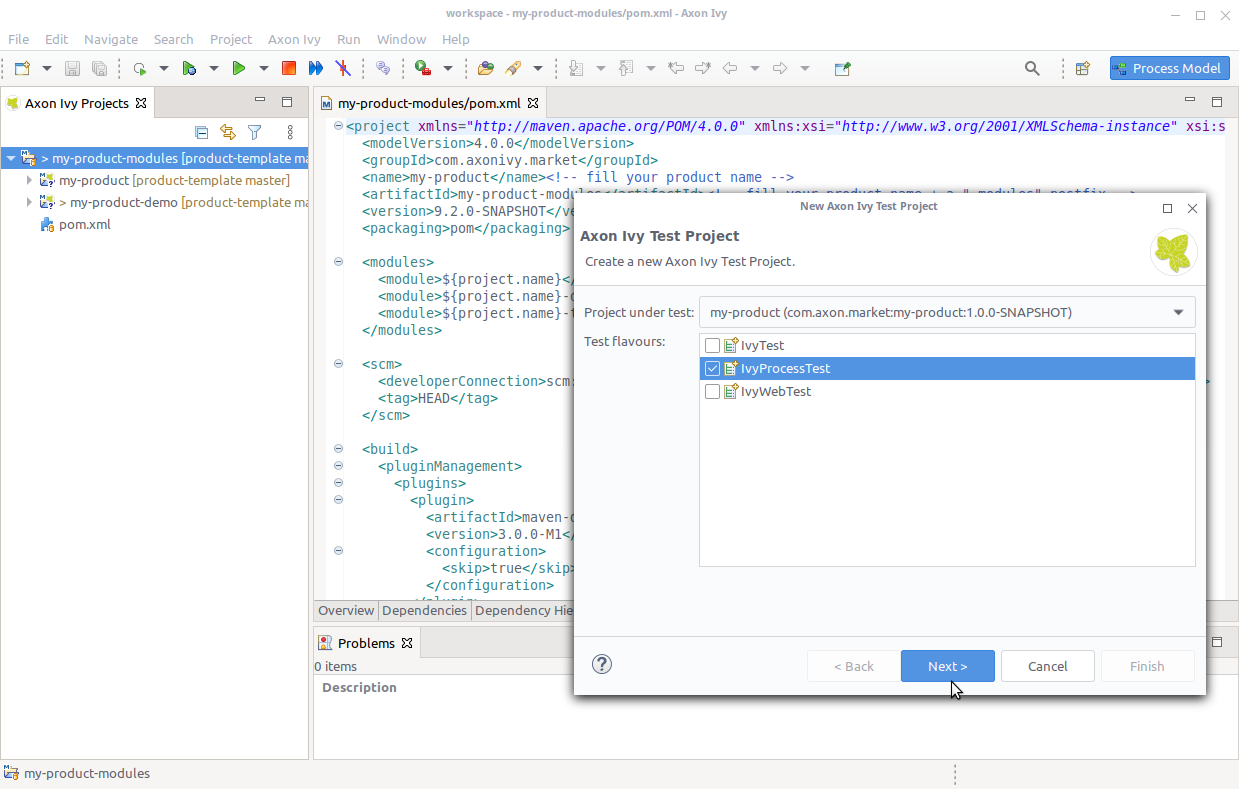
- Select the product as project under test and pick testing flavors you would like to use.
- Change the project name so it ends with
-test.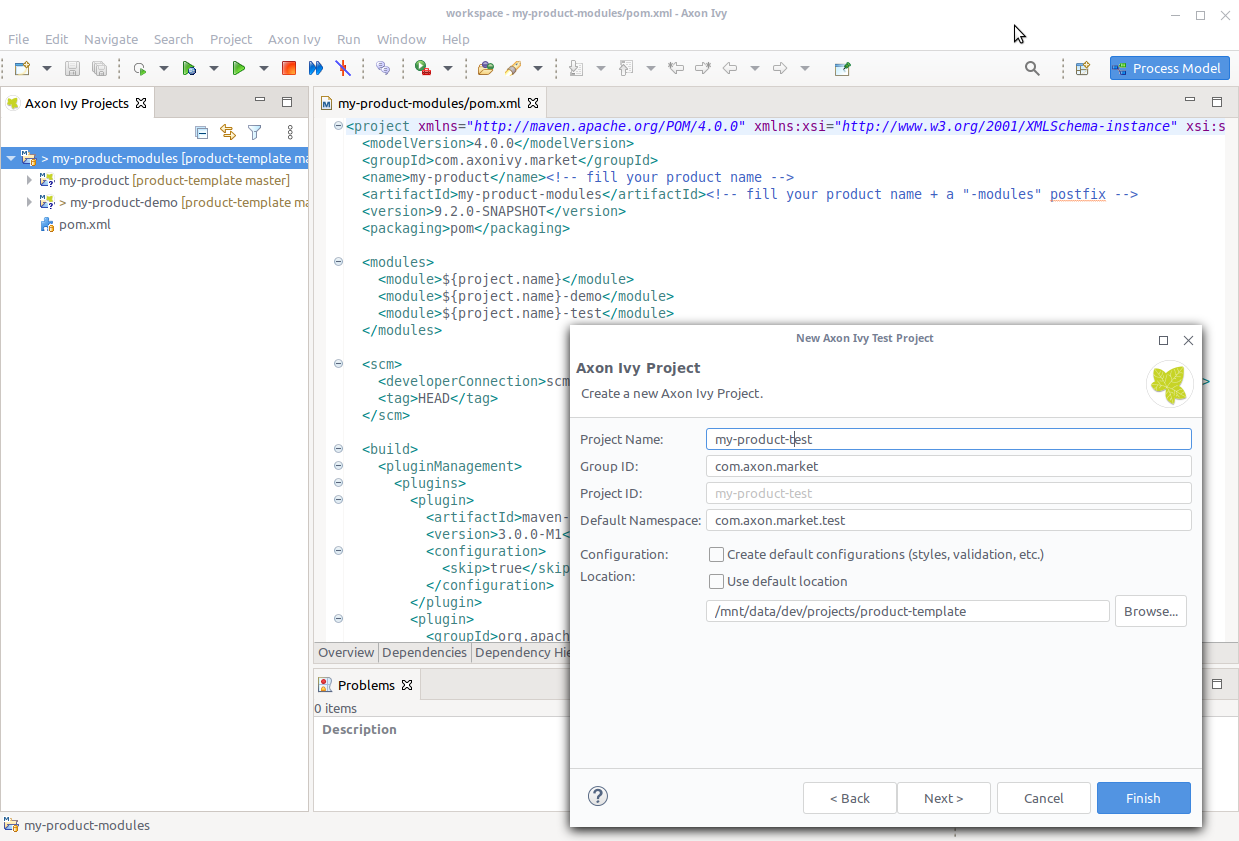
Again go to pom.xml and change the version of your product to ${project.version}- so you no longer need
to maintain the correct version here.
To prevent that the test artifact gets deployed to the maven repository, disable the deployment by adding
this code snippet to the pom.xml of your test project.
<build>
  ...
  <pluginManagement>
    <plugins>
      <plugin>
        <artifactId>maven-deploy-plugin</artifactId>
        <version>3.0.0-M1</version>
        <configuration>
          <skip>true</skip>
        </configuration>
      </plugin>
    </plugins>
  </pluginManagement>
  ...
</build>
Navigate to “pom.xml” in all 3 created projects and open the deployment editor. Set the same project version as in the main pom.xml module (e.g. “9.2.0-SNAPSHOT”). It should match the version of the Axon Ivy platform you will be working with.
- Add, commit and push the created project files to github.com.
- A GitHub Action build will run automatically and verify that the projects can be built and published with Maven.
- Now you can start with the implementation of your product, its demo use cases and the tests.