Update!
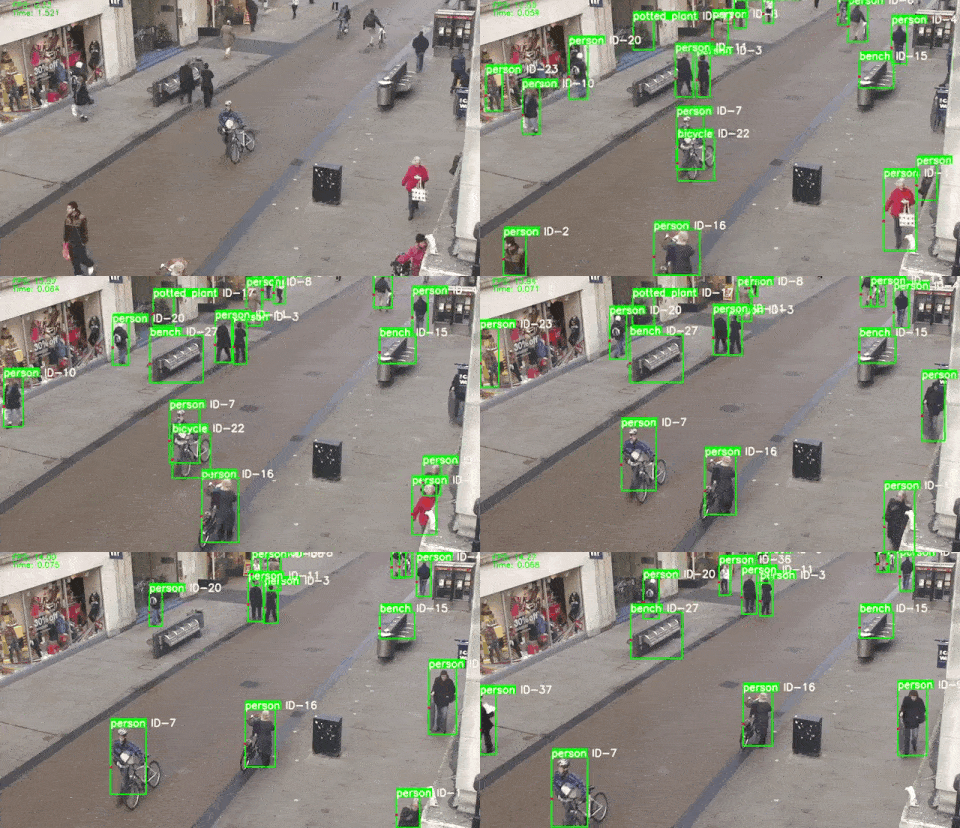
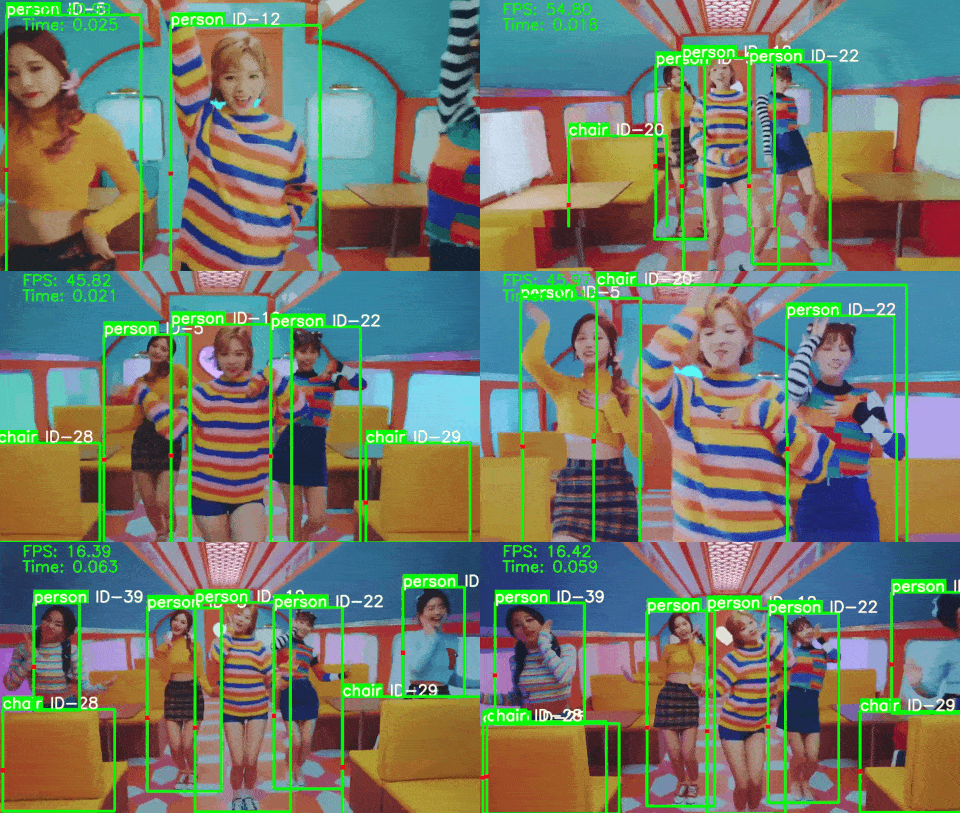
This repo uses YOLOv5 and DeepSORT to implement object tracking algorithm. Also using TensorRTX to convert model to engine, and deploying all code on the NVIDIA Xavier with TensorRT further.
NVIDIA Jetson Xavier NX and the X86 architecture works all be ok.
- the X86 architecture:
- Ubuntu20.04 or 18.04 with CUDA 10.0 and cuDNN 7.6.5
- TensorRT 7.0.0.1
PyTorch 1.7.1_cu11.0, TorchVision 0.8.2+cu110, TorchAudio 0.7.2- OpenCV-Python 4.2
- pycuda 2021.1
- the NVIDIA embedded system:
- Ubuntu18.04 with CUDA 10.2 and cuDNN 8.0.0
- TensorRT 7.1.3.0
PyTorch 1.8.0 and TorchVision 0.9.0- OpenCV-Python 4.1.1
- pycuda 2020.1
The following data are tested in the case of single target in the picture. the X86 architecture with GTX 2080Ti :
| Networks | Without TensorRT | With TensorRT |
|---|---|---|
| YOLOV5 | 14ms / 71FPS / 1239M | 10ms / 100FPS / 2801M |
| YOLOV5 + DeepSort | 23ms / 43FPS / 1276M | 12ms / 82FPS / 1712M |
NVIDIA Jetson Xavier NX:
| Networks | Without TensorRT | With TensorRT |
|---|---|---|
| YOLOV5 | \ | 43ms / 23FPS / 1397M |
| YOLOV5 + DeepSort | \ | 63ms / 15FPS / 2431M |
-
Clone this repo
git clone https://github.com/cong/yolov5_deepsort_tensorrt.git
-
Install the requirements
pip install -r requirements.txt
-
Run
python demo_trt.py
Notice: this repo uses YOLOv5 version 4.0 , so TensorRTX should uses version yolov5-v4.0 !
-
generate
***.wtsfrom PyTorch with***.pt.git clone -b v4.0 https://github.com/ultralytics/yolov5.git git clone -b v4.0 https://github.com/wang-xinyu/tensorrtx.git # download https://github.com/ultralytics/yolov5/releases/download/v5.0/yolov5s.pt cp {tensorrtx}/yolov5/gen_wts.py {ultralytics}/yolov5 cd {ultralytics}/yolov5 python gen_wts.py yolov5s.pt # a file 'yolov5s.wts' will be generated.
-
build t
{tensorrtx}/yolov5and generate***.enginecd {tensorrtx}/yolov5/ # update CLASS_NUM in yololayer.h if your model is trained on custom dataset mkdir build cd build cp {ultralytics}/yolov5/yolov5s.wts {tensorrtx}/yolov5/build cmake .. make # serialize model to plan file sudo ./yolov5 -s [.wts] [.engine] [s/m/l/x/s6/m6/l6/x6 or c/c6 gd gw] # deserialize and run inference, the images in [image folder] will be processed. sudo ./yolov5 -d [.engine] [image folder] # For example yolov5s sudo ./yolov5 -s yolov5s.wts yolov5s.engine s sudo ./yolov5 -d yolov5s.engine ../samples # For example Custom model with depth_multiple=0.17, width_multiple=0.25 in yolov5.yaml sudo ./yolov5 -s yolov5_custom.wts yolov5.engine c 0.17 0.25 sudo ./yolov5 -d yolov5.engine ../samples
-
Once the images generated, as follows. _zidane.jpg and _bus.jpg, convert completed!
-
generate
***.onnxfrom PyTorch with***.pt.git clone https://github.com/ZQPei/deep_sort_pytorch git clone https://github.com/GesilaA/deepsort_tensorrt.git # cp {GesilaA}/deepsort_tensorrt/exportOnnx.py {ZQPei}/deep_sort_pytorch cd {ZQPei}/deep_sort_pytorch python exportOnnx.py # a file 'deepsort.onnx' will be generated. cp {ZQPei}/deep_sort_pytorch/deepsort.onnx {GesilaA}/deepsort_tensorrt
-
build
{GesilaA}/deepsort_tensorrtand generate***.enginecd {GesilaA}/deepsort_tensorrt # mkdir build cd build cmake .. make # serialize model to plan file ./onnx2engine ../resources/deepsort.onnx ../resources/deepsort.engine # test ./demo ../resources/deepsort.engine ../resources/track.txt
- Training your own model.
- Convert your own model to engine(TensorRTX's version must same as YOLOV5's version).
- Replace the
***.engineandlibmyplugins.sofile.
- Your likes are my motivation to update the project, if you feel that it is helpful to you, please give me a star. Thx! :)
- For more information you can visit the Blog.

