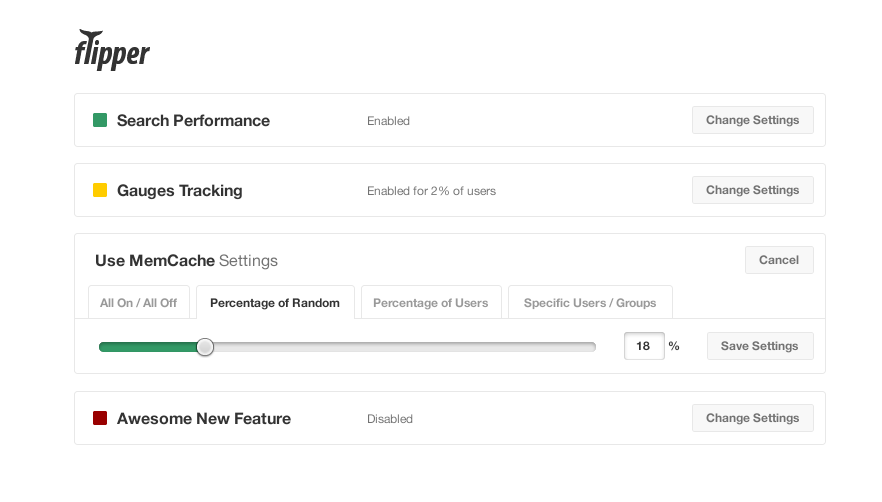
UI for the Flipper gem. Note: This is not fully functional yet. The end product will look like this:
Add this line to your application's Gemfile:
gem 'flipper-ui'
And then execute:
$ bundle
Or install it yourself as:
$ gem install flipper-ui
Given that you've already initialized Flipper as per the flipper readme:
# config/initializers/flipper.rb
$flipper = Flipper.new(...)
you can mount Flipper::UI to a route of your choice:
# config/routes.rb

YourRailsApp::Application.routes.draw do
  mount Flipper::UI.app($flipper) => '/flipper'
endYou almost certainly want to limit access when using Flipper::UI in production. Using routes constraints is one way to achieve this:
# config/routes.rb

flipper_constraint = lambda { |request| request.remote_ip == '127.0.0.1' }
constraints flipper_constraint do
  mount Flipper::UI.app($flipper) => '/flipper'
end
Another example of a route constrain using the current_user when using Devise or another warden based authentication system:
# initializers/admin_access.rb

class CanAccessFlipperUI
  def self.matches?(request)
    current_user = request.env['warden'].user

    return current_user.present? && current_user.respond_to?(:is_admin?) && current_user.is_admin?
  end
end

# config/routes.rb

constraints CanAccessFlipperUI do
  mount Flipper::UI.app($flipper) => '/flipper'
endMinimal example for Rack:
# config.ru

require 'flipper-ui'
require 'flipper/adapters/memory'

adapter = Flipper::Adapters::Memory.new
flipper = Flipper.new(adapter)

run Flipper::UI.app(flipper)
See examples/basic.ru for a more full example
- Fork it
- Create your feature branch (
git checkout -b my-new-feature) - Fire up the app (
bundle exec rake start) - Start up guard (
bundle exec guardfor automatic coffeescript/sass compilation and such). - Commit your changes (
git commit -am 'Added some feature') - Push to the branch (
git push origin my-new-feature) - Create new Pull Request