Assembling and aligmnmets
Assembling the DAC board is straightforward. As usual, we recommend to solder all SMD components first and after that solder all through-hole type components to the board.
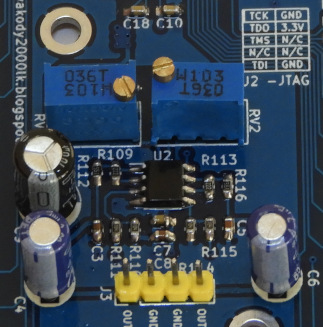
After assembling the board, adjust both RV1 and RV2 to 7.5K. These potentiometers are introducing to eliminate the switching noise of the DAC. Based on our tests, we got optimal results when we set these potentiometers to 7.5K.
As a next step, power on the board with 5V PSU and program the U1 CPLD. The programming process is described at the Intel FPGA Download Cable II User Guide.
After finishing all alignments attach oscilloscope or frequency counter to PIN 12 of U1 (EPM240T100C5) and check for 50MHz clock. This clocking signal is essential to run the DAC process.
If all the above steps are completed, the DAC board is ready to connect with Raspberry Pi. Refer Connectivity section of this documentation for more details.