Solution for a challenge from Devchallenges.io.


This application/site was created as a submission to a DevChallenges challenge. The challenge was to build an application to complete the given user stories:
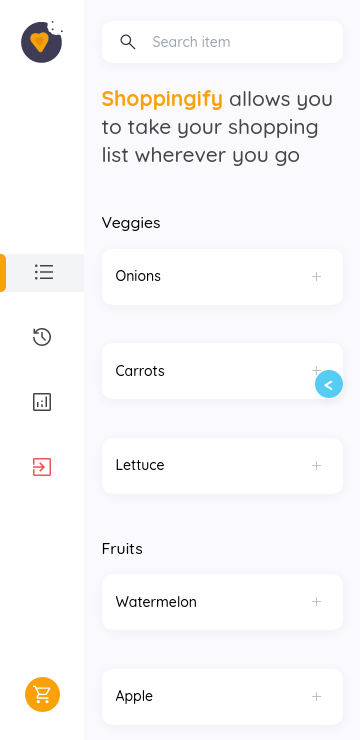
- User story: When I select the items tab, I can see a list of items under different categories.
- User story: I can add a new item with name, category, note, and image.
- User story: When I add a new item, I can select one from the existing categories or add a new one if the category does not exist
- User story: When I select an item, I can see its details and I can choose to add the current list or delete the item.
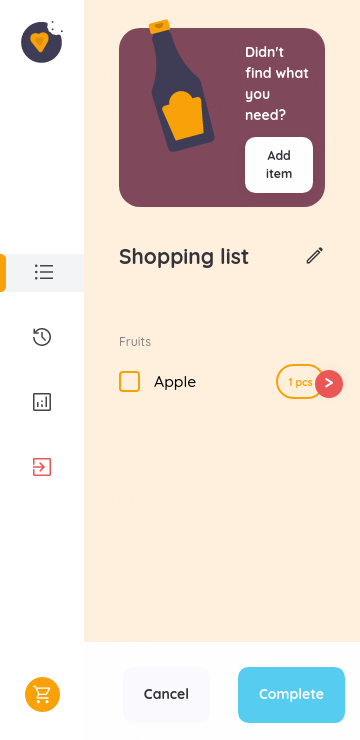
- User story: I can add items to the current list
- User story: I can increase the number of item in the list
- User story: I can remove the item from the list
- User story: I can save/update the list with a name (user can have only one active list at a time)
- User story: I can toggle between editing state and completing state
- User story: When I am at completing state, I can save my progress by selecting the item
- User story: I can cancel the active list
- User story: When I try to cancel a list, I can see a confirmation notification
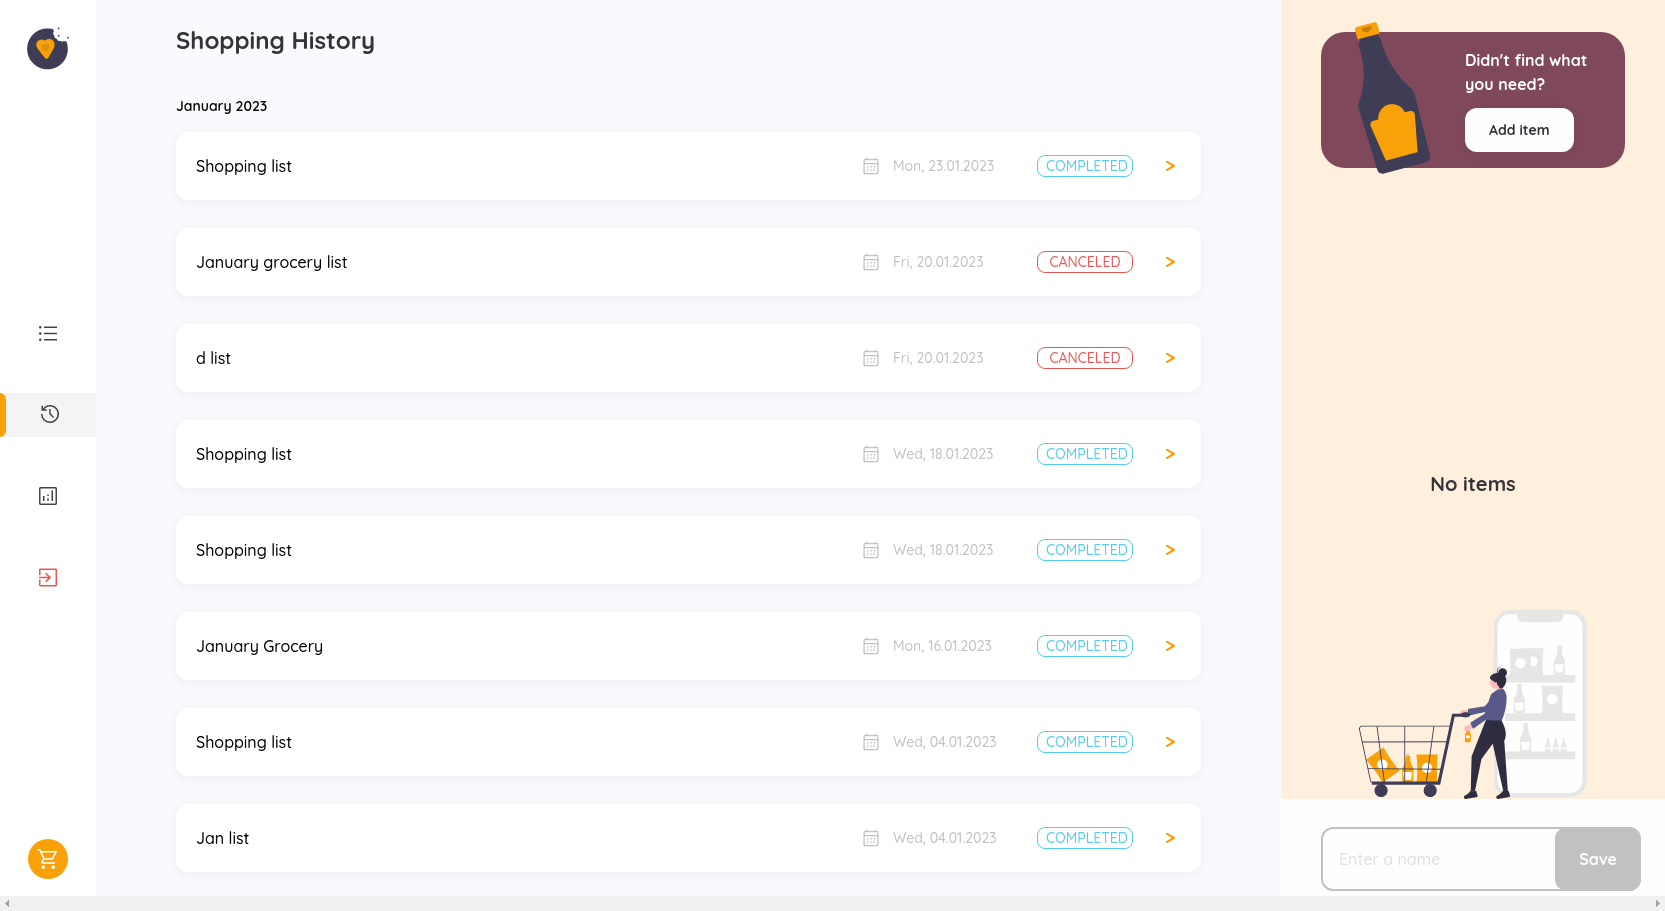
- User story: I can see my shopping history and I can see the details of it
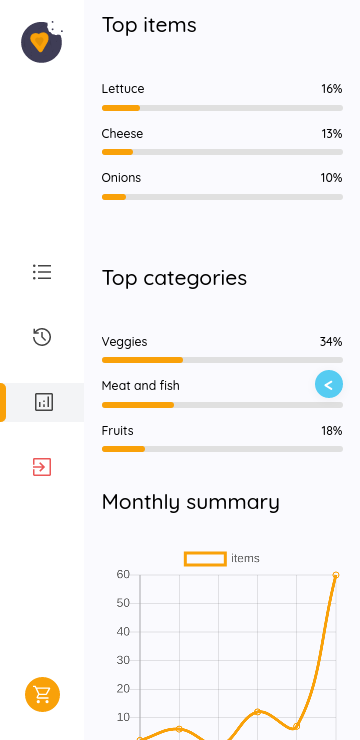
- User story: I can see some statistics: top items, top categories, and monthly comparison. (Tips: use libraries like recharts for the graph)
- User story (optional): I can search for items
More features were added such as authentication ,authorisations and mobile first design.
To clone and run this application, you'll need Git and Node.js (which comes with npm) installed on your computer. From your command line:
# Clone this repository
$ git clone https://github.com/dvqc/shoppingify.git

# Install dependencies
$ npm install

# Run the app
$ npm run start
You will also need to set some environment variables:
- Set the database connection url
# .env

# Specify the url of your database connection that is going to be used by the prisma client.
# You will need a MongoDB instance, you can get one from https://www.mongodb.com/
DATABASE_URL="mongodb+srv://username:password@host/db_name"- Specify your google app credentials, you can get these from google. Remember to set the authorised redirect URI to
https://your-domain/api/auth/callback/google
# .env

GOOGLE_ID=your-google-id
GOOGLE_SECRET=your-google-secret- Set your github oauth app credentials. Your authirization call back url should be
https://your-domain/api/auth
# .env

GITHUB_ID=your-github-id
GITHUB_SECRET=your-github-secret
- Generate the prisma client api by running the following command in your project's root directory:
npx prisma generate- MongoDB for their free database hosting tier.
- SWR, a lightweight react hooks library for data fetching.
- NextAuth.js, an open-source authentication solution for Next.js applications.
- Chart.js , a free and open-source JavaScript library for data visualization.