Tutorial
This is a tutorial meant to help teach you how to use the tool to create a Dynamic Input Texture package for Dolphin Emulator.
The steps below will likely be complicated at first. But after using the program a few times, you should be able to create a pack in a minute or two!
To start, download the latest tool from the releases page. Extract the zip to a directory of your choosing.
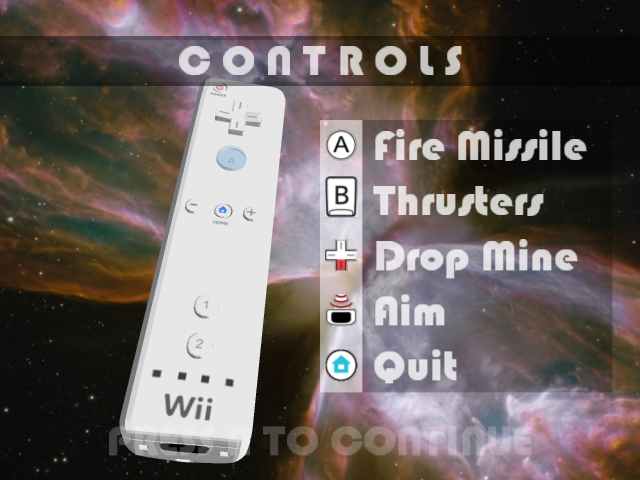
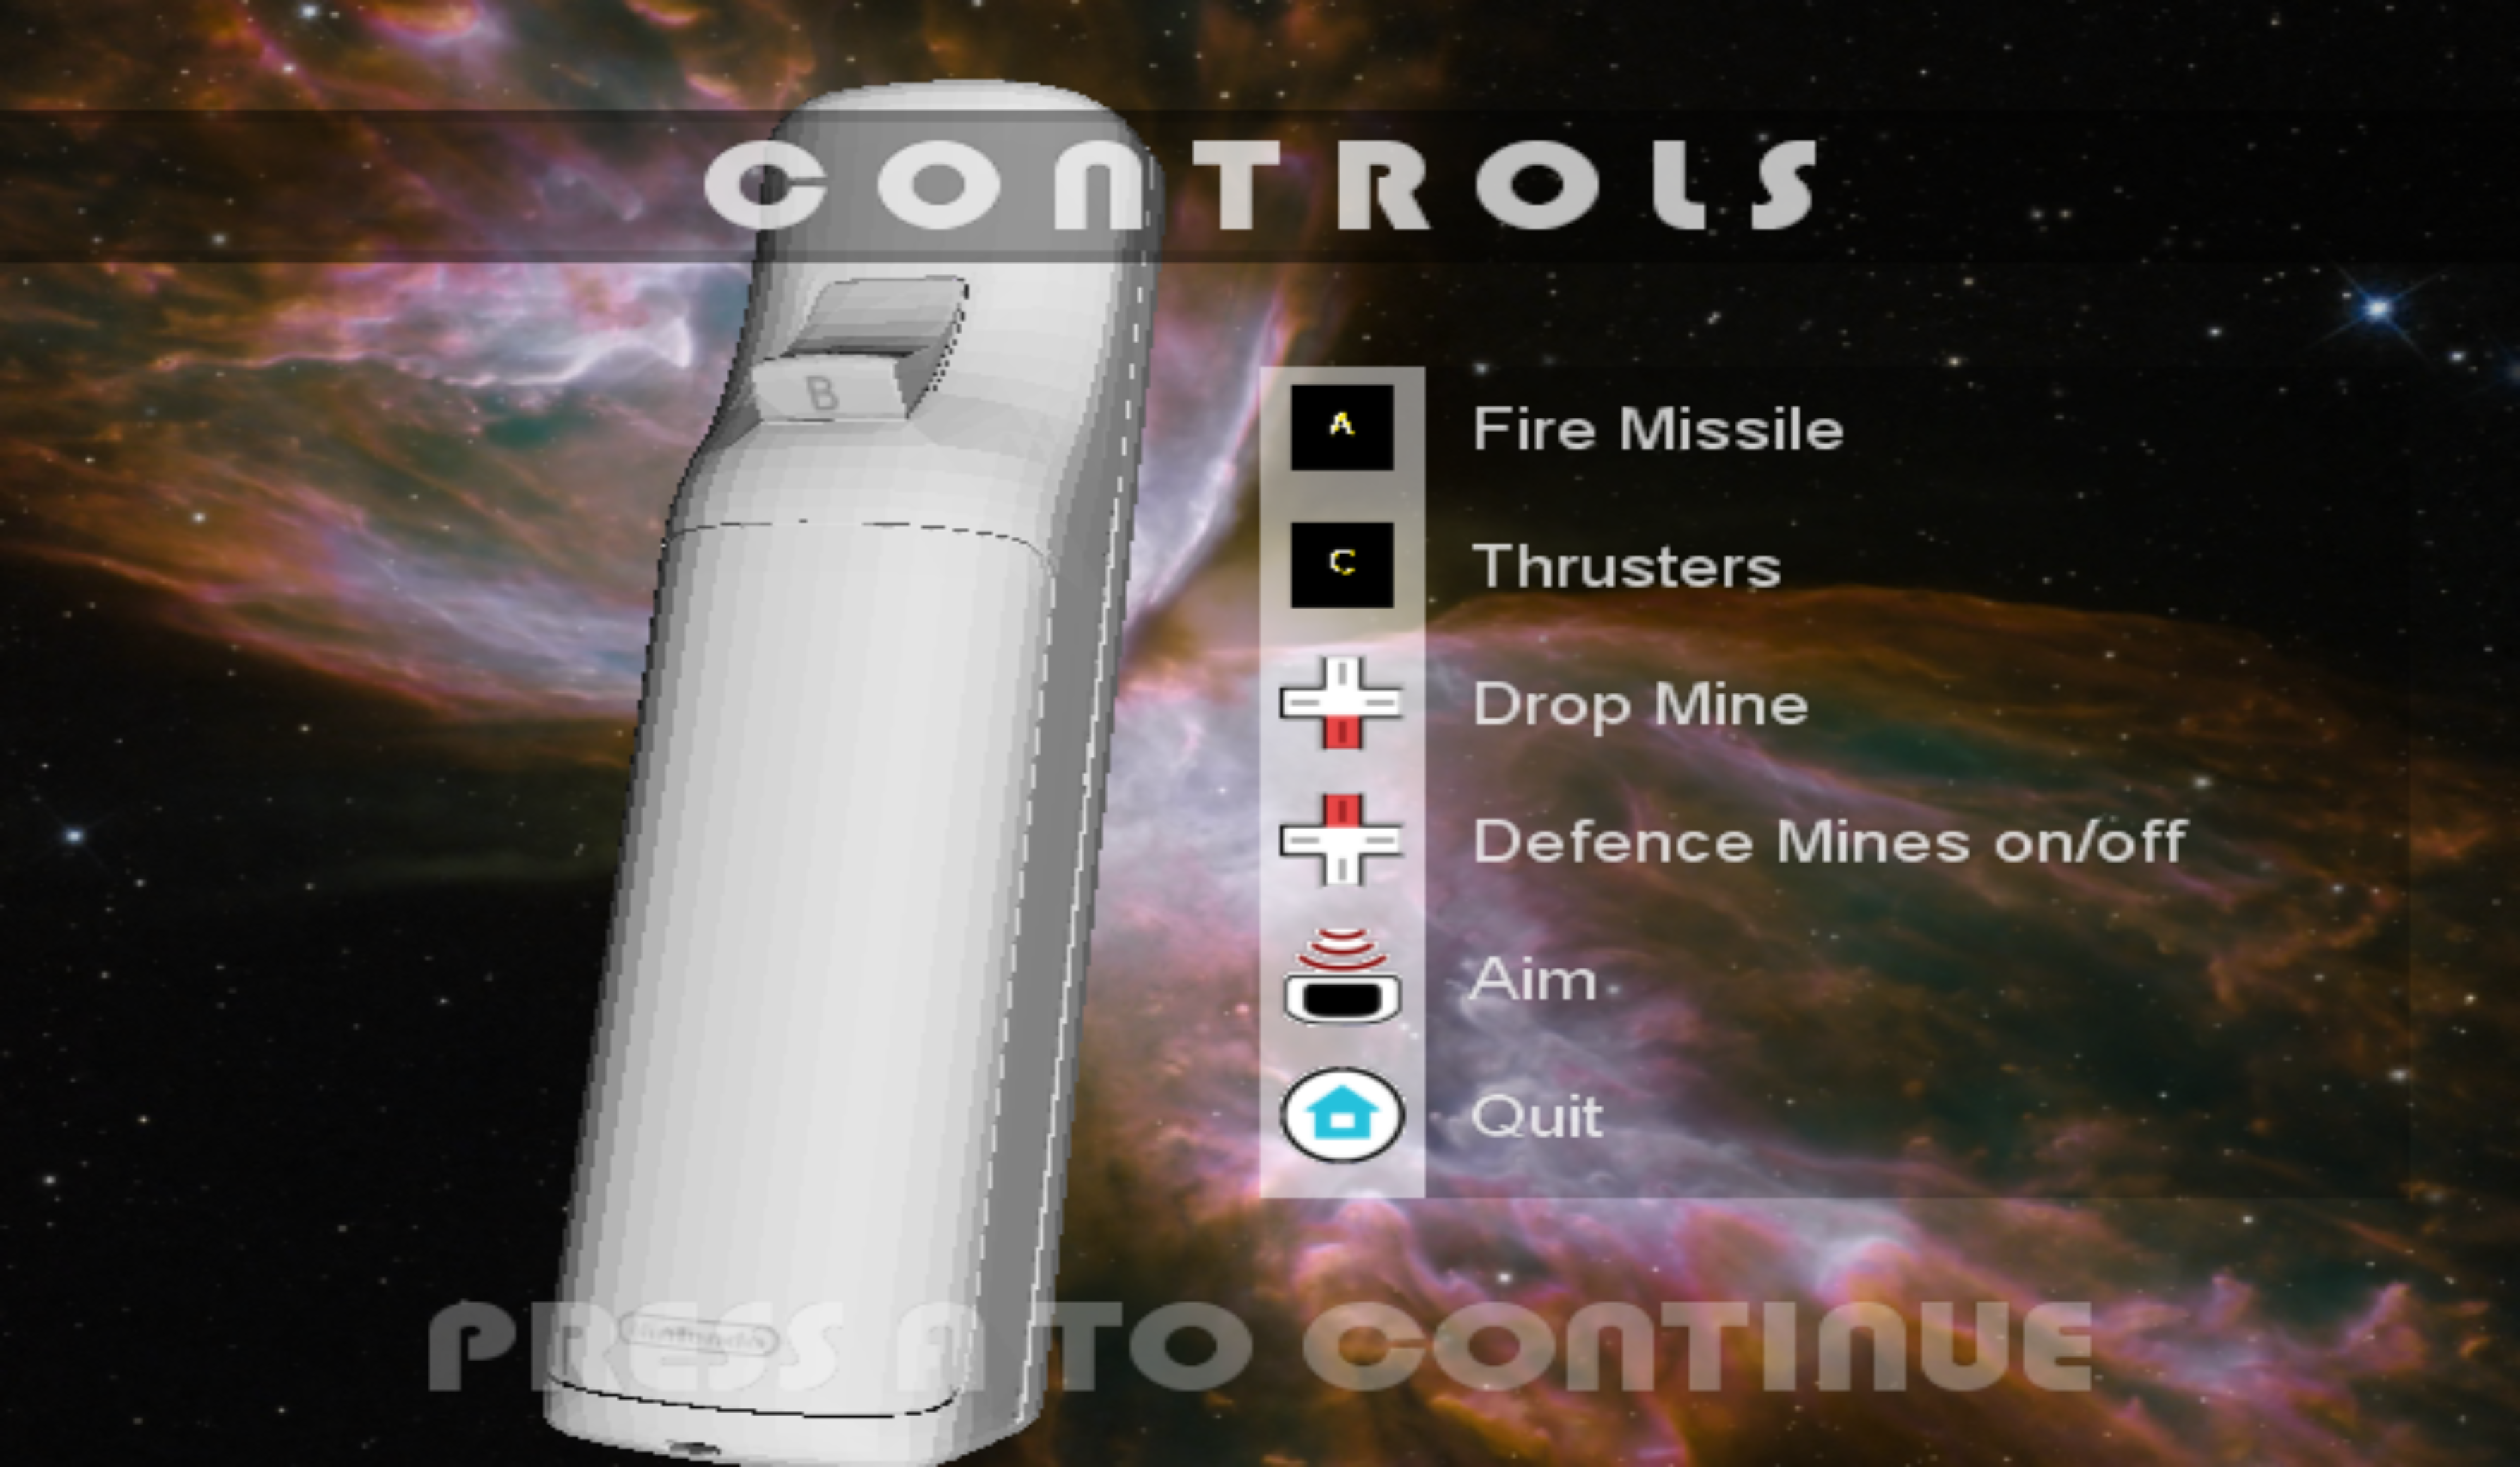
In this tutorial, we will go about creating a small dynamic input texture pack for the homebrew game BoltThrower. The controller screen looks like this before any changes:
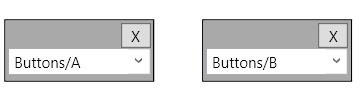
The first step is to dump the textures using Dolphin. Once we did so we see two textures:
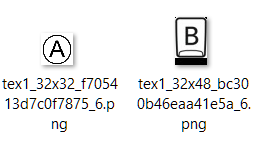
The "A" and "B" are Wiimote buttons and we want users to be able to replace either of those button prompts with any of these images on the keyboard:


(we are assuming they are using a Windows machine)
When you first boot up the program, you will be prompted with a rather large screen. The first thing you want to do is add the game file, you're looking for a "Add Texture" button:
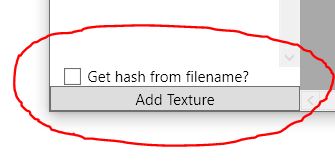
Since the files were directly ripped from the game using Dolphin, they have a hash for their filename. We can take advantage of this by checking the "Get hash from filename" checkbox. If a hash isn't provided in the filename, you need to specify what hash will cause this texture to load in Dolphin.
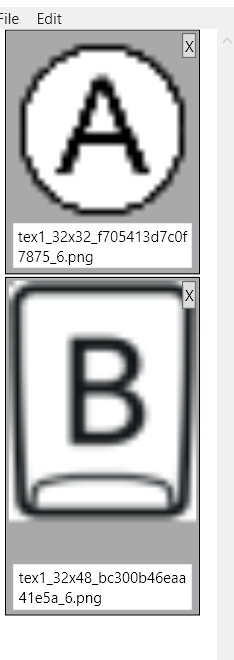
Adding both textures should give you something like this:
Now we need to map the emulated keys. Normally, you'd find all the emulated buttons (Wiimote, Gamecube, Classic Controller, etc) that you want to replace. However, in this case we've already determined we will have two buttons mapped: "A" and "B".
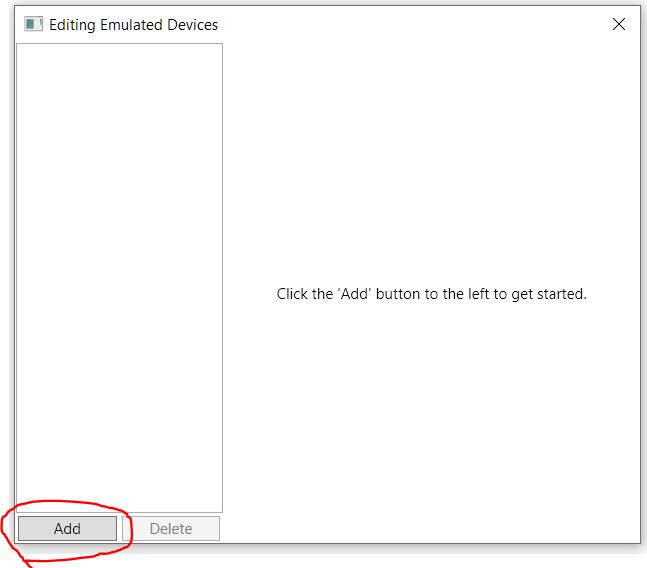
At the top menu, choose Edit > Emulated Devices...
Doing so will bring up a prompt and you're looking for the "Add" button:
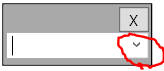
You will then be prompted to enter the emulation device name. This is defined in Dolphin like Wiimote1, GCPad3, etc. Clicking on the arrow to the right will list some potential options:
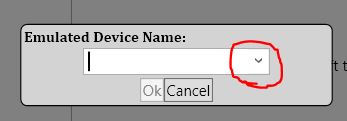
Since the texture is targeting the player 1's Wiimote. We choose Wiimote1.
After defining your emulated device. It is time to define the keys you wish to map. Keys are anything from Wiimote buttons (A, B, -, etc), a Wiimote extension buttons (ex: classic controller or Nunchuk), to the Gamecube controller. Click on the Add Emulated Key button:
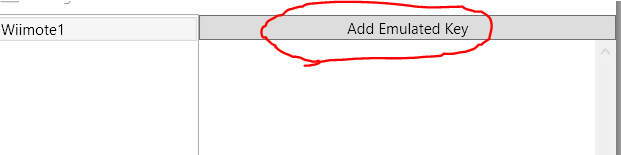
Clicking it will add a new emulated key entry. You want to choose the key Buttons/A for the first one to add a mapping to the Wiimote's "A" button:
Do the same thing for the Wiimote's "B" button as well. After you've done both you should see a screen similar to this:
With the keys added. You can close the window.
Now that we have our emulated keys added, we need to add regions to our Dolphin textures to define where the button replacement will be done. We need to map each button in the image with an appropriate emulated key.
With that in mind, if you're paying close attention, you might notice the bars above the right pane have changed.
The two bars represent the currently selected emulation device / key "brush". It allows you to create regions on the image to tell Dolphin where each emulated button maps. Since you already have "Wiimote1" chosen, select the Buttons/A value in the second drop down:

If you haven't already double click on the first "A" image in the left texture selection pane. That should open the image up into the right pane. This is the area where regions are defined for the images. These regions are how Dolphin knows to do the replacement mapping.
You can zoom in or out on the "A" texture by moving your mouse wheel over the "A" image. When doing so, you will notice the bottom right zoom status change. If you ever want to reset to the default zoom, hit "Reset":

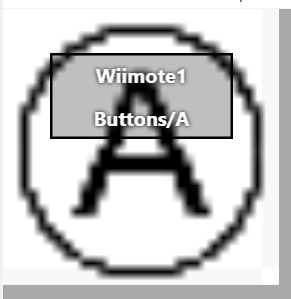
After zooming in to the "A" texture, go ahead and place a region manually by left clicking in the image and dragging your mouse around. At the time of this writing, dragging must be performed left to right. Notice a rectangle appears with an overlay of the device/key you have chosen:
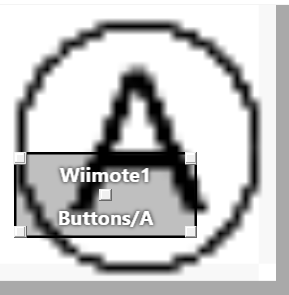
Notice that you can click on this region to bring up little boxes. These boxes allow you to resize the region or move it (center box). Try playing around with the controls.
Remember what we are trying to do, we want to create a region over the entire "A" icon, so that our replacement image replaces that specific portion in game.
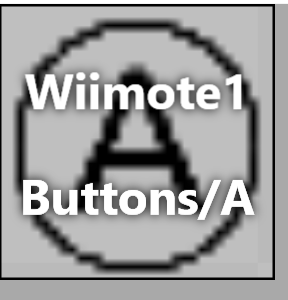
Now we could attempt to manually place the region. However, for an image in a game like BoltThrower, the entire image is the "A" icon. So there's no need to manually define the region. Go ahead and right click on the region and choose "Delete" to remove your region. Then notice at the top a "Fill Texture?" checkbox. Click that:

Then just click in the image once. That will fill the entire image with a region, it should look like this:
Now you need to follow the same process for the "B" button.
At this point, you have all the information you need to map emulated keys to a game's set of textures. All you need to do now is add the replacement textures that will be used to replace the regions you've defined in game. These might be images like an Xbox controller "A" icon or a mouse button icon, etc.
To start, at the top menu, choose Edit > Host Devices...
Doing so will present you with a very similar screen to the Emulated Devices menu. Click "Add" and now you will need to add a Dolphin device. This is something like XInput/0/Gamepad or DInput/0/Keyboard Mouse which can be seen in the Dolphin controller mapping window.
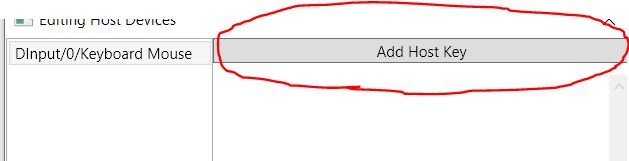
I went ahead and chose DInput/0/Keyboard Mouse with the assumption the user would be using a keyboard and mouse. After adding the device, you next need to add the host keys, look for the button below:
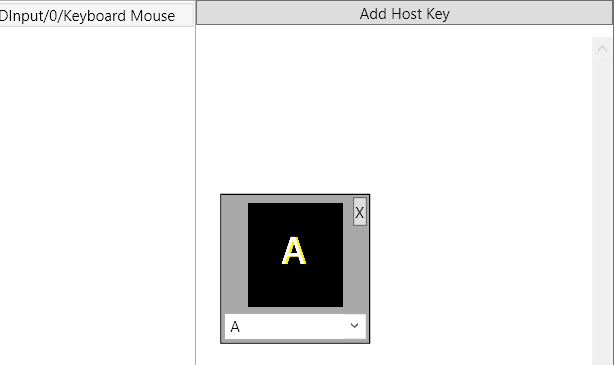
Doing so will open up a file selection browser. Here you will choose the file you want to replace when the user species that specific button. I'll map the "A" texture to the "A" button on the keyboard:
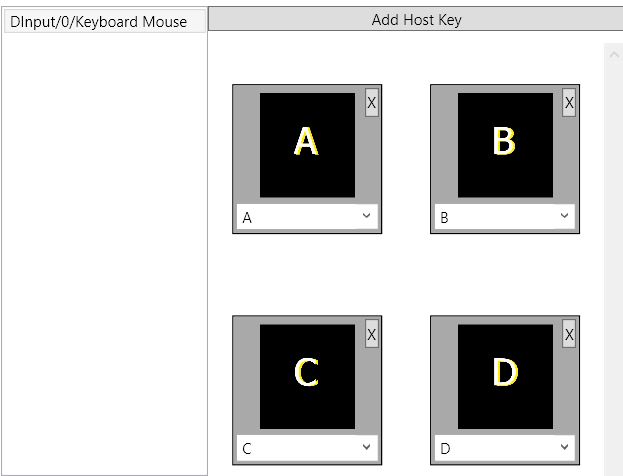
Now all that is left is to map the other buttons in the same way. I ended up with something like this:
With that you are finished!!!! Well almost :)
Close out of that window to return to the main window. Now all you need to do is choose File > Export Dolphin Output to Location... to save all the files in a format Dolphin can read.
When doing this for a real game, you would save to <Dolphin folder>/Load/DynamicInputTextures/<game id>.
Since our game is a homebrewed game ran through the homebrew channel, it shares the same ID as the homebrew channel. So we place the textures in <Dolphin folder>/Load/DynamicInputTextures/OHBCHB.
(make sure "Custom Textures" is turned on)
Doing so allows us to load up the game in Dolphin and see our keys mapped:
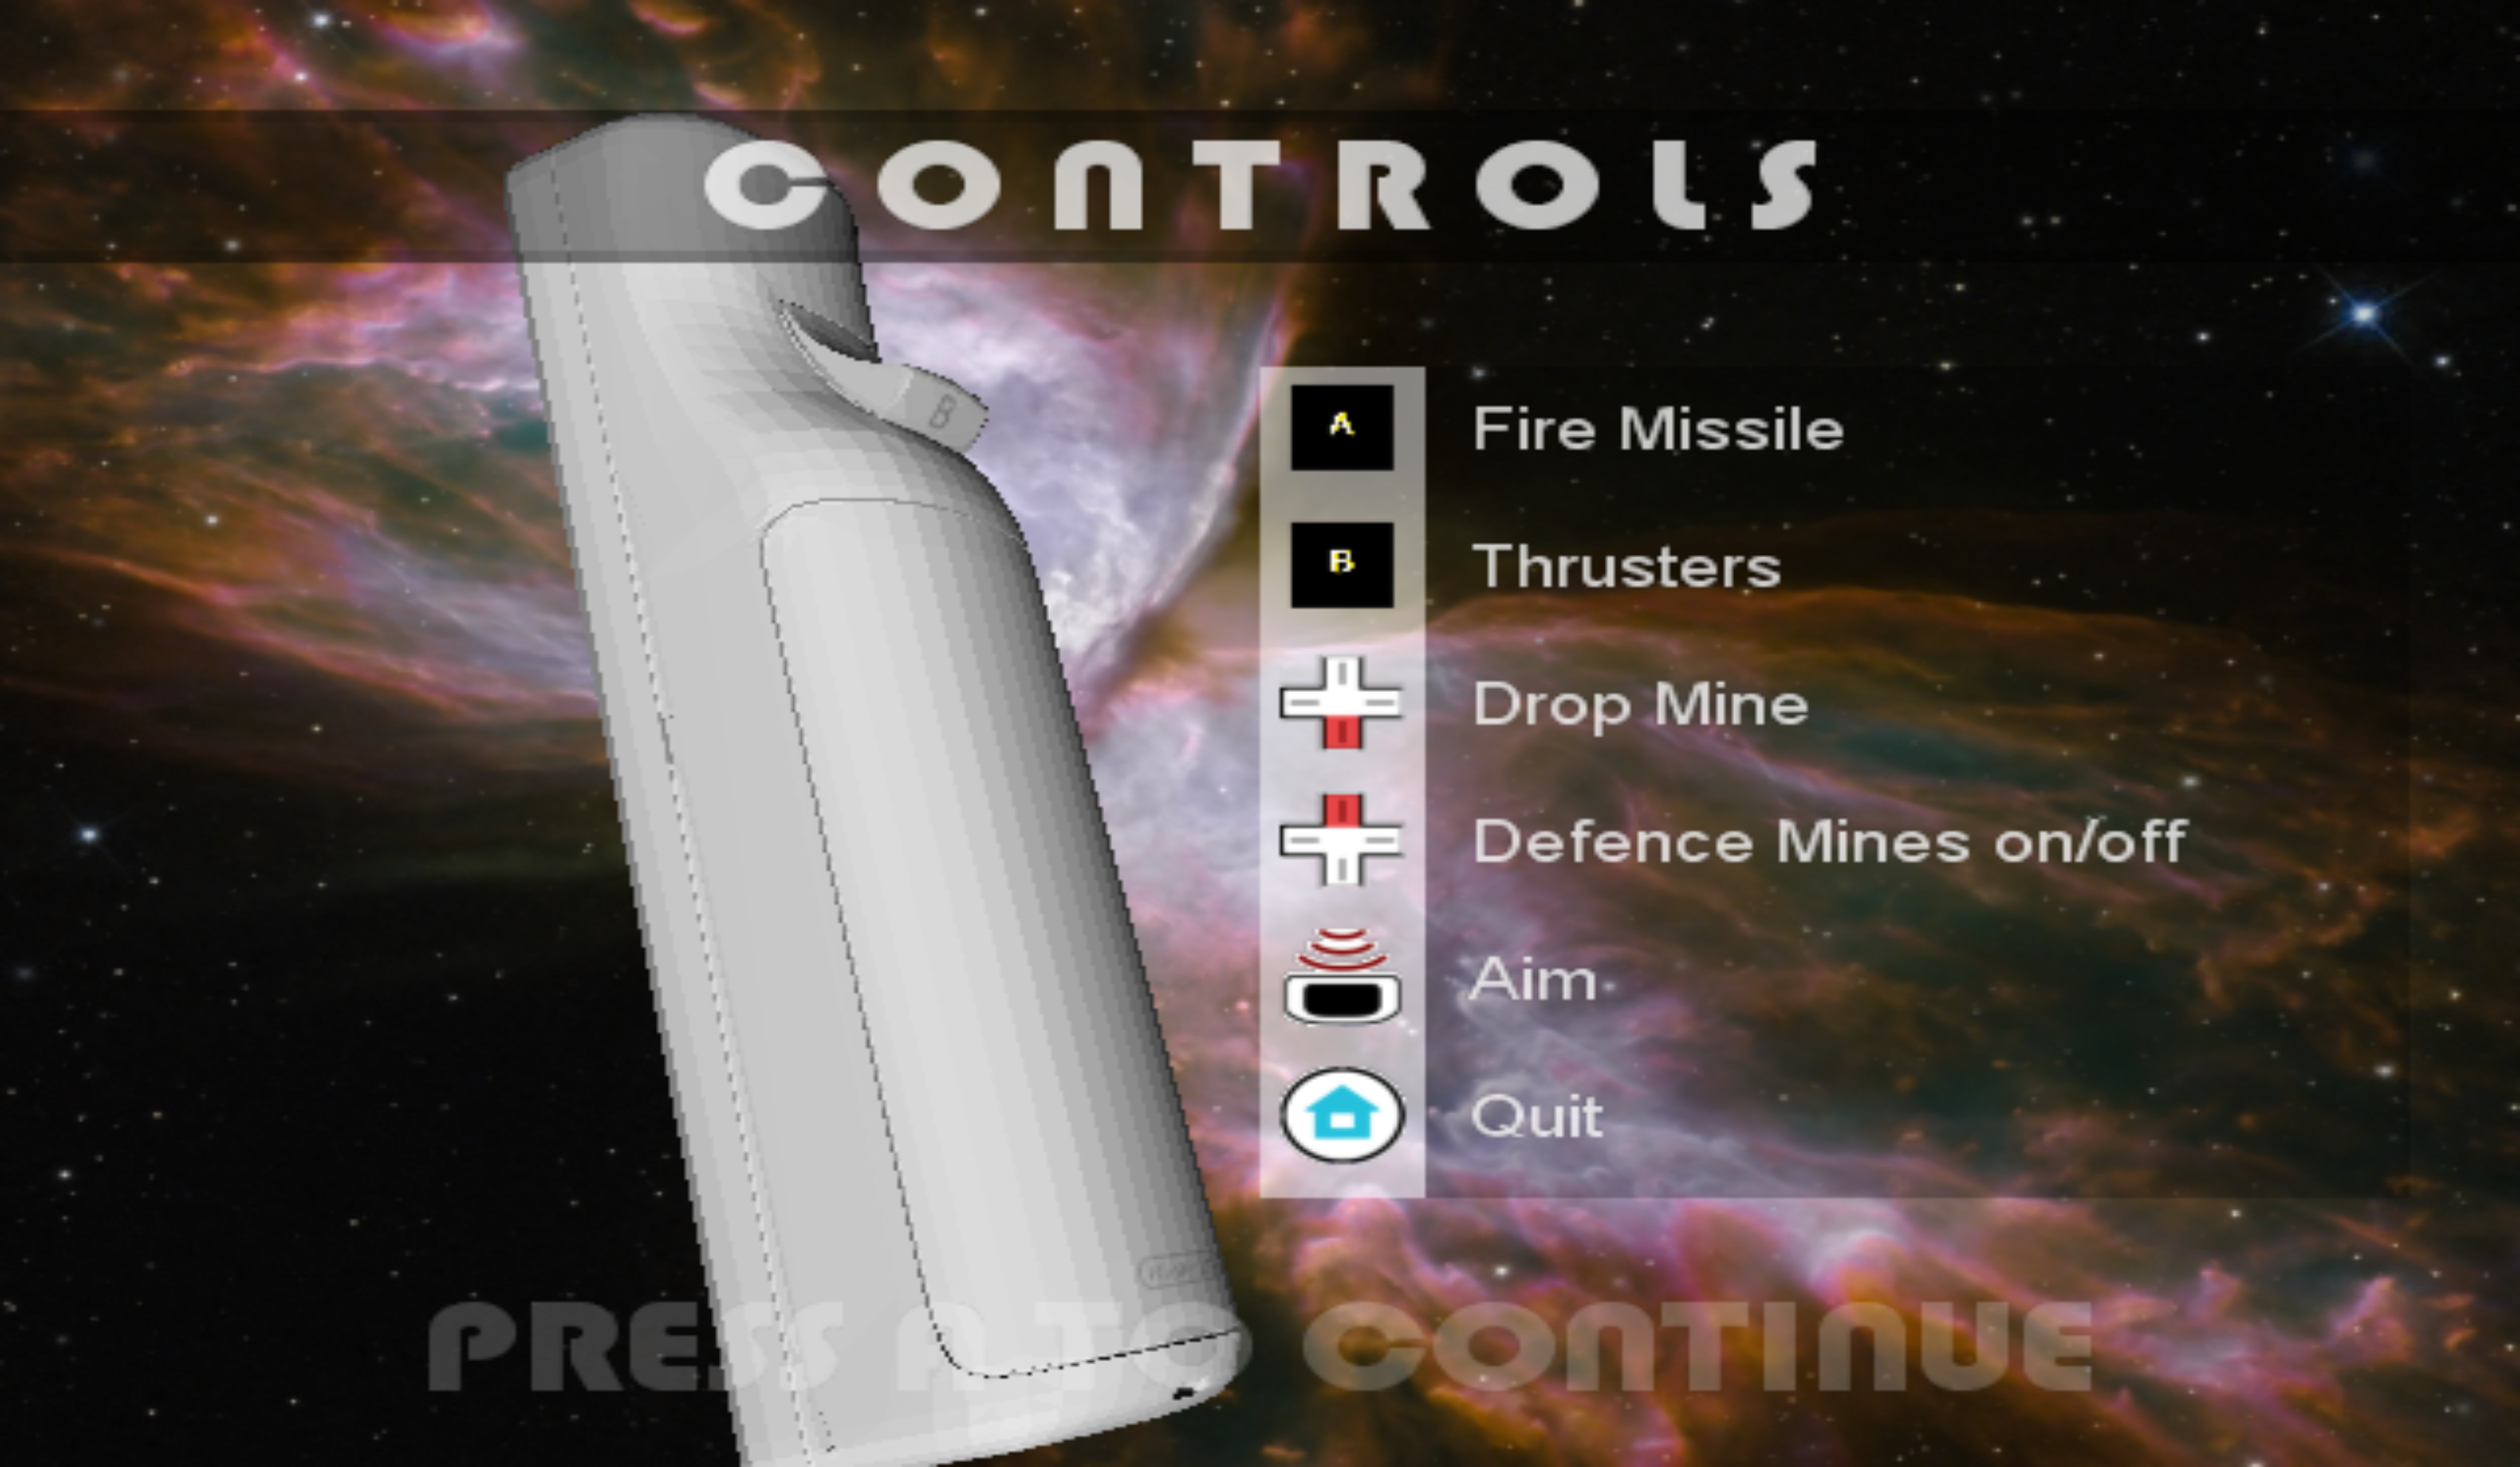
If you change the 'B' mapping to the 'C' key, you get:
Happy creating!