Quick Start Guide
For those who want to give VisualTeensy a quick try without spending too much time reading into the documentation here some instructions:
-
Install Arduino and Teensyduino.
Please note:- Currently only Arduino 1.8.x installations are supported
- After a fresh Arduino installation you need to start Arduino at least once and open the library manager (
Sketch | Include Libraries | Manage Libraries). This will generatepreferences.txtandlibrary_index.jsonwhich are required by VisualTeensy. (If you used the Arduino IDE before, you are fine without that step)
-
Install vsCode and the c/c++ extension.
-
Download the latest release of the VisualTeensy binaries and unzip in any convenient location.
-
On first startup, VisualTeensy will ask you for an Arduino installation folder. If you provide this information the startup code will fill in the default settings accordingly.
-
Uploaders: By default VisualTeensy uses the PJRC uploader from the Arduino installation. However, you can easily install additional uploaders. Currently the following uploaders are supported:
- Koromix' tyTools which I strongly recommend. It nicely handles multiple boards, multiple Serial ports per board and integrates a very useful serial terminal.
- PJRC CLI loader. This is the official CLI downloader from PJRC.
- JLink loader. This loader requires a SWD connection to the board a Segger debug probe and software tools.
Don't forget to add the path to the corresponding loader on the settings page.
IMPORTANT: Make sure to close the PJRC uploader before you try to upload with another uploader. The PJRC uploader monitors connected Teensies and grabs them when the bootloader is started (usually by pressing the button on the board). If you use another uploader which starts the bootloader, the PJRC bootloader grabs the board and the original bootloader can't proceed.
Please note:
VisualTeensy uses GNU make as underlying build system. Unfortunately make can't handle folder names with spaces. Therefore, VisualTeensy automatically uses the old funny looking "8.3" filenames in makefiles. However, volumes other than C: might have disabled that feature. You can work around this by not using folders/filenames with spaces or by enabling the 8.3 functionality. Here a link showing how to achieve this: https://michlstechblog.info/blog/windows-enable-generation-of-8-3-names (thanks @sutaburosu for the link).
- Generate an empty folder somewhere and name it whatever you like (well, spaces are never a good idea...).
- Open this folder in VisualTeensy using File->Open and select the settings you need (i.e. board USB type etc...).
- Do a File->Save to generate the project.
- After generating the required files, VisualTeensy will open the project in vsCode.
- From this point on you don't need VisualTeensy anymore and can close it if you like.
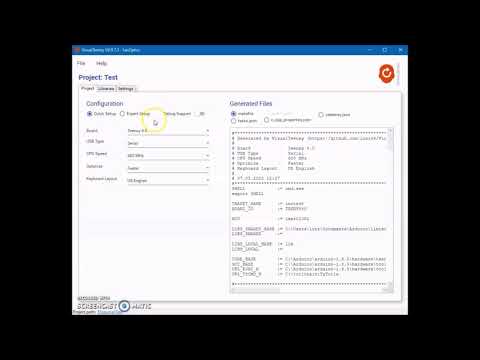
Main screen of VisualTeensy

You now have all required files including a simple, autogenerated main.cpp containing code to blink the built in LED. To compile and upload it, follow the following steps:
- Open the project folder with vsCode (usually VisualTeensy does this automatically for you after generating the project).
- Compile with
Terminal->Run Build Task->Buildfrom the menu or use the shortcut CTRL+SHIFT+B. - To upload firmware to the Teensy board you can use one of the installed uploaders. They show in the
Terminal->Run Build Taskmenu.
That's it!
Here a short video, showing the described process (click on image to start the video on YouTube).