-
Notifications
You must be signed in to change notification settings - Fork 155
Demo
To demonstrate the use of the planner two demo scenarios involving a Resilient Micro Flyer aerial robot and a ground robot have been created in simulation.
Make sure that the installation instructions have been followed and the workspace is built.
A simulation model of the environment used for the Final Event of the DARPA Subterranean Challenge is used for this demo. The original model can be found here
Download the gazebo model from here and extract in the ~/.gazebo/models folder.
A model of Resilient Micro Flyer quadrotor robot called RMF-Obelix (used by Team Cerberus in the DARPA Subterranean Challenge Final Event) is used with RotorS simulator.
To run the demo, source the gbplanner2_ws and launch the demo launch file with the following command:
cd <path/to/gbplanner2_ws>
source devel/setup.bash
roslaunch gbplanner rmf_sim.launch
It will take few moments to load the world. A message saying the spawn_rmf_obelix process has died may pop up, but as long as the pointcloud map is visible in rviz and the UI controls work this message can be safely ignored.
This will launch the simulator, planner, controller and the rviz UI.
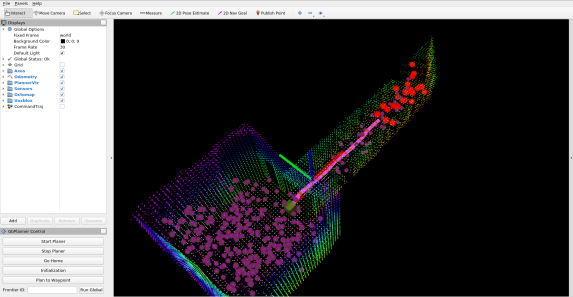
Demo UI for RMF-Obelix
The ground robot used for the simulation is a model of the SuperMegaBot equiped with two lidar sensors.
To run the demo, source the gbplanner2_ws and launch the demo launch file with the following command:
cd <path/to/gbplanner2_ws>
source devel/setup.bash
roslaunch gbplanner smb_sim.launch
A message saying the spawn_smb_model process has died may pop up, but as long as the pointcloud map is visible in rviz and the UI controls work this message can be safely ignored.
In Ubuntu 18.04 with ROS Melodic, the gazebo node might crash when running the ground robot simulation. In this case set the gpu parameter to false here.
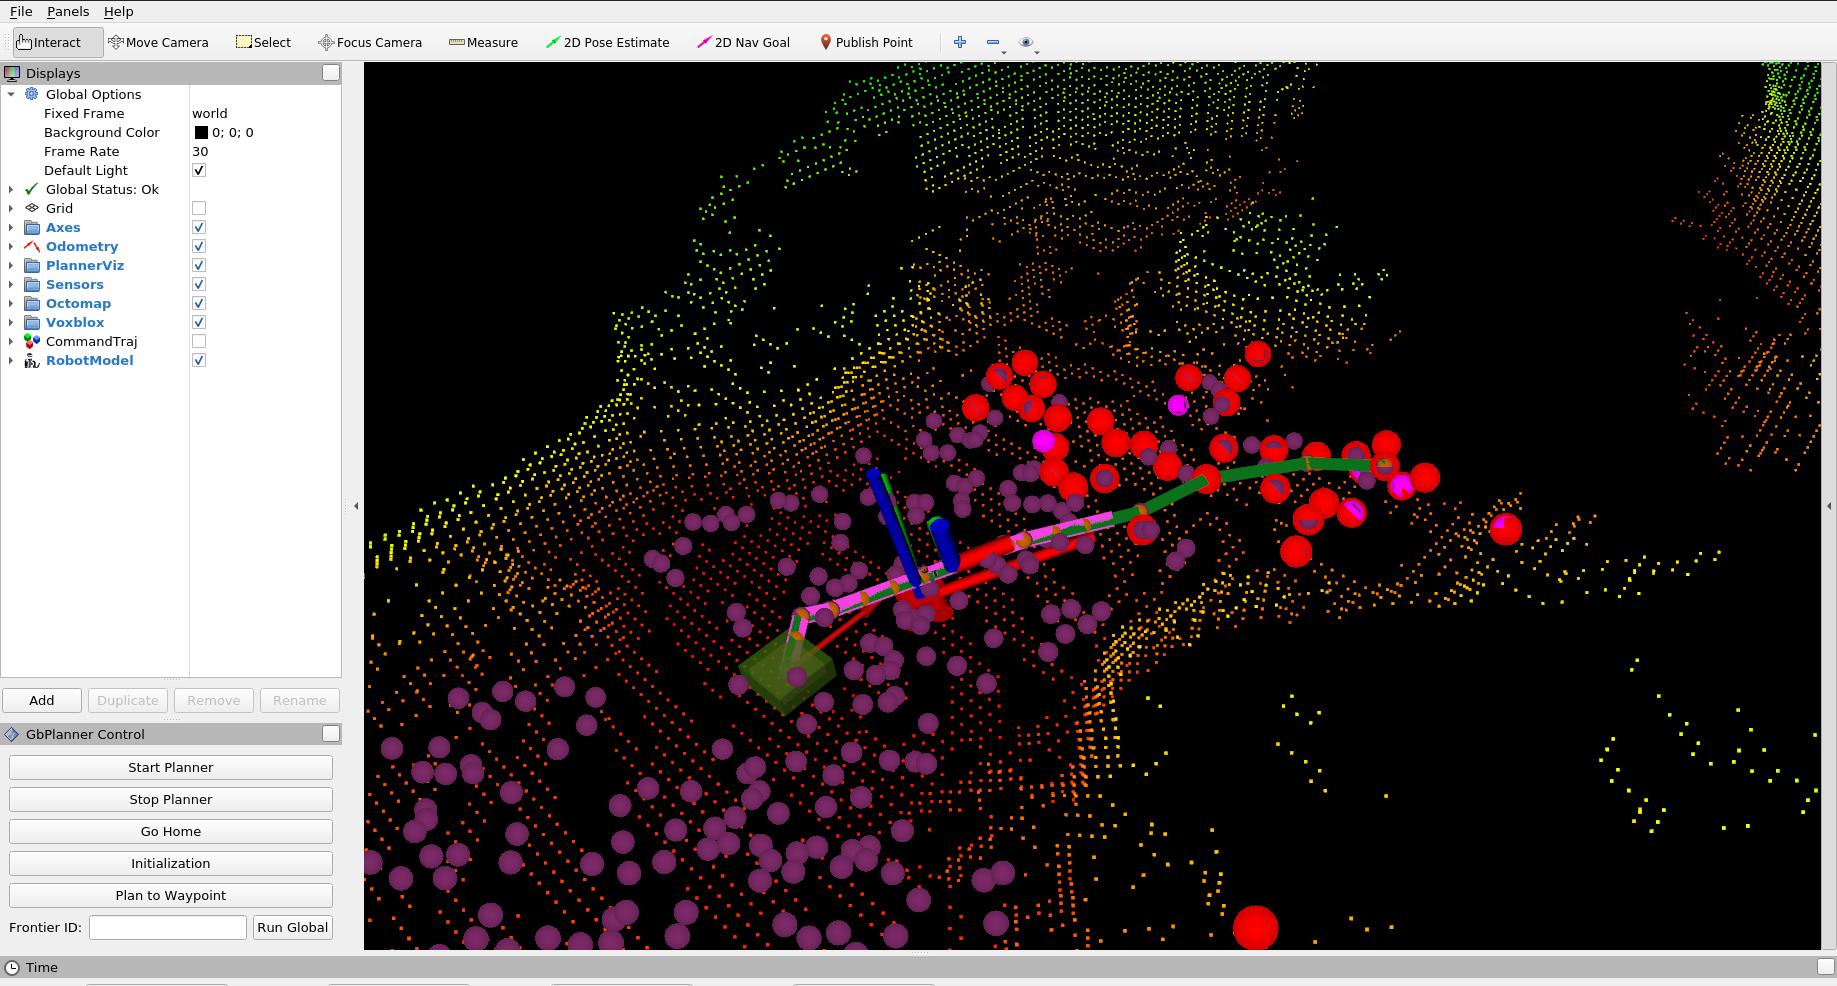
Demo UI for SuperMegaBot
A simple UI is provided for easy mission control (in the bottom left corner of the rviz window).
Steps to start the planner:
- Click on the
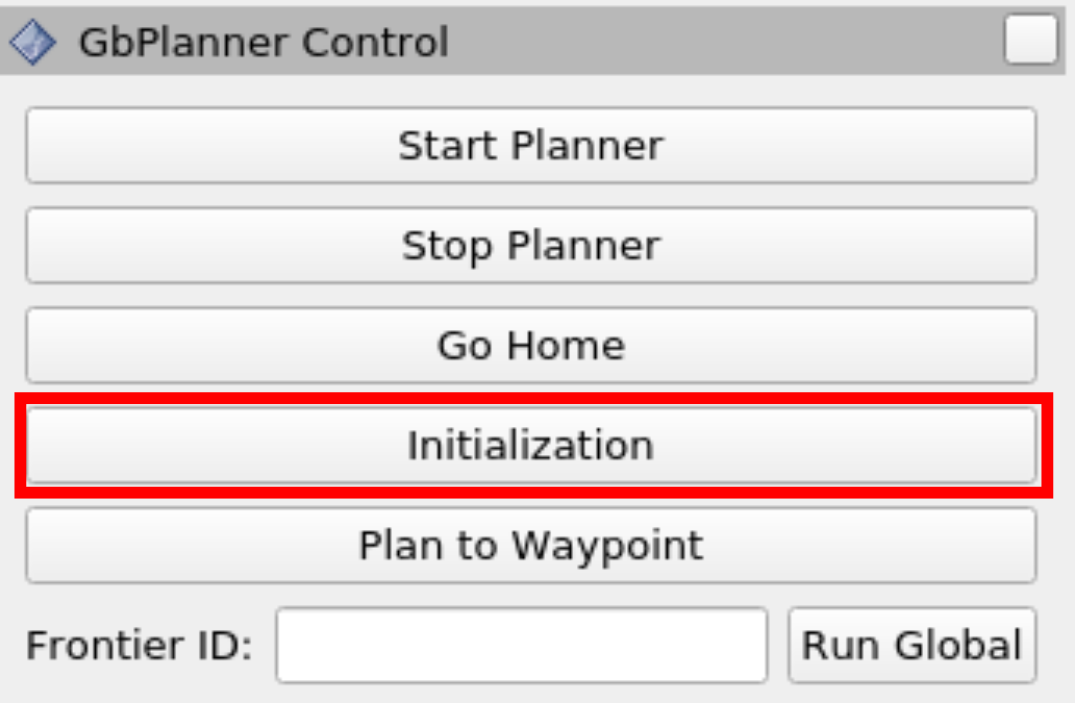
Initializationbutton. - Once the robot finishes the initialization motion, click on
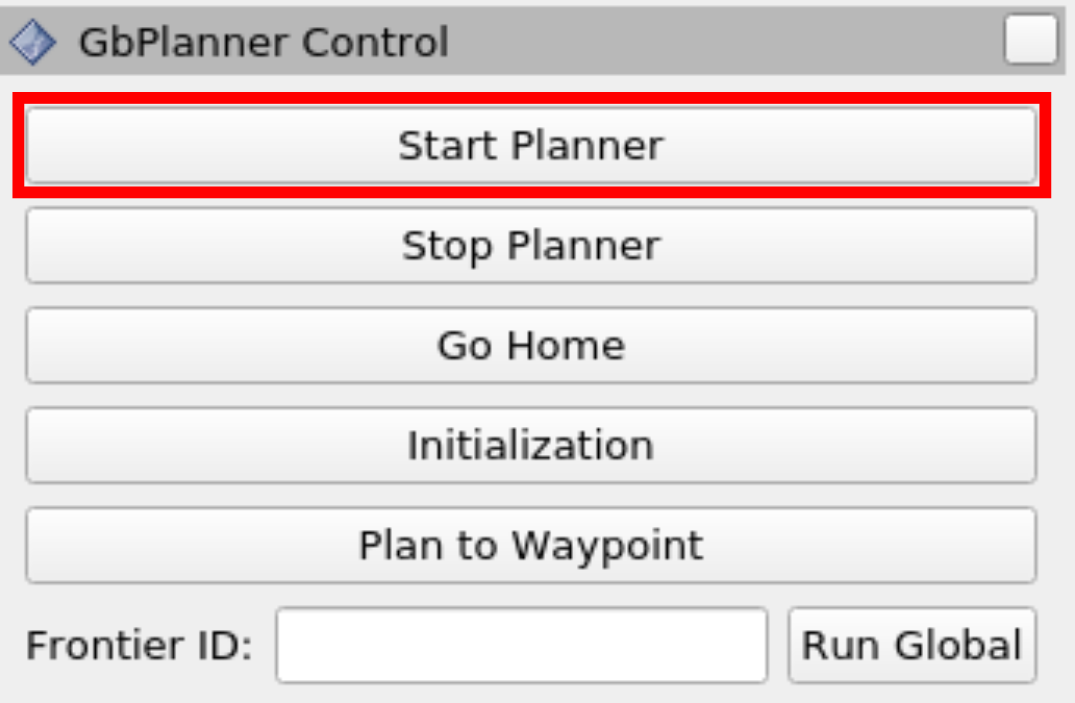
Start Planner.
The robots will start the exploration and return to the location from which the planning was started within the time limit specified by the ros parameter PlanningParams/time_budget_limit. For more details about this check the Parameters page.
At the beginning of the mission the robot needs to move to update the volumetric map and clear the space around it. To fascilitate this, an initialization behavior is provided. The robot follows a specific path defined in the config/<robot_name>/planner_control_interface_config.yaml. Note that the z_takeoff and z_drop parts of the path are only used for aerial robots.
After launching the simulator, click on the Initialization button in the UI to perform initialization motion.
The Start Planner button starts the planner.
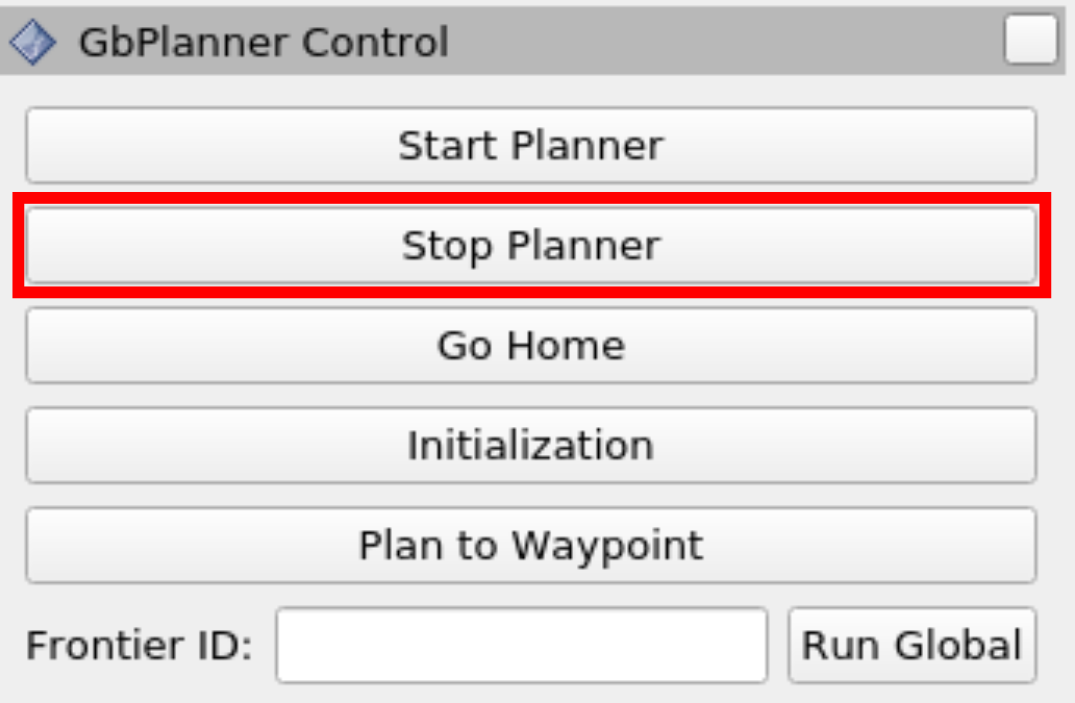
The Stop Planner button starts the planner and brings the robot to a hault.
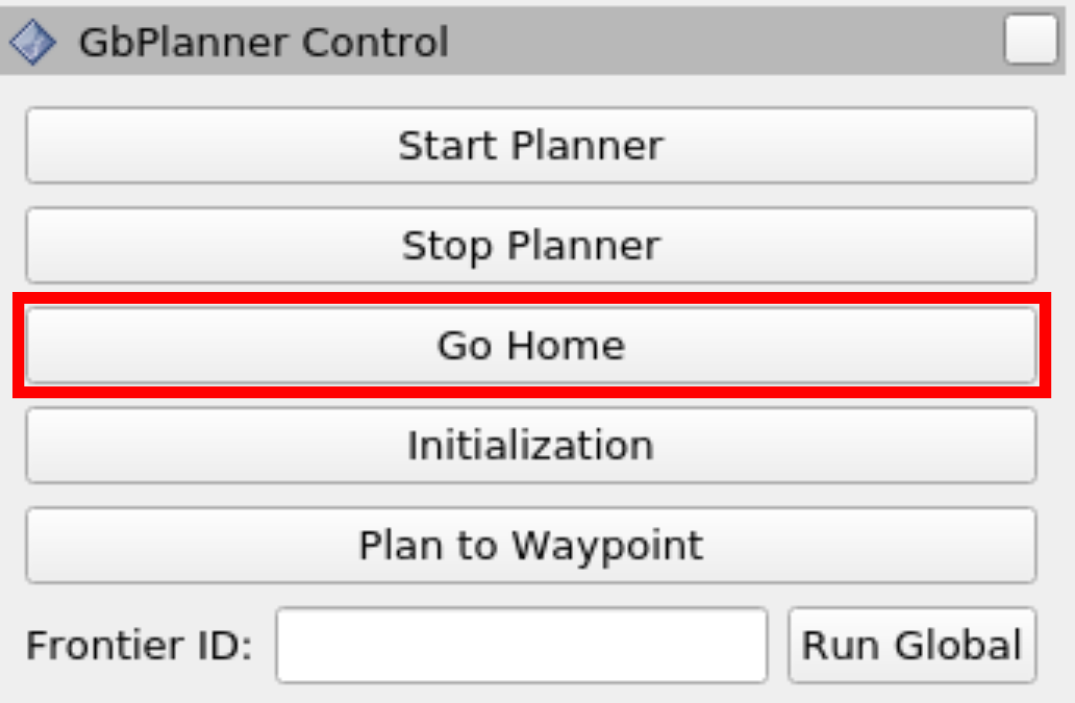
The Go Home button will trigger the homing manuever. Note that this will be triggered after the robot completes its current path. To avoid this press Stop Planner before triggering homing. Once triggered, the planner will calculate a path from the current robot location to the location from which the planner was triggered for the first time, along the global graph.
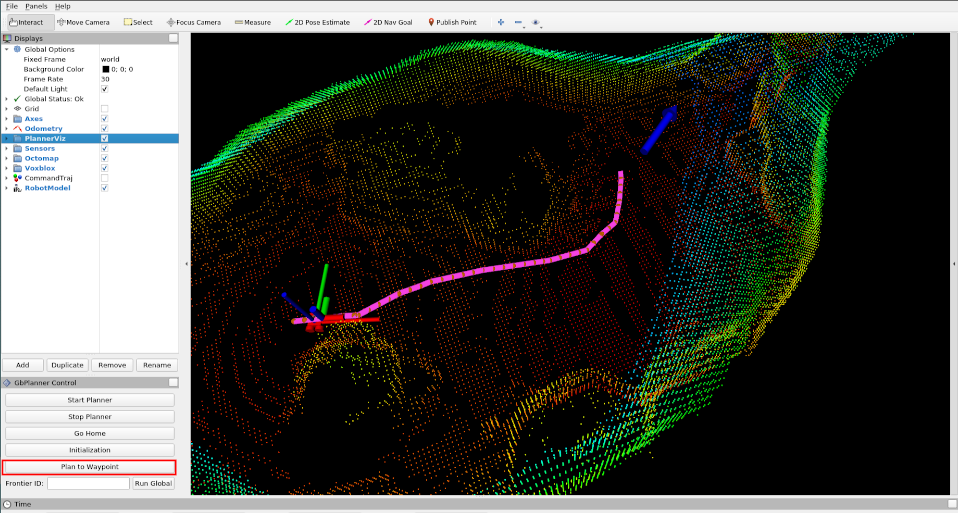
To send the robot to a specific location in the map the Plan to Waypoint functionality can be used. This will plan a path to a point on the global graph closest to the given waypoint.
First, the current planning behavior needs to be stopped. Press the Stop Planner button.
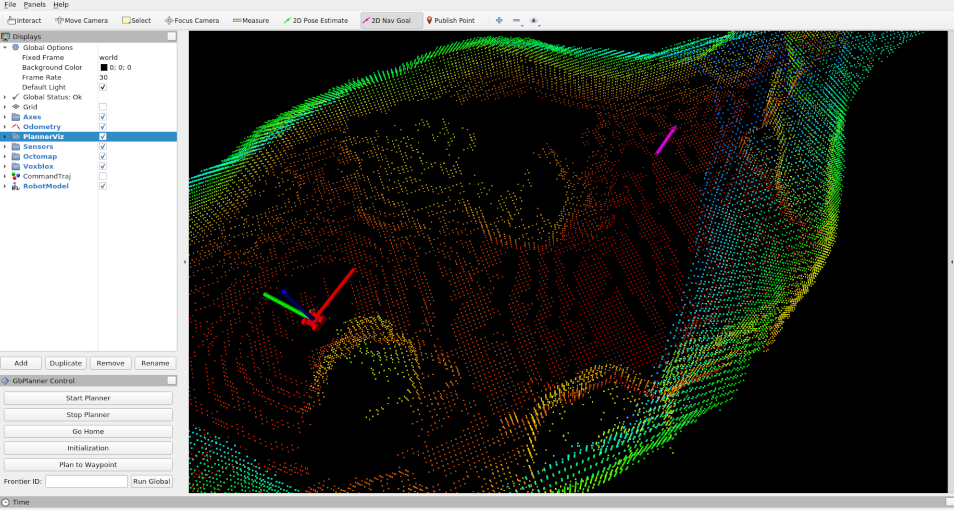
Second, the waypoint (pink arrow) needs to be set using the 2D nav goal button:
Then clicking the Plan to Waypoint button will calculate the path and send it to the robot to follow.
Any world file compatible with gazebo can be used with the simulation setup as follows: