-
Notifications
You must be signed in to change notification settings - Fork 5
Setting up MyGaze eye trackers
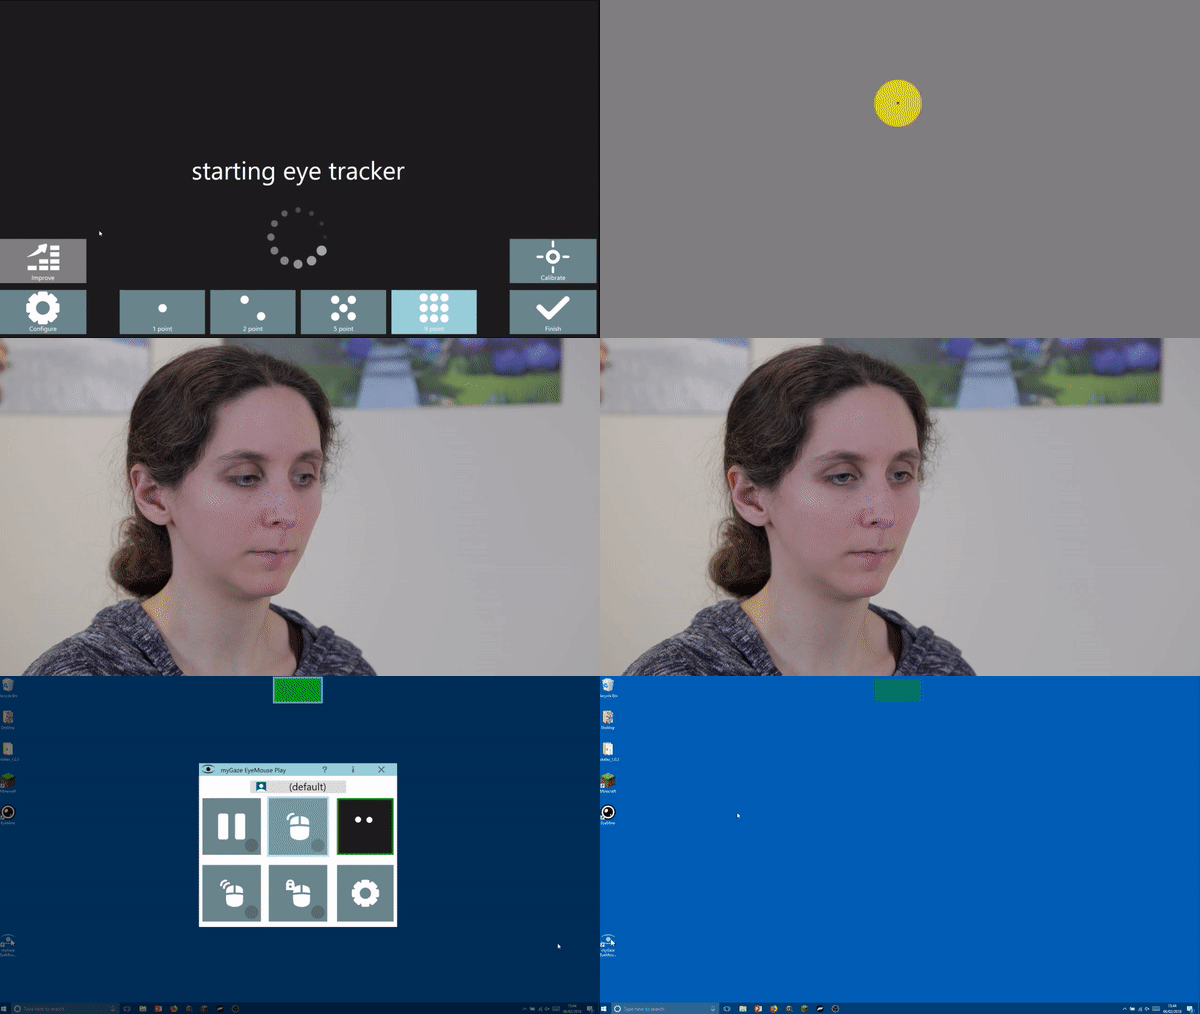
To use a MyGaze assistive eye tracker with EyeMine, you need to use the EyeMouse Play app from SMI to control the mouse, and then tell EyeMine and Minecraft that you want them to use mouse emulation as input.
All of the setup steps are shown more clearly in the full introductory video below.
In the main Minecraft menu, go to Mods, and select EyeGaze from the list. Click 'Config' -> 'Basic options' and turn on 'Enable mouse emulation compatibility mode'.
NOTE: Occasionally the Mod list in Minecraft does not allow you to click on "Eye Gaze". If this happens, restart Minecraft and try again!

When you first install EyeMine it should default to using mouse control. If it's not using mouse input for selecting icons, right click on the EyeMine keyboard and open the Settings. In the 'Pointing and Selecting' menu, change the input source to 'Mouse Position'.

If you don't already have EyeMouse Play installed, you can download the latest software from theSmartbox EyeMouse Play webpage.
Make sure your eye tracker is calibrated. Launch the EyeMouse Play application and set it up to control the position of the cursor with eye gaze, but not to do any mouse click actions. Hide the EyeMouse Play menu, launch EyeMine and Minecraft and you're ready to play.

For a video guide, see below:
EyeMine is a fork of the excellent OptiKey project, which offers computer control and speech for advanced eye gaze users.
If you're using the EyeMine Classic version (versions 1.x.x) then you can find legacy documentation at the EyeMine classic wiki
User guides:
- Installation
- Get started playing
- Using a demo version
- EyeMine settings
- Different interaction levels
- Using switches
- Building in Minecraft
- Troubleshooting FAQs
- Customising keyboards
- Different Minecraft versions
Technical info:
Advanced Minecraft setup: